20
Basic Photography and Playback: Easy Auto Mode
Step 2 Frame a Picture
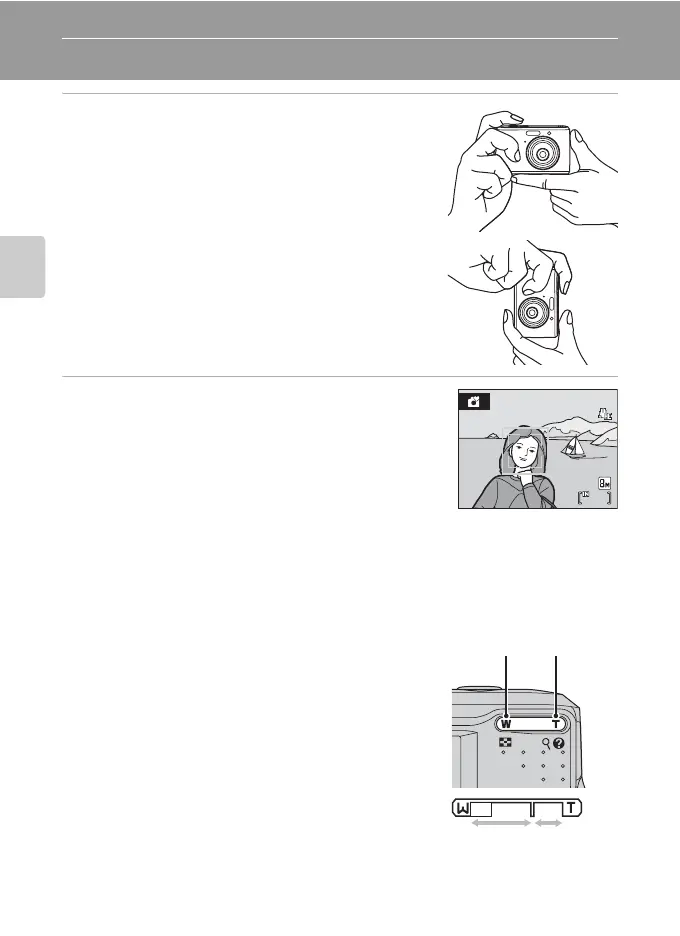
1 Ready the camera.
Hold the camera steadily in both hands, keeping your
fingers and other objects away from the lens, flash, self-
timer lamp and built-in microphone.
When taking pictures in “tall” orientation, turn the camera
so that the built-in flash is above the lens.
2 Frame the picture.
When the camera recognizes a face (front view), that face
will be framed by a yellow double border (by default). If
more than one face is recognized, the face nearest to the
camera will be framed by a double border and the rest by
a single border.
Up to five faces can be recognized.
Focus area, focusing on the center of the monitor will appear when shooting non-
human subjects or when no faces are recognized.
Position the main subject near the center of the monitor.
Using the Zoom
Use the zoom buttons to activate zoom.
Press g (i) to zoom in so that the subject fills a larger
area of the frame. Press f (h) to zoom out,
increasing the area visible in the frame.
Zoom indicator displayed when the zoom buttons are
pressed.
7
7
Zoom out Zoom in
Optical
zoom
Digital
zoom
 Loading...