Chapter 4 Assembly
55
4
7
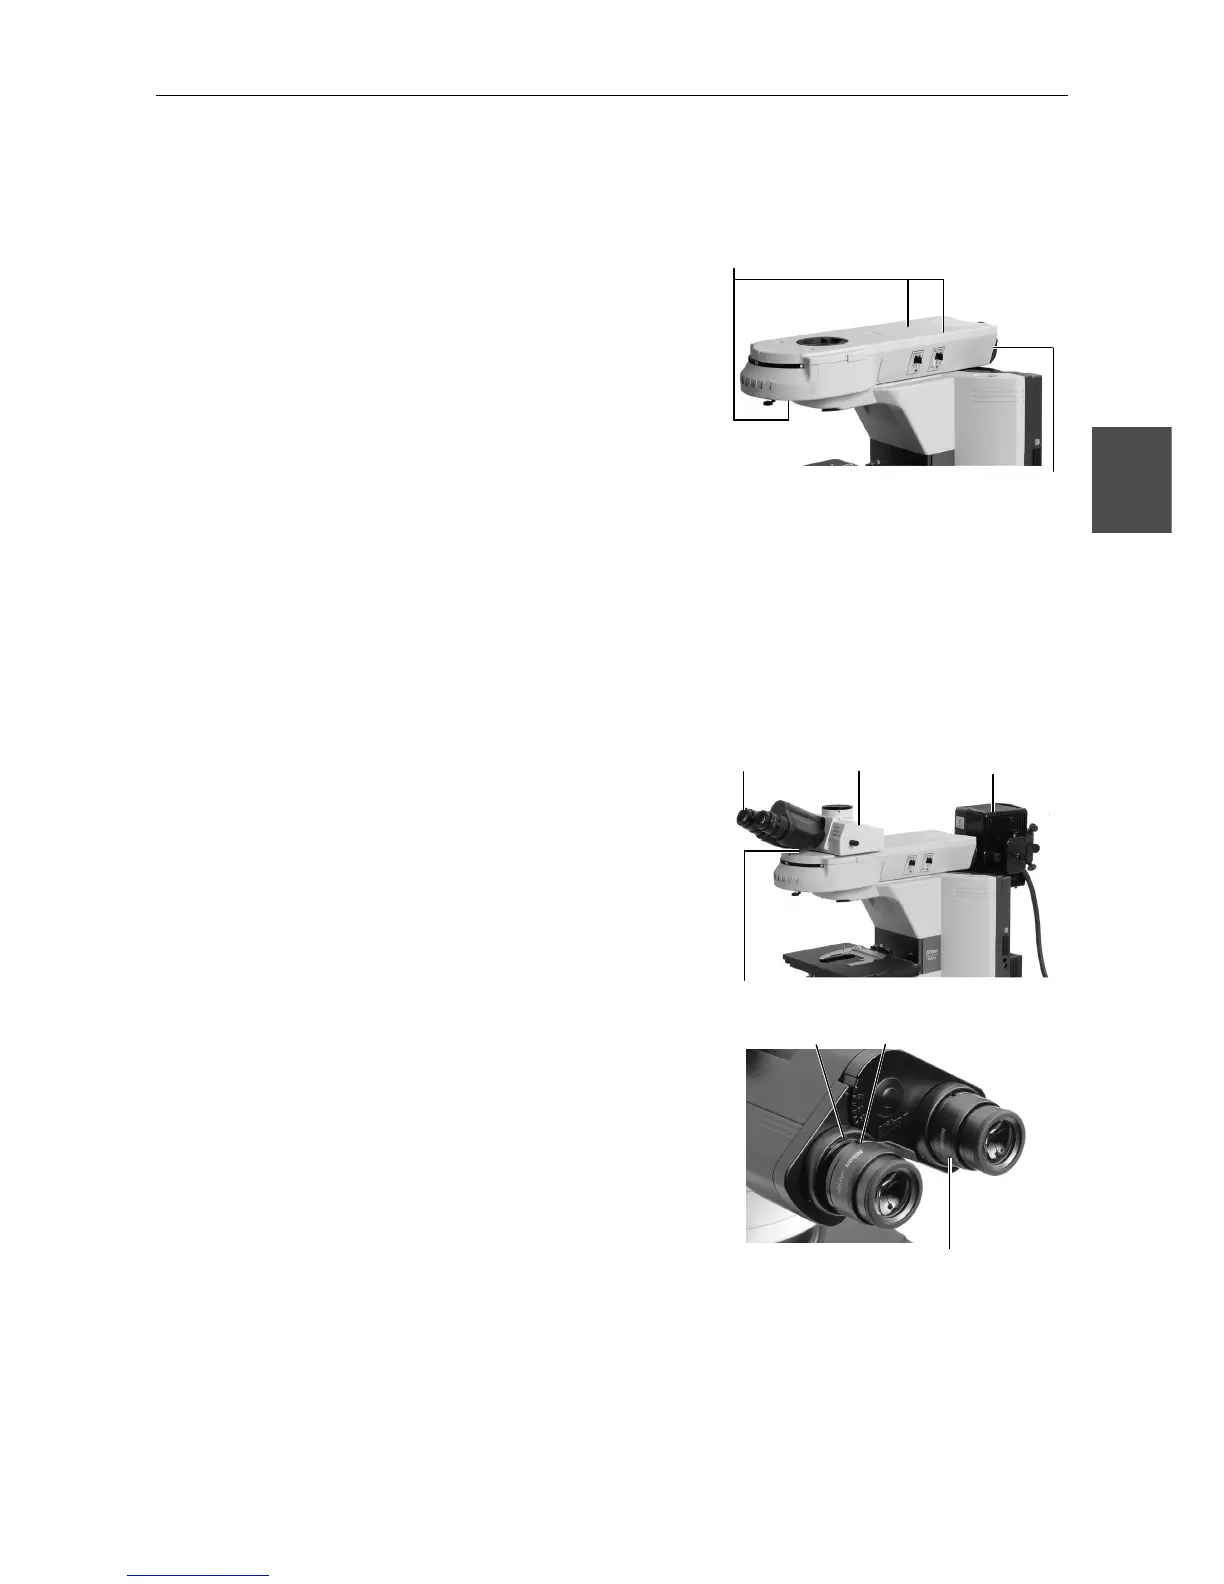
Installing an Epi-illumination attachment
(1) Place an Epi-illumination attachment on the
microscope arm and fix it with a screw at the
front of the arm.
(2) Secure in place with two screws at the back of
the Epi-illumination attachment.
(3) Attach a screw hole protection sticker
provided with the system to the bolt hole.
(4) Attach a mercury lamphouse to the bayonet
mount on the back. (For more information,
refer to the instruction manual provided with
the super high-pressure mercury lamp power
supply.)
1) Attach a collector lens to the lamphouse.
2) Turn the bayonet mount clockwise (viewed
from the back) as far as it will go.
3) Insert the lamphouse into position.
4) Turn the bayonet mount anticlockwise
(viewed from the back) to lock the
lamphouse.
5) Attach a mercury lamp.
6) Connect the mercury lamphouse to the
mercury lamp power supply.
(5) Attach the eyepiece tube.
(6) Attach the eyepiece by aligning the projection
of the eyepiece tube sleeve with the notch at
the objective.
Screws to fix the Epi-illumination
attachment (three screws in total)
E