Chapter 3 Operation
3.12 Pillar Illuminator 100W Operation
79
3.12.3 Pillar Inclination
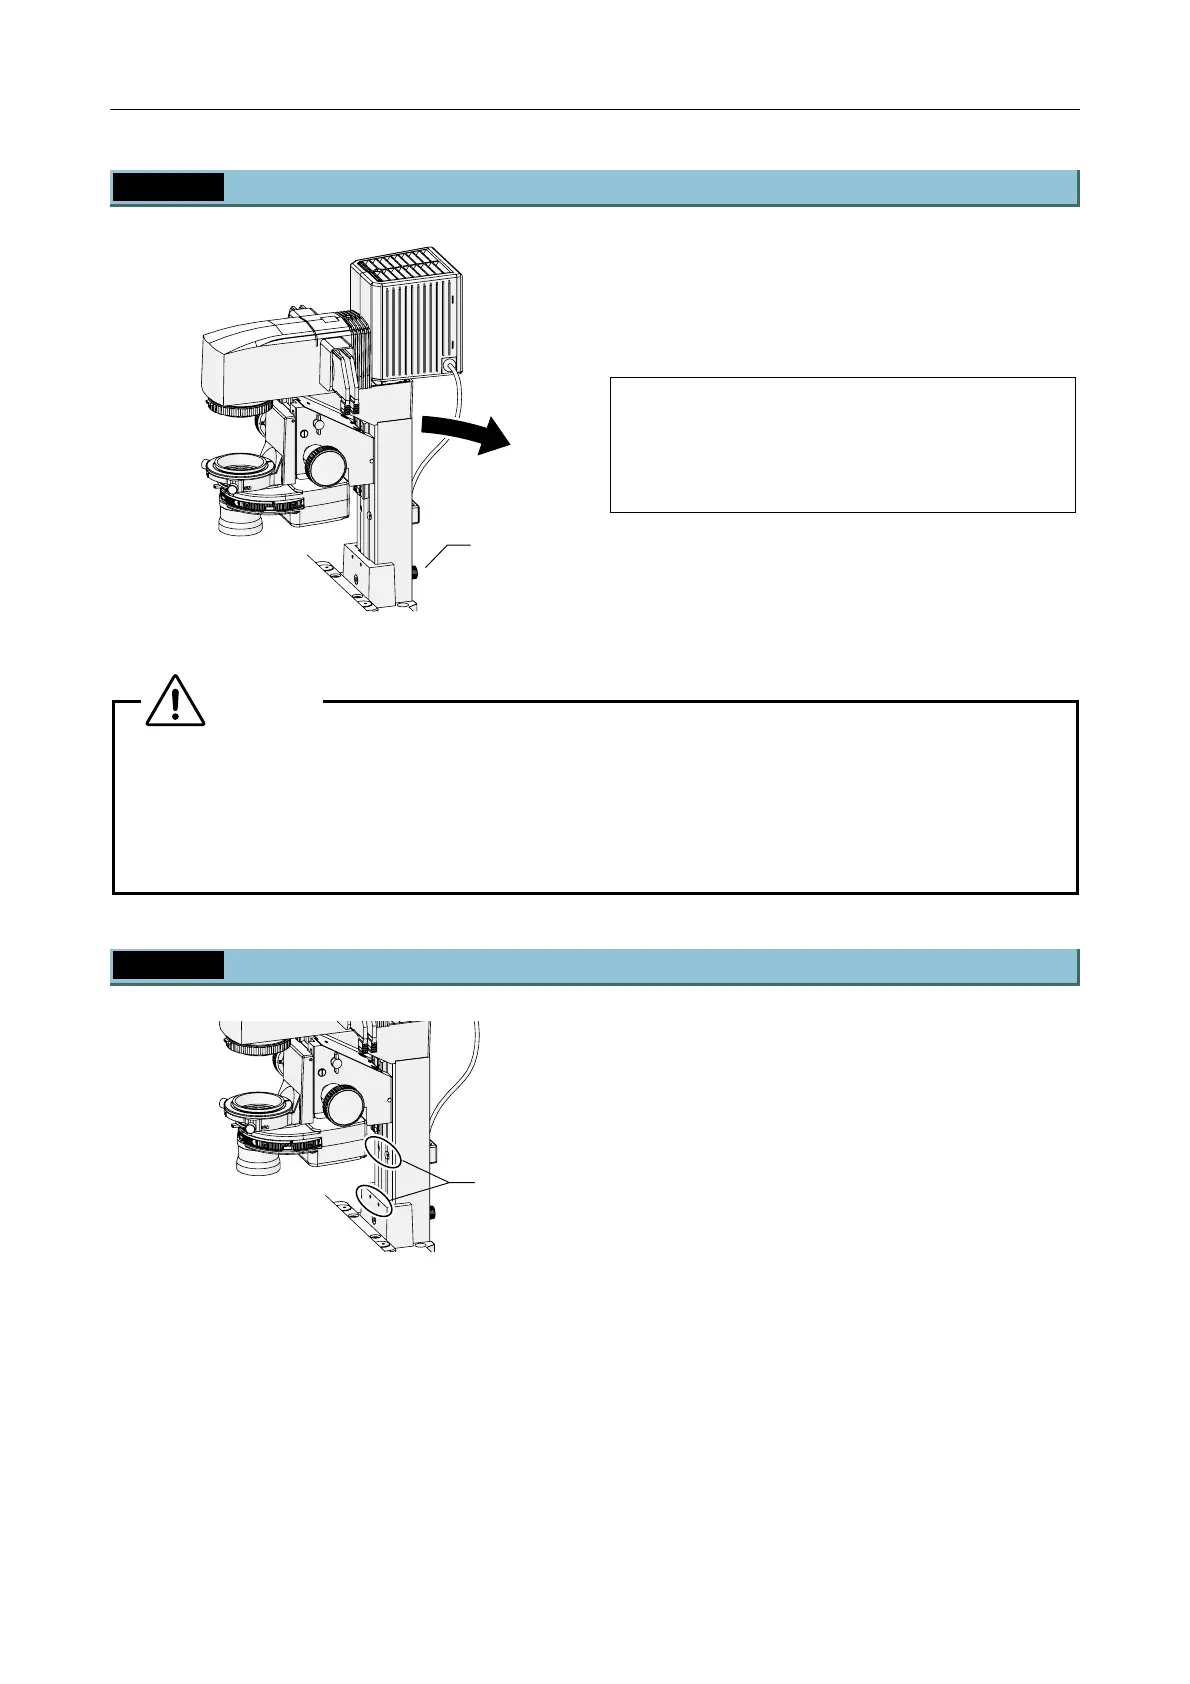
Figure 3-40 Pillar inclination
When replacing a large specimen, the pillar can be
inclined to secure working space.
To incline the pillar, loosen and release the clamp
screw on its back. Hold the front side of the dia
illuminator, and slowly let the pillar incline backward.
Under normal use, the clamp screw on the pillar
can be left released. However, be sure to tighten
the clamp screw when attaching relatively heavy
objects to the pillar, so as to prevent it from
falling.
Caution
• When moving the pillar into and out of an incline, take caution not to get your hands and
fingers caught in the hinge.
• When attaching relatively heavy objects to the pillar, be sure to secure them properly. A
loose screw may result in the attachment falling off when the pillar is inclined. In particular,
be sure to properly secure high-intensity lamphouses and lamphouse adapters.
3.12.4 Device Attachment Screw Holes
Figure 3-41 Device attachment screw holes
Four M4 screw-taps are provided on the front of the
pillar for attaching devices such as manipulators.
Use the upper two holes to attach devices that
should be moved out of the way when the pillar is
inclined. Use the lower two holes to attach devices
that should remain positioned over the stage when
the pillar is inclined.
Clamp screw
M4 screw-taps
(x4)