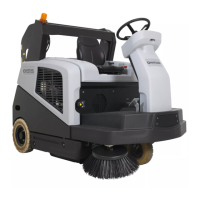
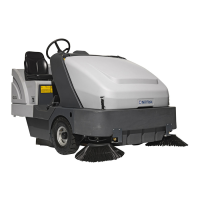
ENGLISH USER MANUAL
20 SW4000 - 1464809000
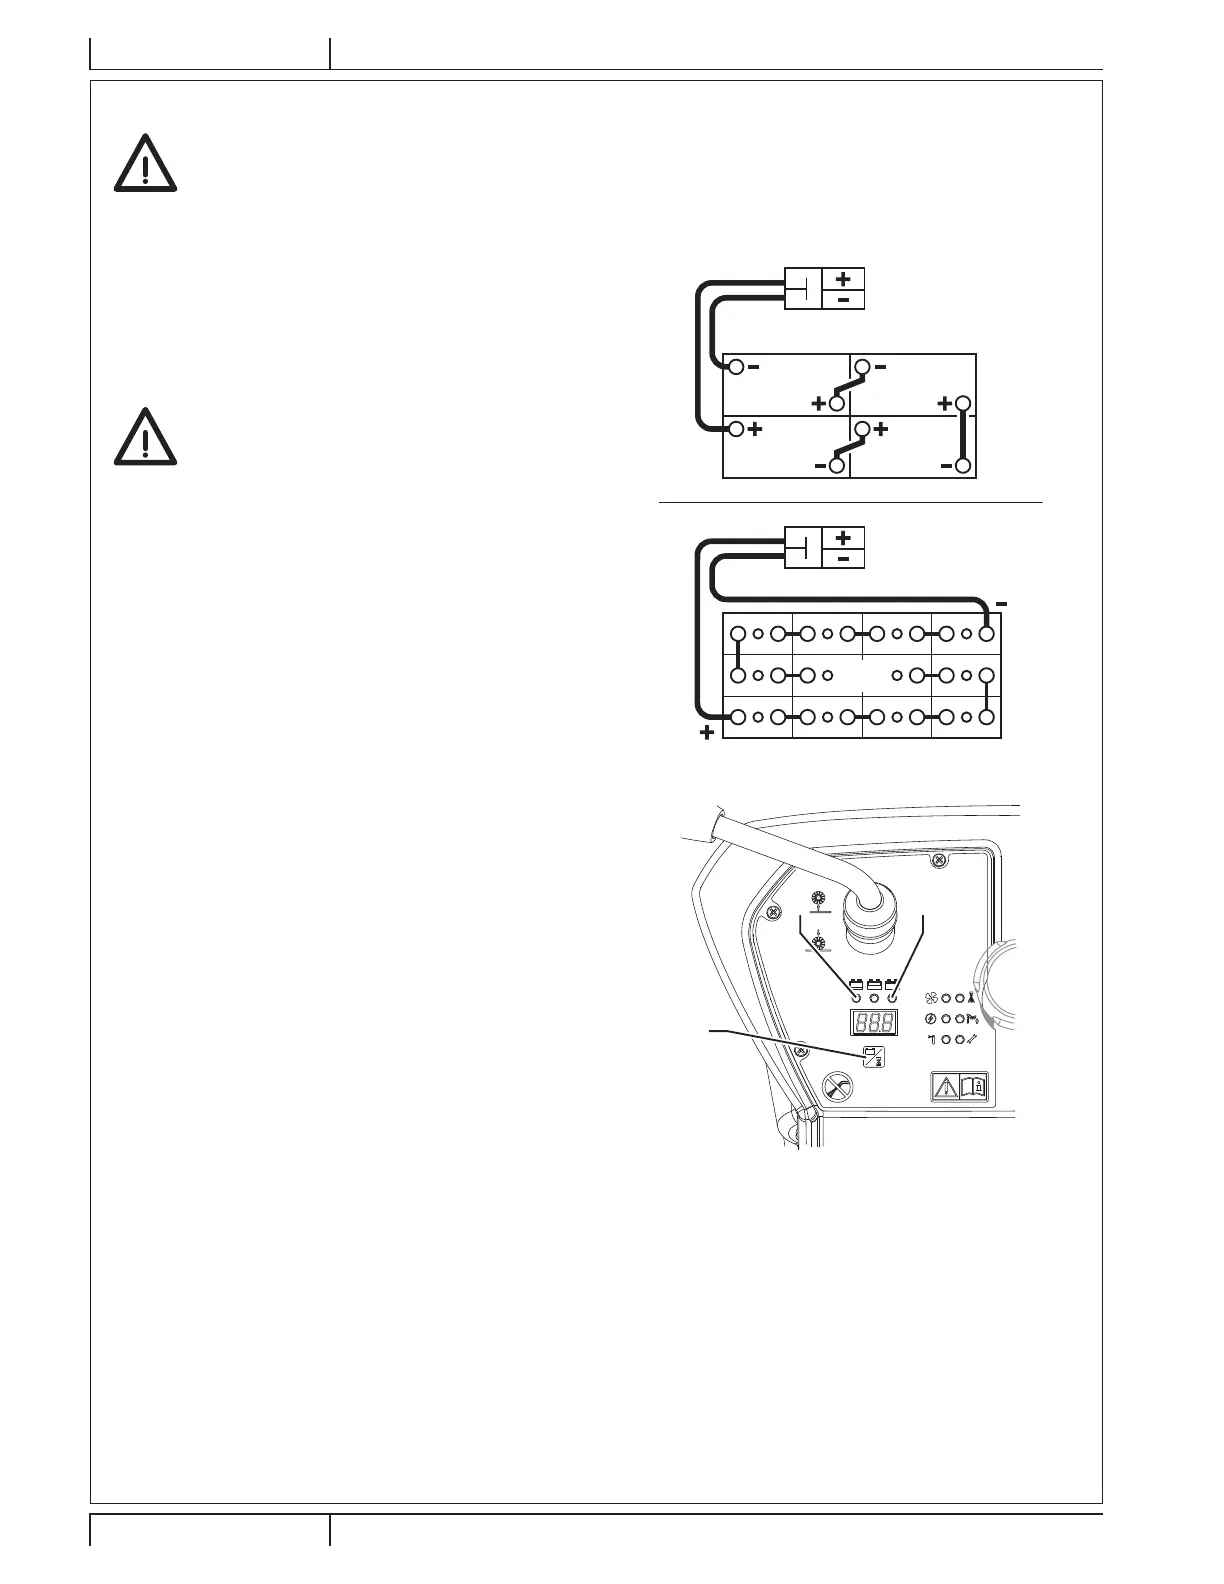
BATTERY INSTALLATION/REMOVAL AND BATTERY TYPE SETTING (WET OR GEL-AGM)
WARNING!
Do not tilt the lead batteries (WET) to prevent the highly corrosive acid from leaking out of the batteries. Do not
connect, not even accidentally, the battery positive and negative terminals by using tools, keys, etc. This could
cause dangerous short-circuits.
Battery Installation
For approved battery types, see the Technical Data paragraph.
According to the battery dimensions, check if it is possible to
place them inside the relevant plastic container, supplied with
the machine.
If the batteries are larger than the container, use the square
guides, supplied with the machine, to ensure the stability inside
the battery compartment.
WARNING!
Non-sealed WET batteries always need an
appropriate container to prevent the acid form
leaking.
Do not install the WET batteries without an
appropriate container.
1. Engage the parking brake.
2. Check that the ignition key (61) has been removed.
3. Open the battery compartment hood (18) with the handle
(41) and fasten it with the support rod (52).
4. Disconnect the battery connector (45).
5. With the help of an assistant and an appropriate hoisting
system, install the batteries (42).
6. Connect the batteries according to one of the diagrams
VKRZQLQ¿JXUHRQWKHEDVLVRIWKHLUW\SH
7. Connect the battery connector (45).
8. Set the battery type (WET or GEL-AGM), according to the
following procedure.
Battery Setting (WET or GEL-AGM)
1. Start the machine by turning the ignition key (61) to “I” and
keeping the switch (A, Fig 3) pressed.
2. +ROGLW´DSSUR[EXWUHOHDVHLWZLWKLQ´XQWLOWKH
ZDUQLQJOLJKWFRUUHVSRQGLQJWRWKHFXUUHQWVHWWLQJÀDVKHV
Red warning light (B): WET batteries
Green warning light (C): GEL-AGM batteries
3. If necessary, release and press again the switch (A) within
5 seconds to change setting.
4. Wait until the warning light corresponding to the new
VHWWLQJVWRSVÀDVKLQJVHFRQGVDSSUR[
5. The new setting is properly stored.
BATTERY
PLUG
6V
6V
6V
6V
BATTERY
PLUG
24V
P100652
Figure 2
A
B C
P100608
Figure 3
Battery Removal
1. Engage the parking brake.
2. Remove the ignition key (61).
3. Open the battery compartment hood (18) with the handle (41) and fasten it with the support rod (52).
4. Disconnect the battery connector (45).
5. Disconnect the battery wiring harness (42).
6. Remove any square guide or bracket fastening the batteries.
7. Check that WET battery caps (43) are closed, to prevent the highly corrosive acid from leaking out of the batteries.
8. With the help of an assistant and an appropriate hoisting system, remove the batteries (42).
 Loading...