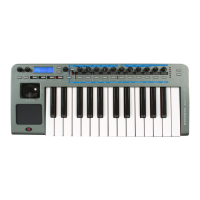
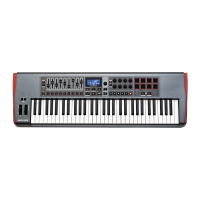
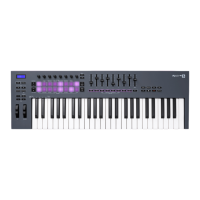
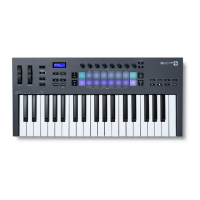
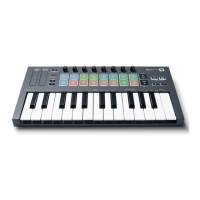
Cubase SX3
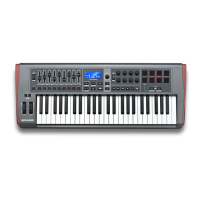
Layout
Group A
Knobs 1-8: Audio Track 1-8 Volume
Knobs 9 and 10: FX1 and 2 Level
Knob 11: Output Level
Buttons 1 and 2: Punch In and Out
Buttons 3 and 4: Cycle Record Mode and On/Off
Buttons 5-11: Transport
Group B
Knobs 1 and 2: Level and Pan
Knobs 3-5: Sends 1-3
Knobs 6-8: EQ 1 Gain, Frequency and Q
Knobs 9-11: EQ 4 Gain, Fr
equency and Q
Buttons 1 and 2: Track Mute and Solo
Buttons 3-5: Sends 1-3 On/Off
Buttons 6-9: EQ 1-4 On/Off
Buttons 10 and 11: Track Select Up/Down
Touchpad is assigned Aftertouch (x-axis) throughout.
Setup
To import the setup file, do the following:
1. Open Cubase application and go to Devices\Device Setup
2. Click on 'Add/Remove' tab (the + button in later versions) and add a 'Generic Remote'.
3. 'Generic Remote' will appear in the list on the left-hand side of the devices window
. Click on this to bring
up the generic remote settings.
4. Click 'Import' and locate the set up file ‘Xio_SX.xml' on the resources disc (or 'Xio _SX2.xml' or 'Xio
_SX3.xml' depending on the version of Cubase).
5. Click 'Open' to load the setup file and select Xio as the MIDI input device at the top of the device setup
window (do NOT select it as the MIDI output).
6. Click 'Apply' and 'OK' to exit the device setup window.
All controls have been set to transmit on MIDI channel 16 so, when using the generic remote with the Xio in
Cubase, it is advisable to exclusively reserve MIDI channel 16 solely control Cubase. To do this open the
preferences dialog and select the MIDI Filter Page. Click on the '16' box in the Channel section to filter out
messages on channel 16, then click 'Apply' to save the changes followed by 'OK' to exit preferences.
 Loading...