English
Preparations for Use
13
CAUTION
ŘKeep the main unit away from water.
ŘThe control unit incorporates a LCD panel. Place the unit where the operator can see the display.
ŘDo not bend the tubing forcibly when putting the main unit in place. Allow some extra space for tubing to avoid
pinching or bending it.
3-2
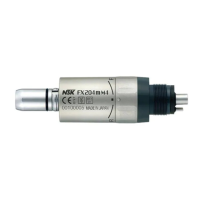
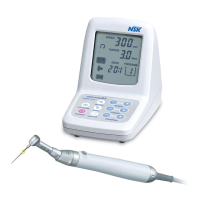
Connecting the Tubing
Align the tubing from the dental unit and the tubing connector at the
back of the main unit (
1
). Insert it firmly and tighten it completely
(
2
).
POWER
AC28V
OUT
IN
①
②
CAUTION
ŘBe sure that there is no air or water coming from tubing when attaching it to the main unit.
ŘUse moisture- and dust-free air as the supply air. Mixing in of moisture might cause malfunction or heat
generation.
ŘScrew the nut properly without unnatural force, when you plug in tubing connector and motor cord connector.
Avoid cross threading.
ŘConnect only ISO 9168-compliant, Type 2 (Midwest 4 holes), or Type 3 (ISO-compliant standard 4 holes with
light) tubing.
ŘAir requirement: dry, free from contamination and oil. Use a compressor with a dry air system. Install an air filter
if necessary. Blow out the lines before installation.
ŘDo not pull the tubing using more than necessary force.
ŘMake sure to supply coolant air. Otherwise, the motor/handpiece surface might reach a temperature of 51°C or
higher.