32
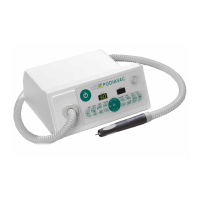
Operation of SMH/HMH Series
4 – 2 – 2 Standard Attachment 300
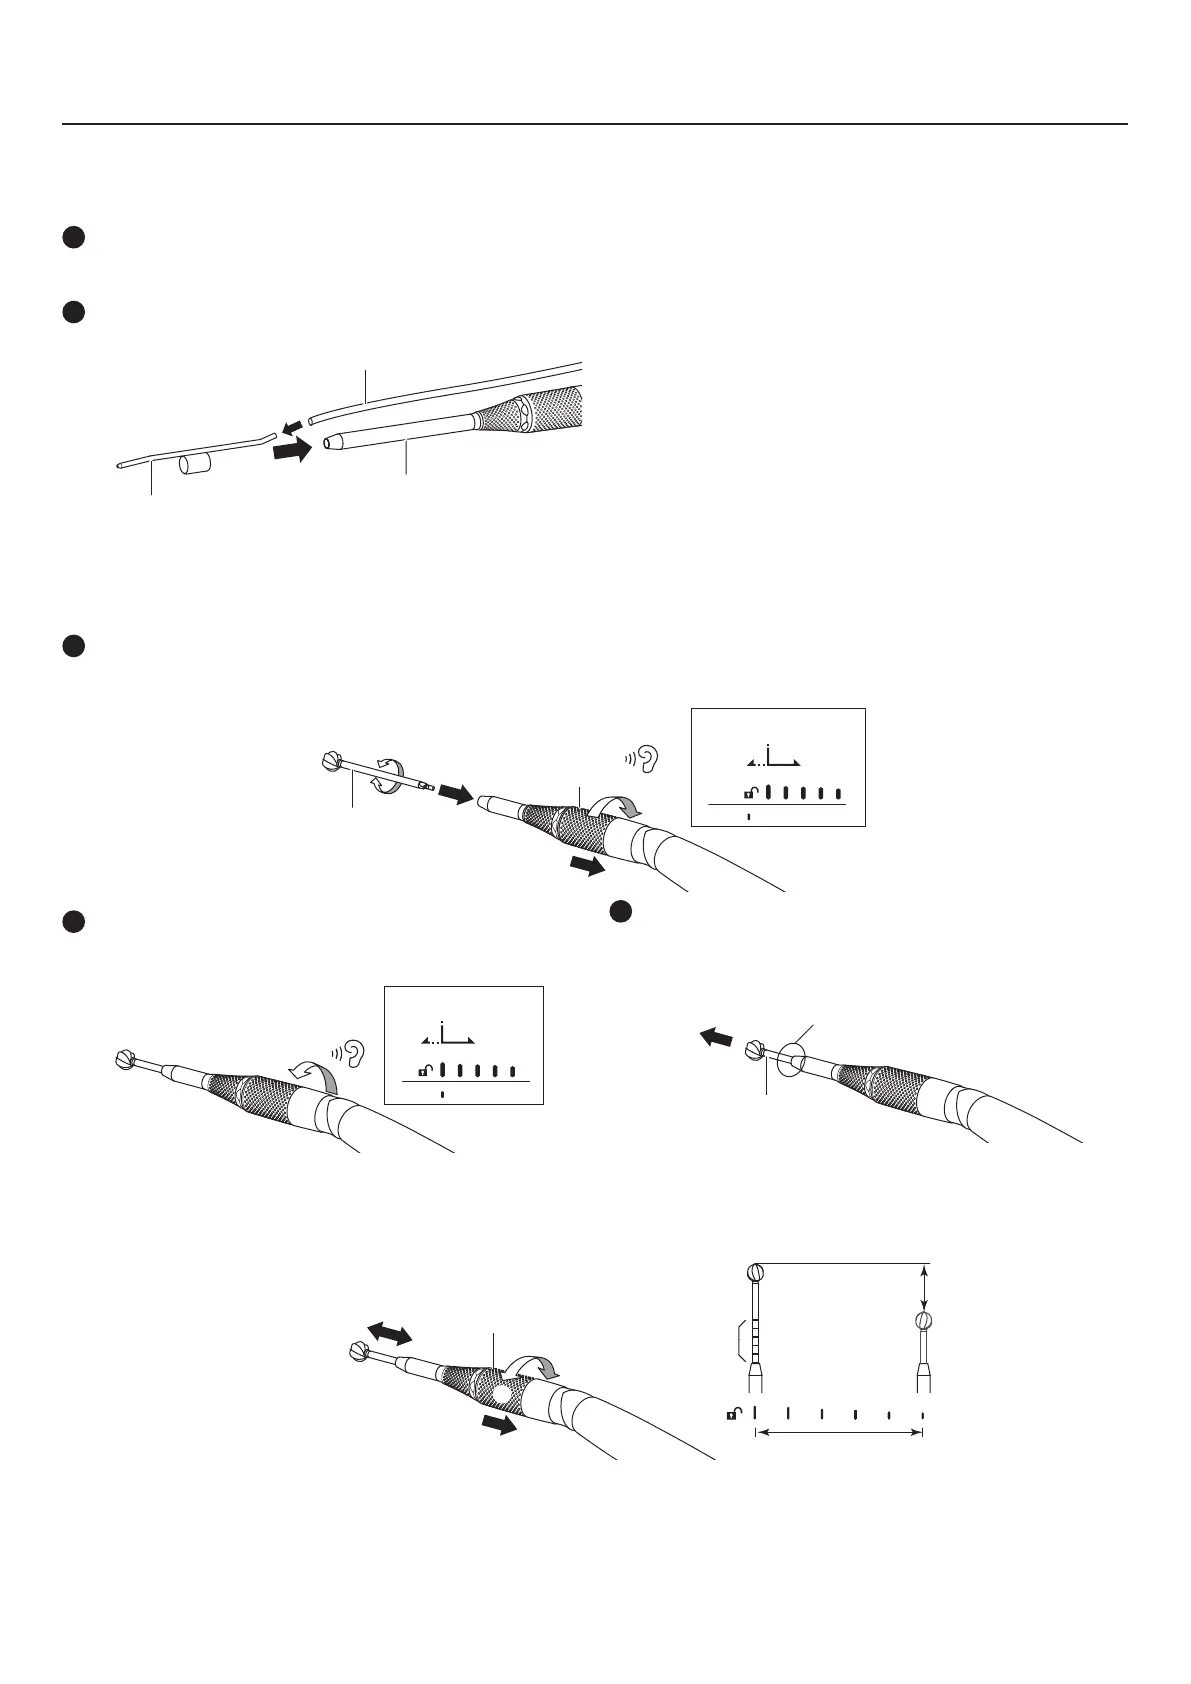
Mounting the Irrigation Nozzle (Optional)
_ Mounting
1
Insert the Irrigation Nozzle Ⓐ onto the Bur Guard Ⓑ of the
Attachment, making sure that the correct end of the Irrigation
Nozzle goes in.
2
Insert the Irrigation Tube Ⓒ into the Irrigation Nozzle Ⓐ.
Ⓐ
Ⓑ
Ⓒ
_ Removing
Perform steps 1 and 2 of the mounting procedure in the reverse
order.
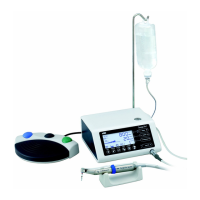
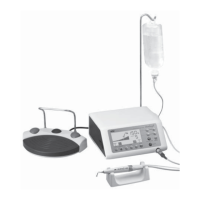
* For the related connection and the setting on the Control Unit, refer to OM-SE0021E Primado2 OPERATION MANUAL Control Unit and Foot
Controls.
Mounting and Removing the Cutting Accessories (Optional)
_ Mounting
1
Pull the Twist Collet Ⓐ in the direction of Ⓑ while rotating it in the direction of Ⓒ until it clicks.
Insert the Cutting Accessory Ⓓ all the way while twisting it slightly.
Ⓓ
Ⓐ
Ⓑ
Ⓒ
Chuck Open
2
Rotate the Twist Collet in the direction of Ⓔ to fix the Cutting
Accessory.
Ⓔ
Chuck Open
3
Pull the Cutting Accessory Ⓓ lightly to confirm that it is
securely connected to the Attachment.
Securely
Ⓓ
_ Adjusting the Exposure Length of the Cutting Accessory (when using Standard Attachment 300)
The exposure length of the Cutting Accessory can be adjusted by rotating the Twist Collet of the Attachment Ⓑ in the direction of Ⓒ or
Ⓔ while pulling it lightly in the direction of Ⓑ. Refer to the figure below.
Ⓑ
Ⓒ
Ⓐ
Ⓔ
Adjustable range
12.5 mm
(2.5mm interval)
Ring Marks
_ Removing
Perform steps 1 and 2 of the mounting procedure in the reverse order.
 Loading...