NTI ENVIROMUX TEMPERATURE/HUMIDITY SENSOR ATTACHMENT
9
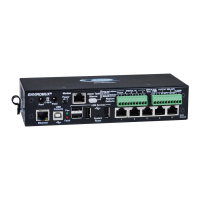
There are three connection ports on the bottom of the E-PLSD. One for power connection, another for CATx cable connection
to the E-xD RJ45 Sensor port (up to 1000 feet long using 24AWG cable), and a third for an additional E-TRHM-E7 Temperature,
Humidity and Dewpoint sensor (optional) that will be recognized by the E-xD as soon as it is connected. Only this kind of
sensor can be connected. The E-TRHM-E7 can be extended from the E-PLSD up to 500 feet using 24AWG cable.
CATx Cable to RJ45
Sensor Port on E-xD
(up to 1000 feet using
24AWG cable)
Connect E-TRHM-E7 (can be
extended up to 500 feet using
24AWG cable) (Optional)
Power Jack
Figure 10- Bottom View of E-PLSD
Note: The LED Display will not turn ON unless 1) the power is connected to it and 2) the CATx cable is connected
between the E-PLSD and the E-xD.
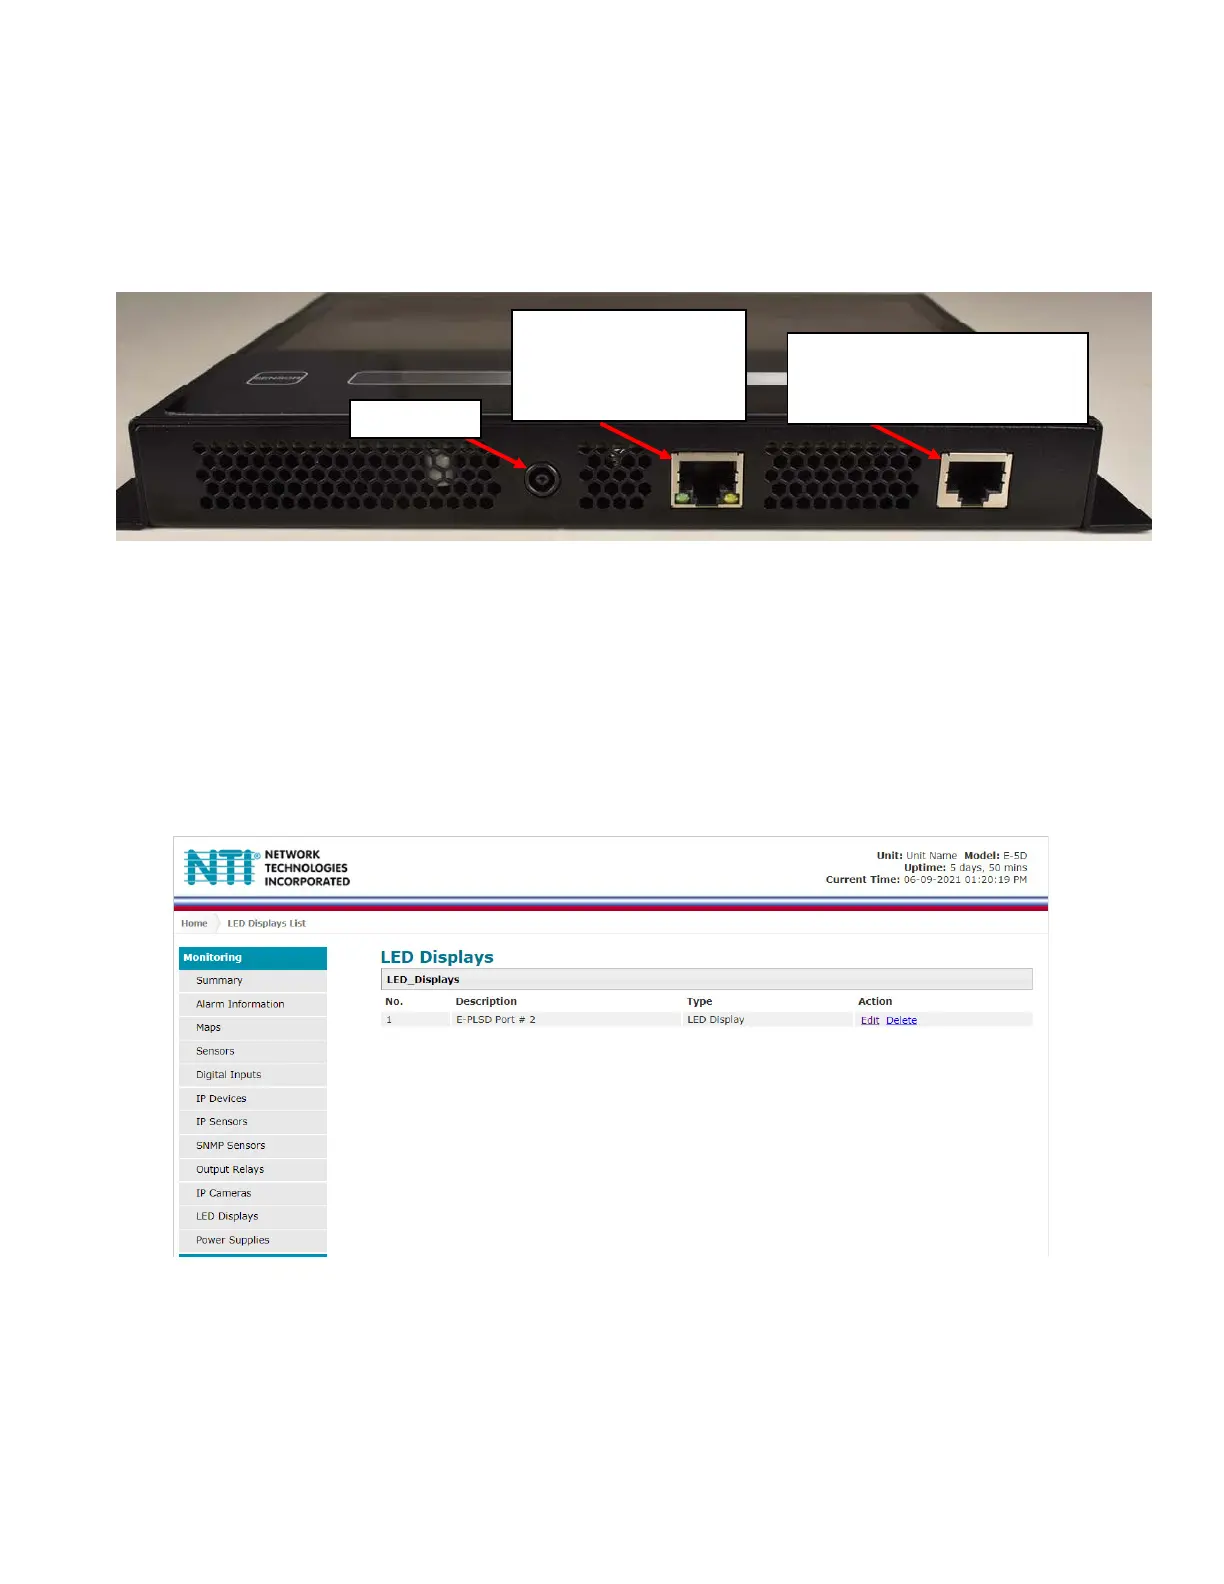
The E-PLSD has settings that can be configured from the E-xD web interface. In the Monitoring list, select LED Displays, and
click Edit (or Delete if you want to remove it from your list). Up to 10 E-PLSD can be connected to the E-16D, E-5D or E-2D.
(E-RJ8-RS485 RJ45 RS485 Sensor Port Hub (sold separately) can be used.)
Figure 11- Select LED display to be configured

 Loading...