-----------
CHAPTER
1
SETTING
UP
c.
Close the paper release lever.
d.
Turn the platen knob away from you to pull the paper
around the platen and behind the column indicator bar.
e.
Move
the column indicator bar back onto the platen
so
that
the rollers
rest
on the paper you just inserted.
-
10. Advance the paper, using the platen knob, until 1 inch
of
paper
appears above the column indicator bar.
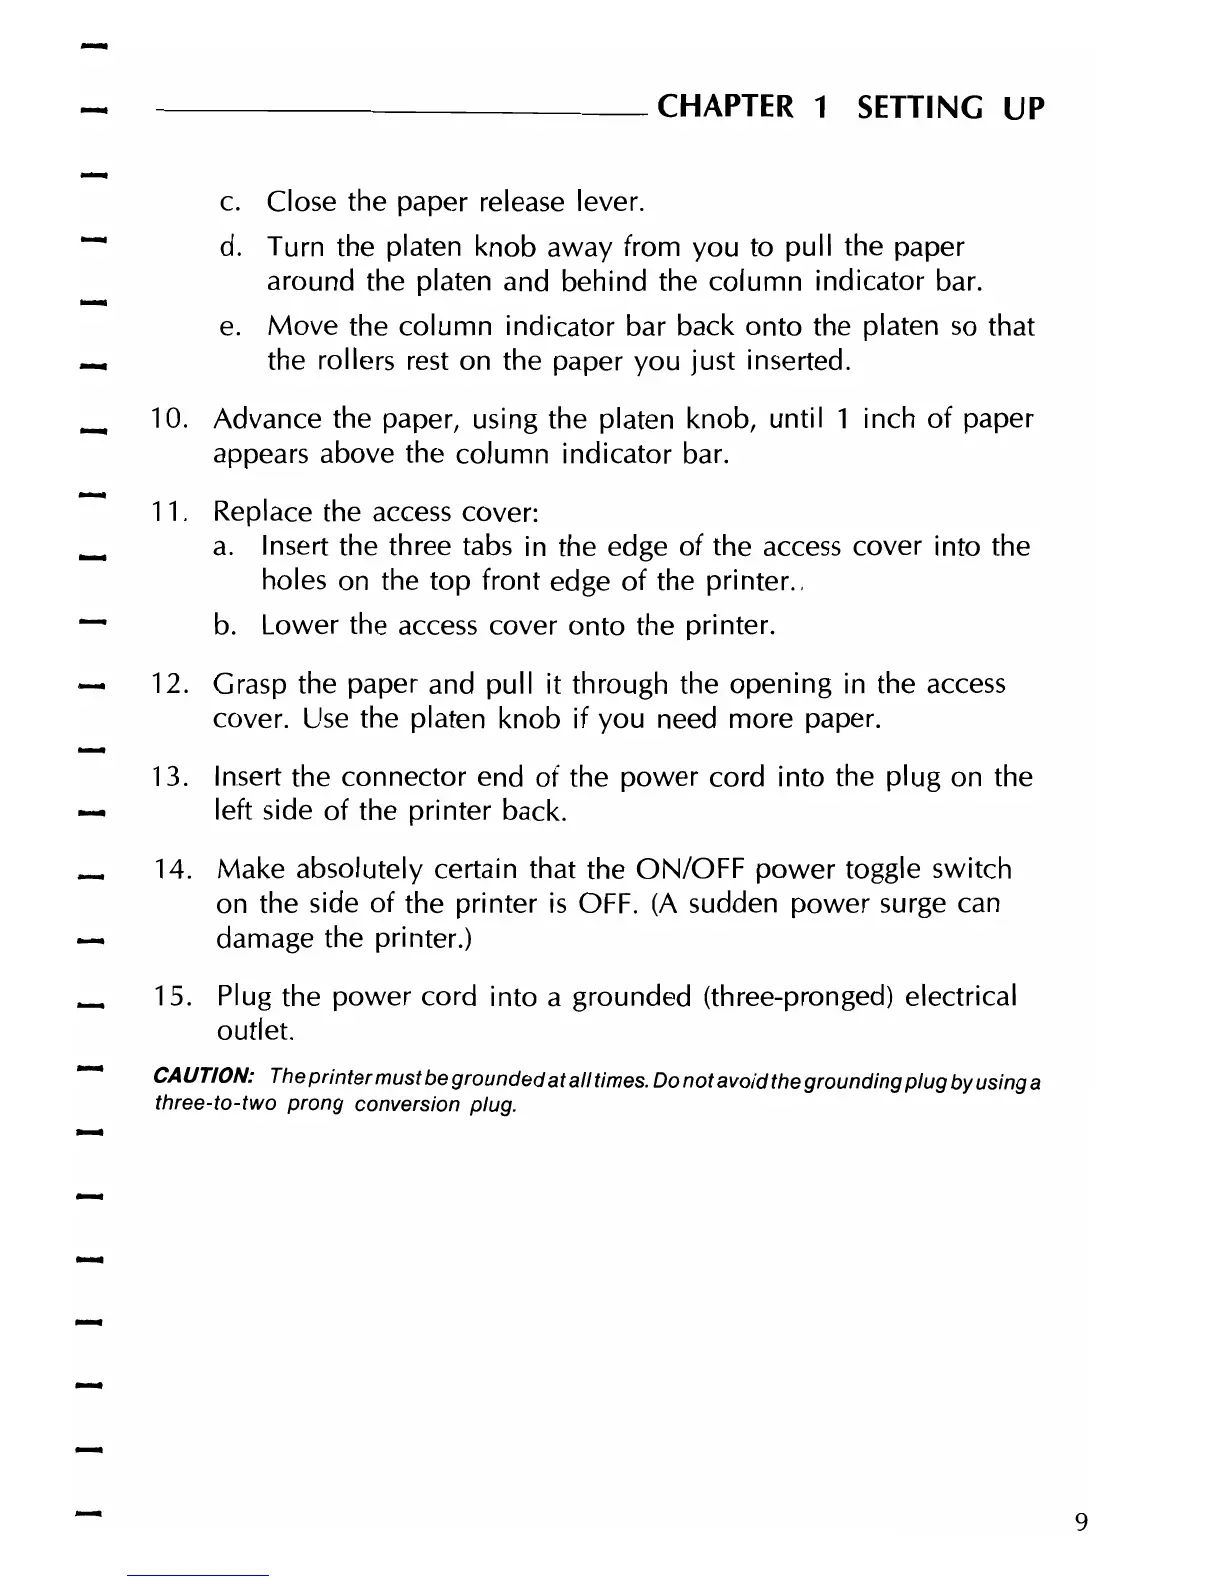
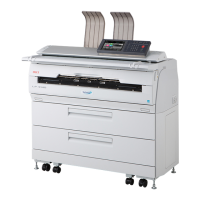
11. Replace the
access
cover:
a.
Insert the three tabs in the edge
of
the
access
cover into the
holes on the top front edge
of
the
printer"
b.
Lower the
access
cover onto the printer.
12. Grasp the paper and pull it through the opening
in
the
access
cover.
Use
the platen knob
if
you need more paper.
13. Insert the connector end
of
the power cord into the plug on the
left side
of
the printer back.
14. Make absolutely certain that the ON/OFF
power
toggle switch
on the side
of
the printer
is
OFF.
(A
sudden power surge
can
damage the printer.)
15. Plug the power cord into a grounded (three-pronged) electrical
outlet.
CAUTION: The
printer
must be
grounded
at
all times. Do
not
avoid
the grounding
plug
by using a
three-to-two
prong
conversion plug.
-
-
9