Maintenance > 59
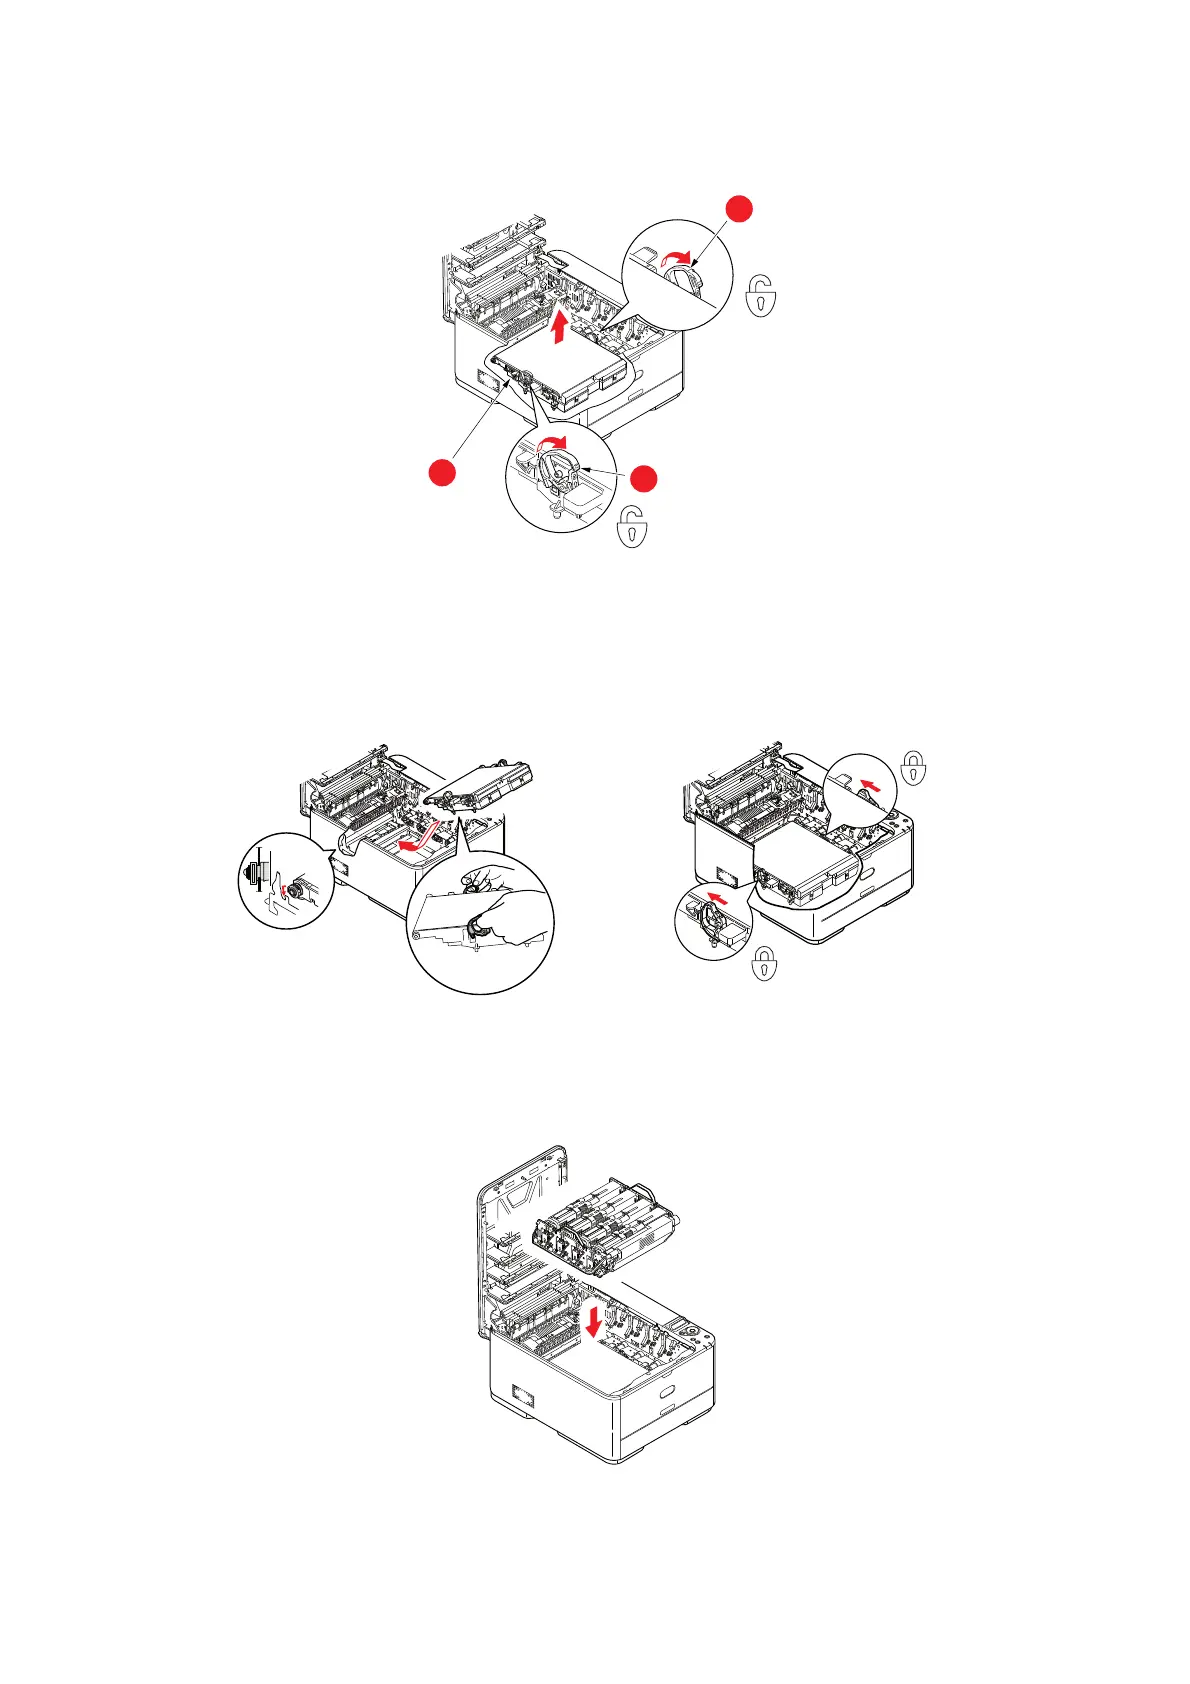
4. Pull the locking levers at each side of the transfer belt up and towards the front of
the machine.
5. Using the locki
ng levers (a), lift the belt (b) upwards and withdraw from the
machine.
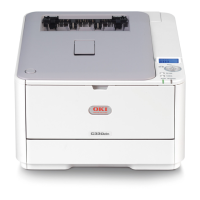
6. Lower the new belt unit
into place, with the drive gear towards the rear of the
printer. Locate the drive gear into the gear inside the printer by the rear right corner
of the unit, and lower the belt unit flat inside the printer.
7. Push the locking levers towards th
e rear of the machine. This will secure the belt
unit in place.
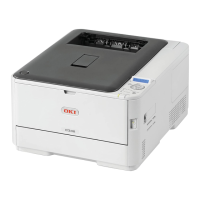
8. Holding the image drum assembly by its handles, lower it i
nto place in the machine,
locating the pegs at the sides into their slots in the sides of the printer cavity.
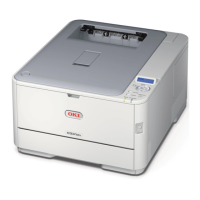
9. Finally, close
output tray and press down firmly at both sides so that the cover
latches closed.
b
a
a