ML620/ML621 User’s Guide 18
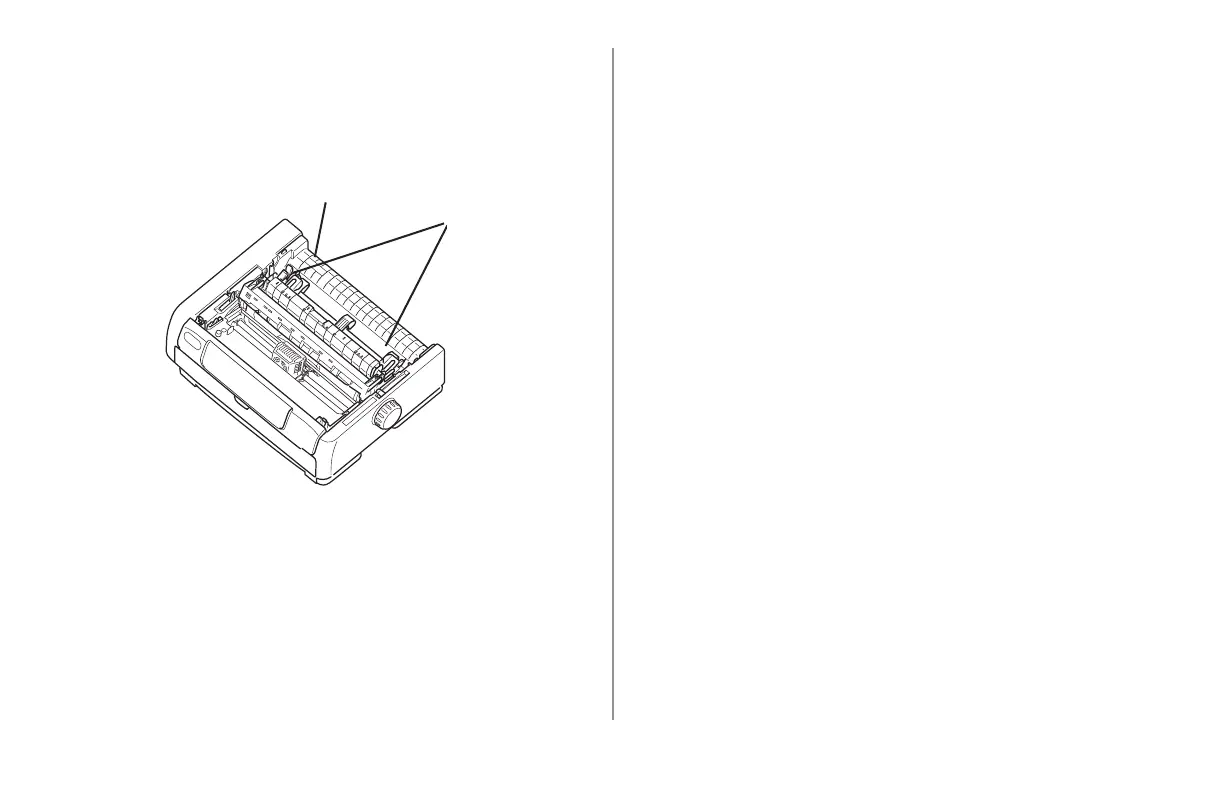
Open the lock levers (1) and move the right
tractor (as viewed from the back of the
printer) to the reference mark (2) matching the
width of the paper you are loading. Then close
the lock lever on the right tractor.
Move the rear paper guide to midway between
the left and right tractor pins.
Open the tractor covers.
Place continuous forms paper on the rst two
pins of either tractor.
6.
7.
8.
9.
Important!
You must keep the number of paper holes engaged on
either pin the same. If you don’t the paper will skew
and jam.
Close the right tractor cover.
Adjust the left tractor until the holes in the paper
are centered on the pins then lock the lever and
close the left tractor cover.
Note: If the paper is too loose or too tight it can cause
jams.
Lower the top paper tray and slide it towards the
front of the printer until the marks align.
Press and hold the LOAD/EJECT key to advance
the paper.
Note: The factory default setting for the Top of Form
(where the printing should begin) is 11/12”
(23.28 mm) down from the top of the page. To
change the setting, see “Top of Form (TOF)”.
10.
11.
12.
13.
2
1