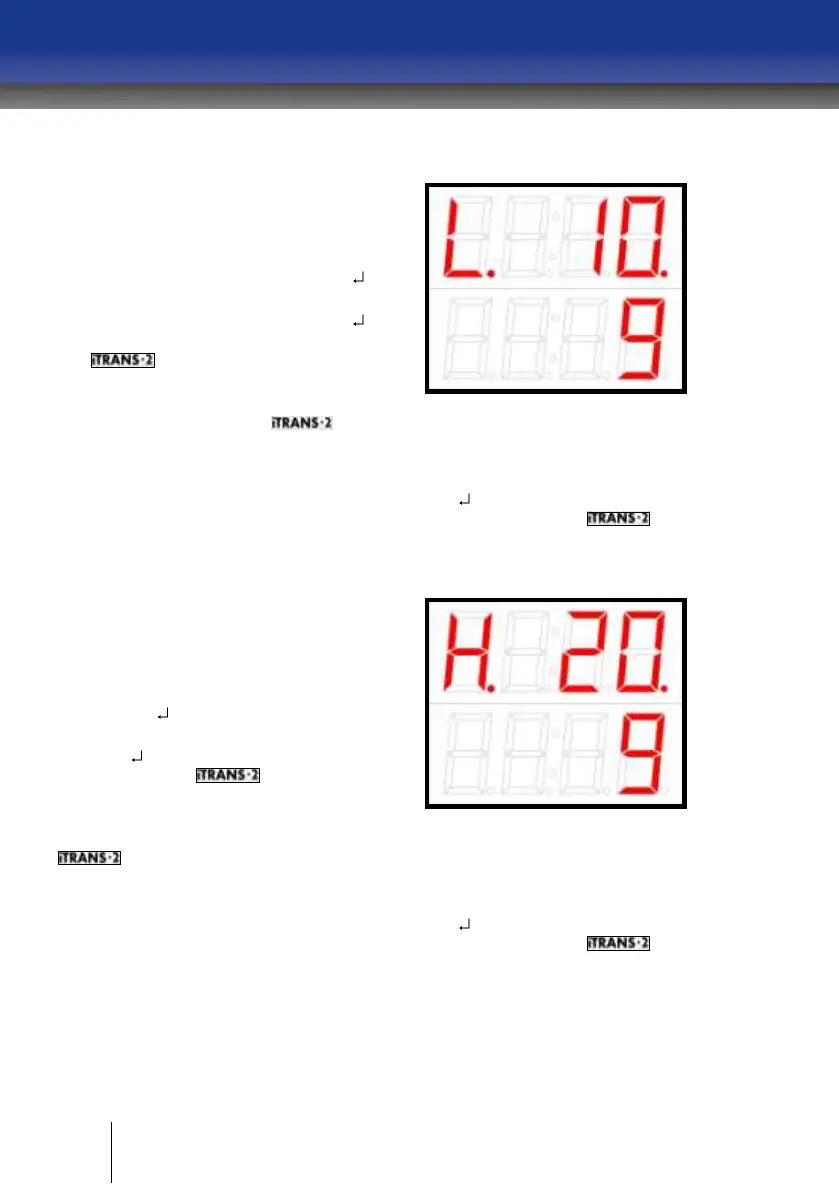
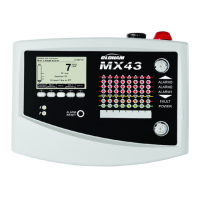
Set Low Alarm
The low alarm setpoint is designated
with an “L” displayed in the status
bit and current low alarm value
displayed next to it. To change the
low alarm setpoint, press the “ ”
button during the 10-second
countdown. If you do not press “ ”
during the 10-second countdown,
the will return to the Normal
Operating Mode. If you initiate the
low alarm option, the status bit will
start to flash and the low
alarm setpoint can be changed by
using the “↑” and “↓” keys.
Figure 5-16 Sample Low Alarm Setpoint
Display
When the desired value is reached, press the “ ” key to accept and save the
new value. If the value is not saved before the time-out, the will go
back to the Programming Mode.
Set High Alarm
The high alarm setpoint is
designated with an “H” displayed in
the status bit and the current high
alarm value displayed next to it. To
change the high alarm setpoint,
press the “ ” button during the 10-
second countdown. If you do not
press “ ” during the 10-second
countdown, the will return to
the Normal Operating Mode. If you
initiate the high alarm option, the
status bit will start to flash and the
high alarm setpoint can be
changed by using the “↑” and “↓”
keys.
Figure 5-17 Sample High Alarm Setpoint
Display
When the desired value is reached, press the “ ” key to accept and save the
new value. If the value is not saved before the time-out, the will go
back to the Programming Mode.