If you initiate the month option, the status
bit will start to flash and the month
value can be changed by using the “↑” and
“↓” keys. When the desired value is
reached, press the “ ” key. If the value is
not saved before the time-out, the
will go back to the Programming
Mode.
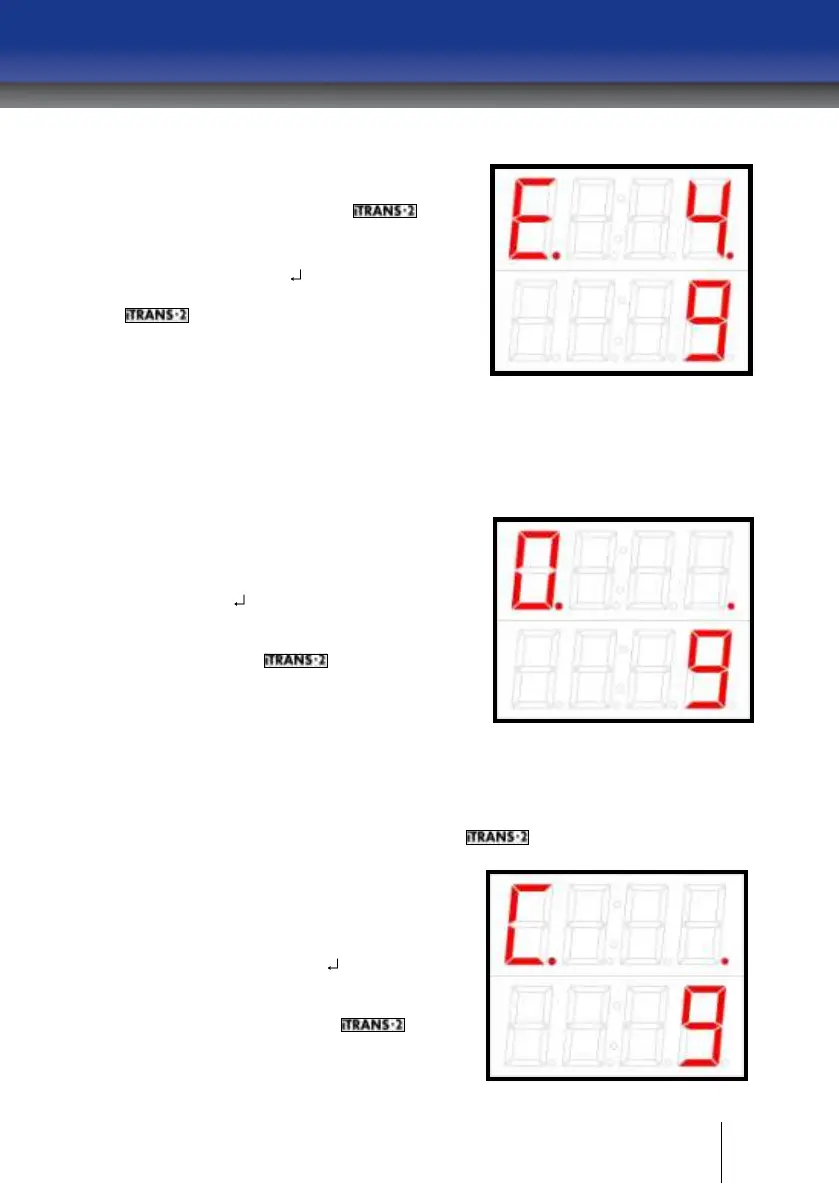
Figure 5-22 Setting System Month
Zeroing
Zeroing is an option available both
through the keypad and non-
intrusively. A “0 ” is displayed in the
status bit of the display to designate
this function. A 10 second timer is
displayed on the bottom line of the
LED display. To initiate zeroing,
press the “ ” key during the 10-
second countdown. If you do not
initiate zeroing during the 10-second
countdown, the will return to
the Normal Operating Mode. If you
initiate zeroing, the status bit will
start to flash. Once zeroing is
complete, the unit will return to the
Normal Operating Mode. To abort
zeroing at any time, press the
“Mode” key.
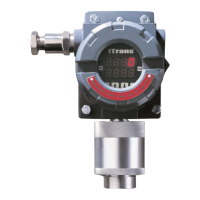
Figure 5-23 Sample Zeroing Display
Calibration
The calibration option is also
available through the keypad.
Calibration is designated with a “C”
in the status bit. A 10 second timer
is displayed on the bottom line of
the LED display. To initiate
calibration, press the “ ”key during
the 10-second countdown. If you do
not initiate calibration during the 10-
second countdown, the will
return to the Normal Operating
Mode. If you initiate calibration, the
status bit will start to flash and the
will enter the zeroing
process.
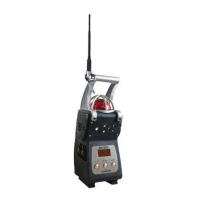
Figure 5-24 Sample Calibration Display