64
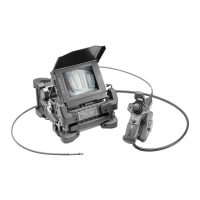
Chapter 4 Basic operations
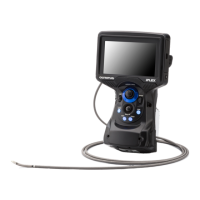
4 To increase the amount of illumination with the light turned ON,
press and hold the [LIGHT] button for at least 2 seconds.
Confirm that the light emitted by the scope is increased and that the Hi-Beam
indicator is on the indicator display.
CAUTION
• The above operation is not possible when the temperature of the distal end of the scope is
too high.
• If the distal end of the scope gets too hot while the light is set to high, the scope automatically
returns the light to normal.
• Immediately after pressing and holding the [LIGHT] button the Hi-Beam indicator may flash,
but this is not a malfunction. The indicator stops flashing after a short time and stays lit.
5 To return the amount of light to normal, press the [LIGHT] button
once while the scope's light is set to HIGH (the Hi-Beam indicator is
ON).
Check that the amount of light has returned to normal, and that the Hi-Beam
indicator on the display has disappeared.
White balance adjustment
Adjust the white balance of the scope as required by following the procedure
described in “Live screen/frozen screen menu display and functions” in “W
BALANCE” (page 96).
Adjust the white balance after replacing the optical adapter.
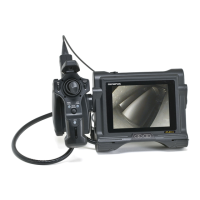
Checking the angulation functions
1 Straighten the scope unit’s insertion tube.
2 Manipulate the [ANGLE] joystick slowly and ensure that the
angulation section moves smoothly.
CAUTION
• Repair is required if the joystick shaft is bent or if the knob comes off. Contact Olympus.
NOTE
• The angulation movement is interlocked with the angle and direction of the [ANGLE] joystick
movements.
 Loading...