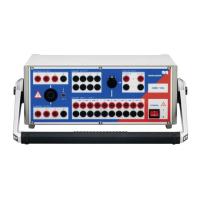
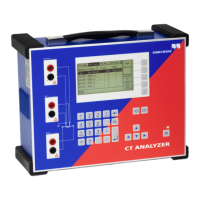
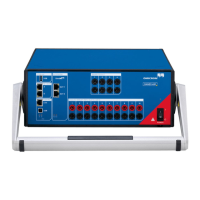
Test Set CMC 156
10
Generally: Make sure that the ventilation slots at the rear panel of the
CMC 156 are free and clear!
1. Connect the CMC 156 test set to the computer:
• If the computer is equipped with a parallel printer port, use the 25-pole
cable (VEHK0002)
1
that was supplied with the test set to connect the
CMC 156 to the computer.
• If the computer is equipped with a USB port, use an OMICRON
CMUSB-P converter (ordering number VEHZ2007) instead of the
VEHK0002 to connect the CMC 156 to the computer.
2. Connect the CMC 156 and the computer to the power supply. (Power
supply cable is supplied.)
3. Power both units up. CMC 156: ON/OFF switch on the front panel.
4. For further actions, see the Installation in the appropiate software manual.
5. Start the software.
An extensive hardware test is carried out when the software is starting up. If
there is a hardware fault, the software will put out an appropriate message
after starting).
1
Only original centronics cable may be used due to the electromagnetic compatibility (EMC)
requirement for the connecting cable.