81
A-1-4 NQ to CelciuX° (EJ1N) Temperature Controller (ModBus
RTU)
To perform a successful communication proceed as follows. The example shown is applicable for EJ1.
1 Create a new project in NQ-Designer.
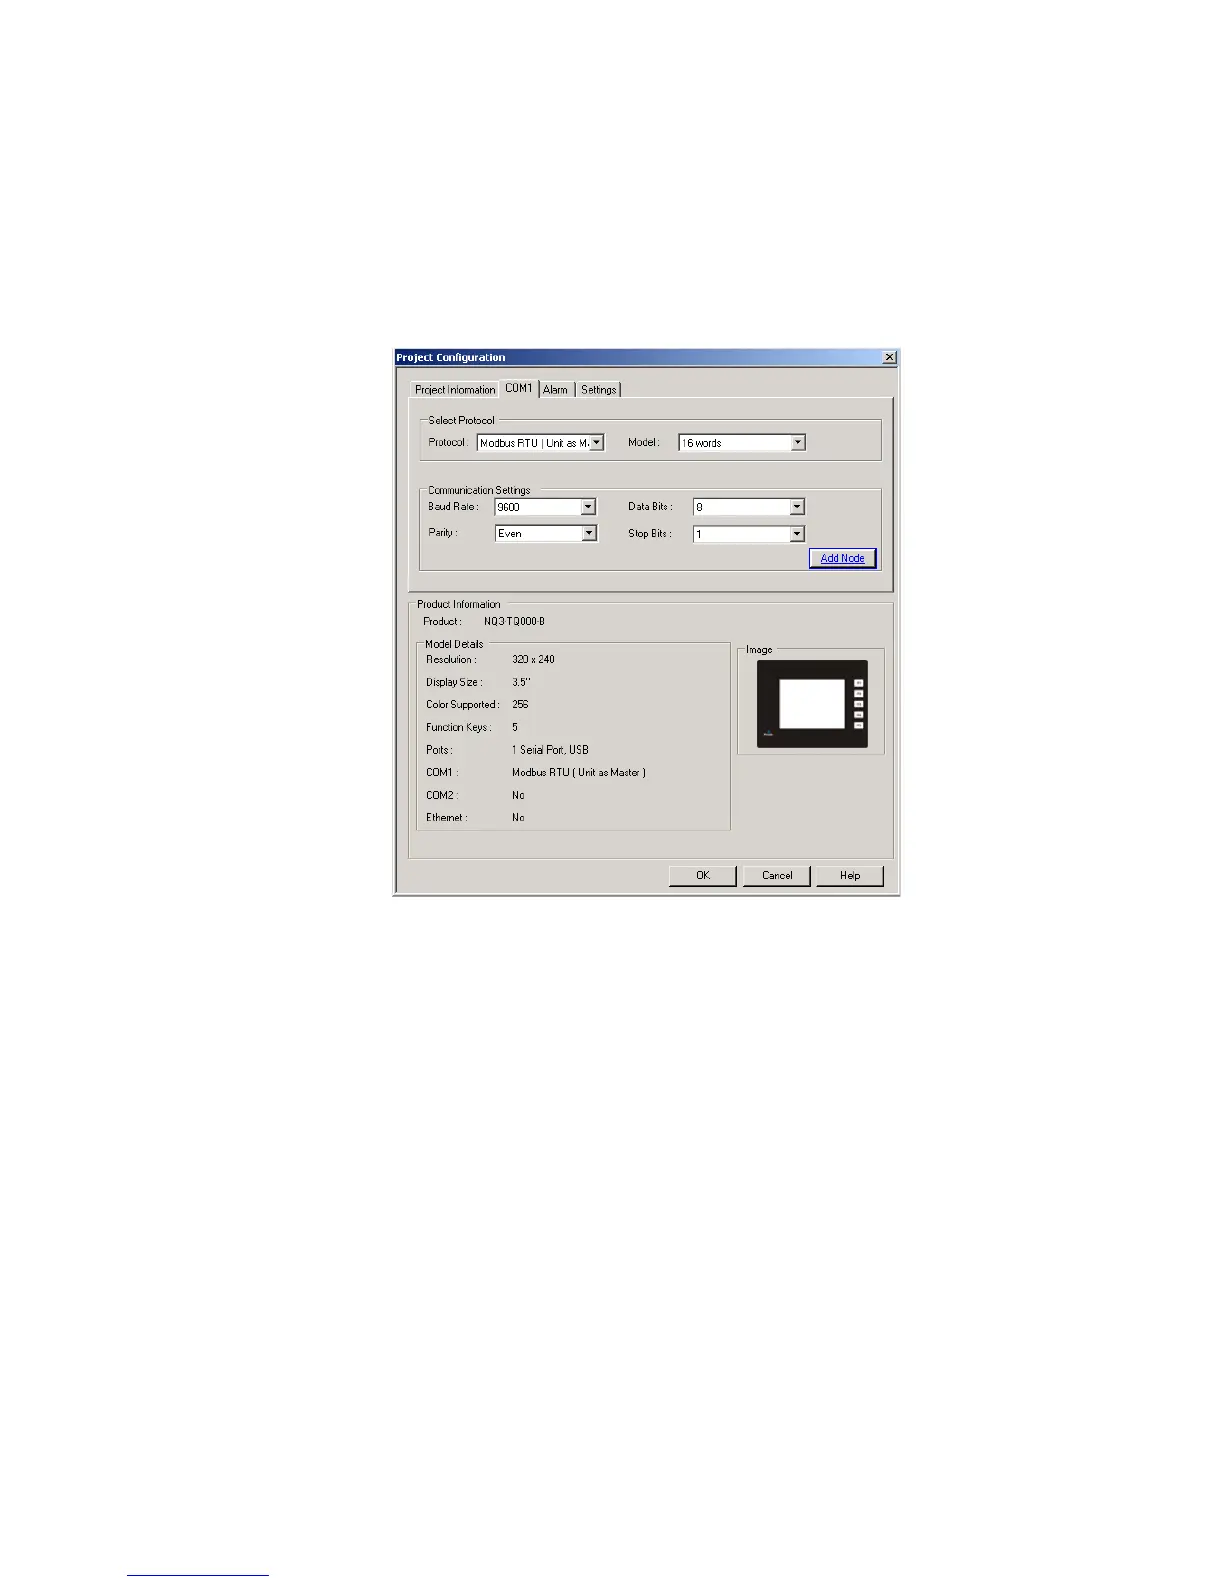
2 Right-click the Nodes folder and click Add...
3 Set all data as shown in the screenshot.
4 Create a tag with address Holding register 513. (400513).
5Add a Numerical Data Entry object with tag address 400513 on screen1
6 Download the application and firmware to the NQ-Series.
7 Set Unit number to 1 on EJ1( rotary switch).
8 Set the following dipswitches on TC module:
• SW2 dipswitch 3 to ON
• SW2 dipswitch 4 to OFF
• SW2 dipswitch 5 to OFF
9 Switch on the EJ1 temperature controller.
10 Create a cable. Refer to A-2-6 NQ to CelciuX° (EJ1N) temperature controllers (RS-485 connection).
11 Connect the cable to the NQ-Series and EJ1C-EDUA-NFLK
12 Displayed on your screen will be now the “ Channel 1 Process Value)
13 Correct data can be monitored by connecting CX-Thermo to your EJ1.
Note
The following messages are displayed on the NQ-Series’ screen if problems occur:
• !!! no connection
• ??? connection established, address unknown
 Loading...

