4-2 1:N Host Connection
4-22
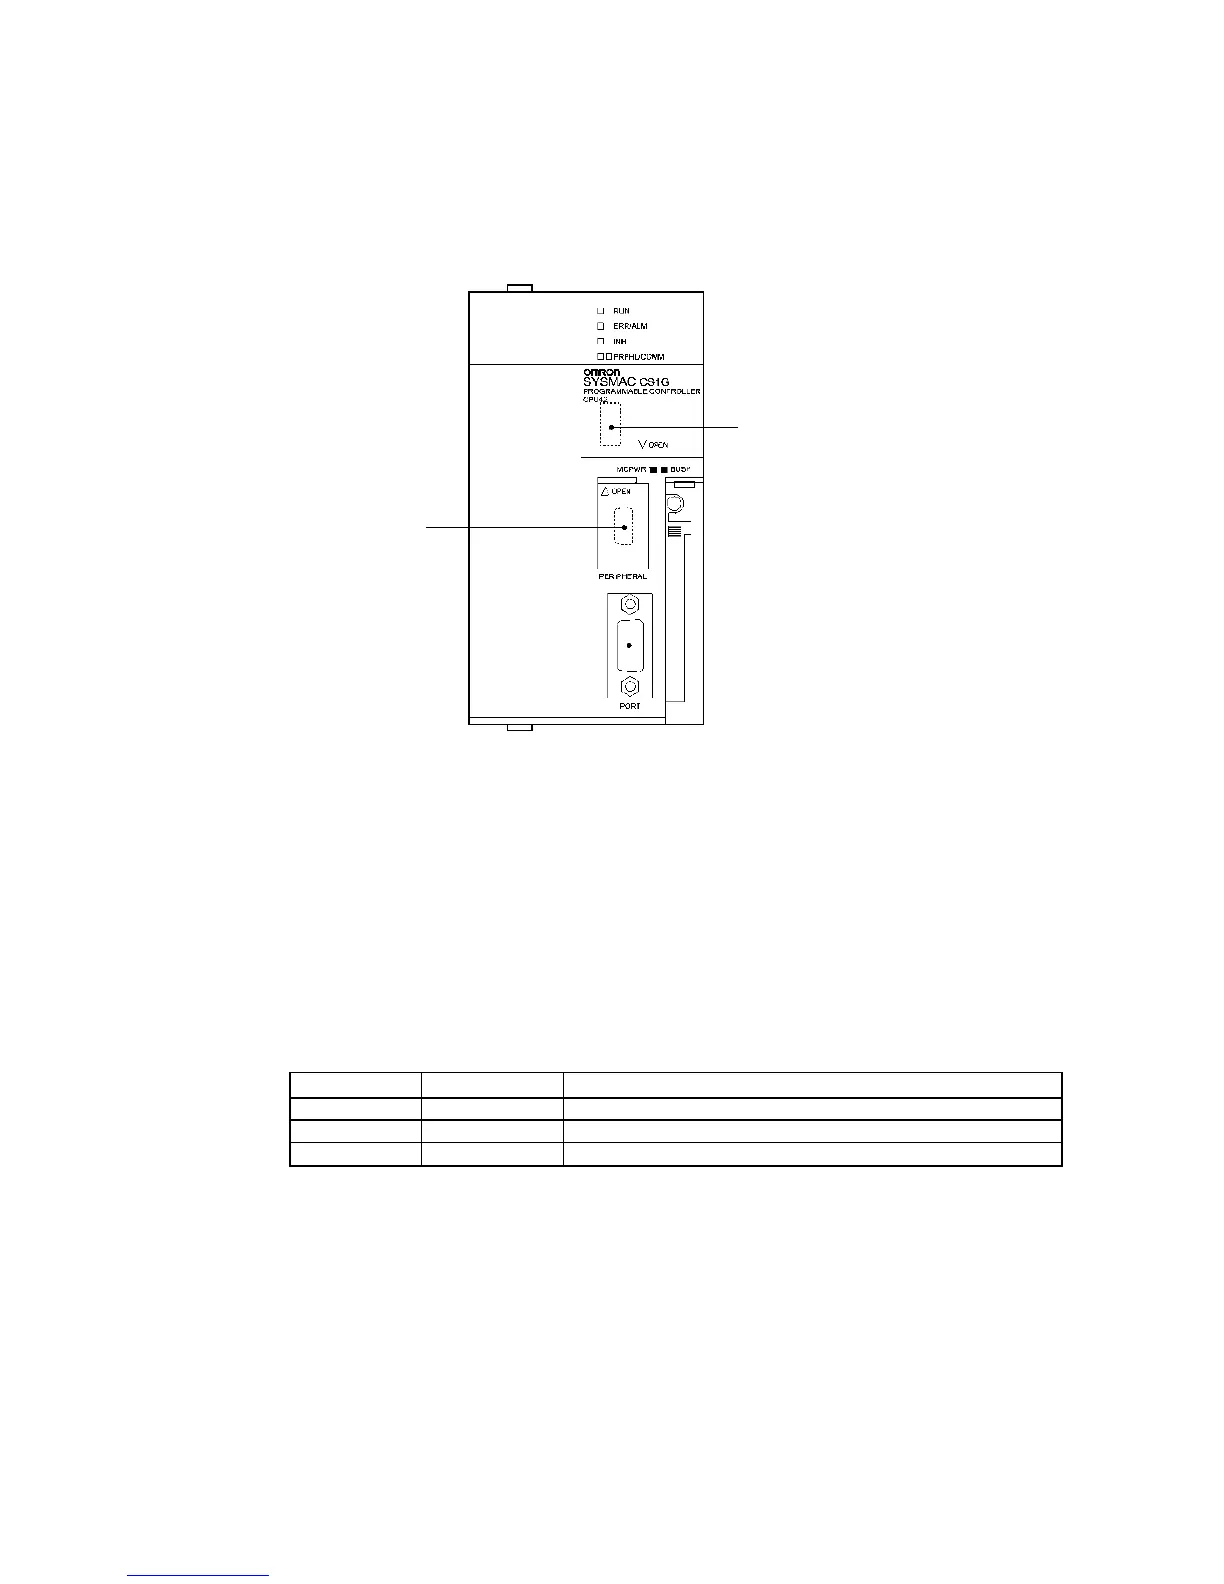
Setting the Front Panel Switches
Using RS-232C
Set DIP switch pin 4 or 5 of the CPU Unit according to the port to which the PT is connected,
as follows:
Connecting to CJ-series CPU Units
CJ-series CPU Units:
CJ1G-CPU@@
PLC Setup Area
• Using RS-232C
When connecting the PT to a CJ-series CPU Unit, set the communications conditions in the
PLC Setup according to the communications port used, as follows:
Using the CJ1G Built-in RS-232C Port
Address Write value Settings
160 8200 1:N NT Link Mode
161 000A Baud rate (high-speed)
166
000@@:Largest unit number (1 to 7) of connected PTs. (See note.)
Note: When connecting a single Unit in a 1:N connection, set the value of @ to 1 or higher.
Peripheral port
Mainly connected to a
Programming Device.
(Can be connected to
an RS-232C device.)
RS-232C port
Mainly connected to
an RS-232C device.
(Can be connected to
a computer running
the CX-Programmer.)
DIP switch (inside battery compart-
ment)
Turn ON pin 4 when connecting the
PT to the peripheral port (to use
the communications settings in
the PLC Setup).
Turn OFF pin 5 when connecting the
PT to the RS-232C port (to use
the communications settings in
the PLC Setup).

 Loading...


