30
4.4.15 Setting the Machine’s IP Address
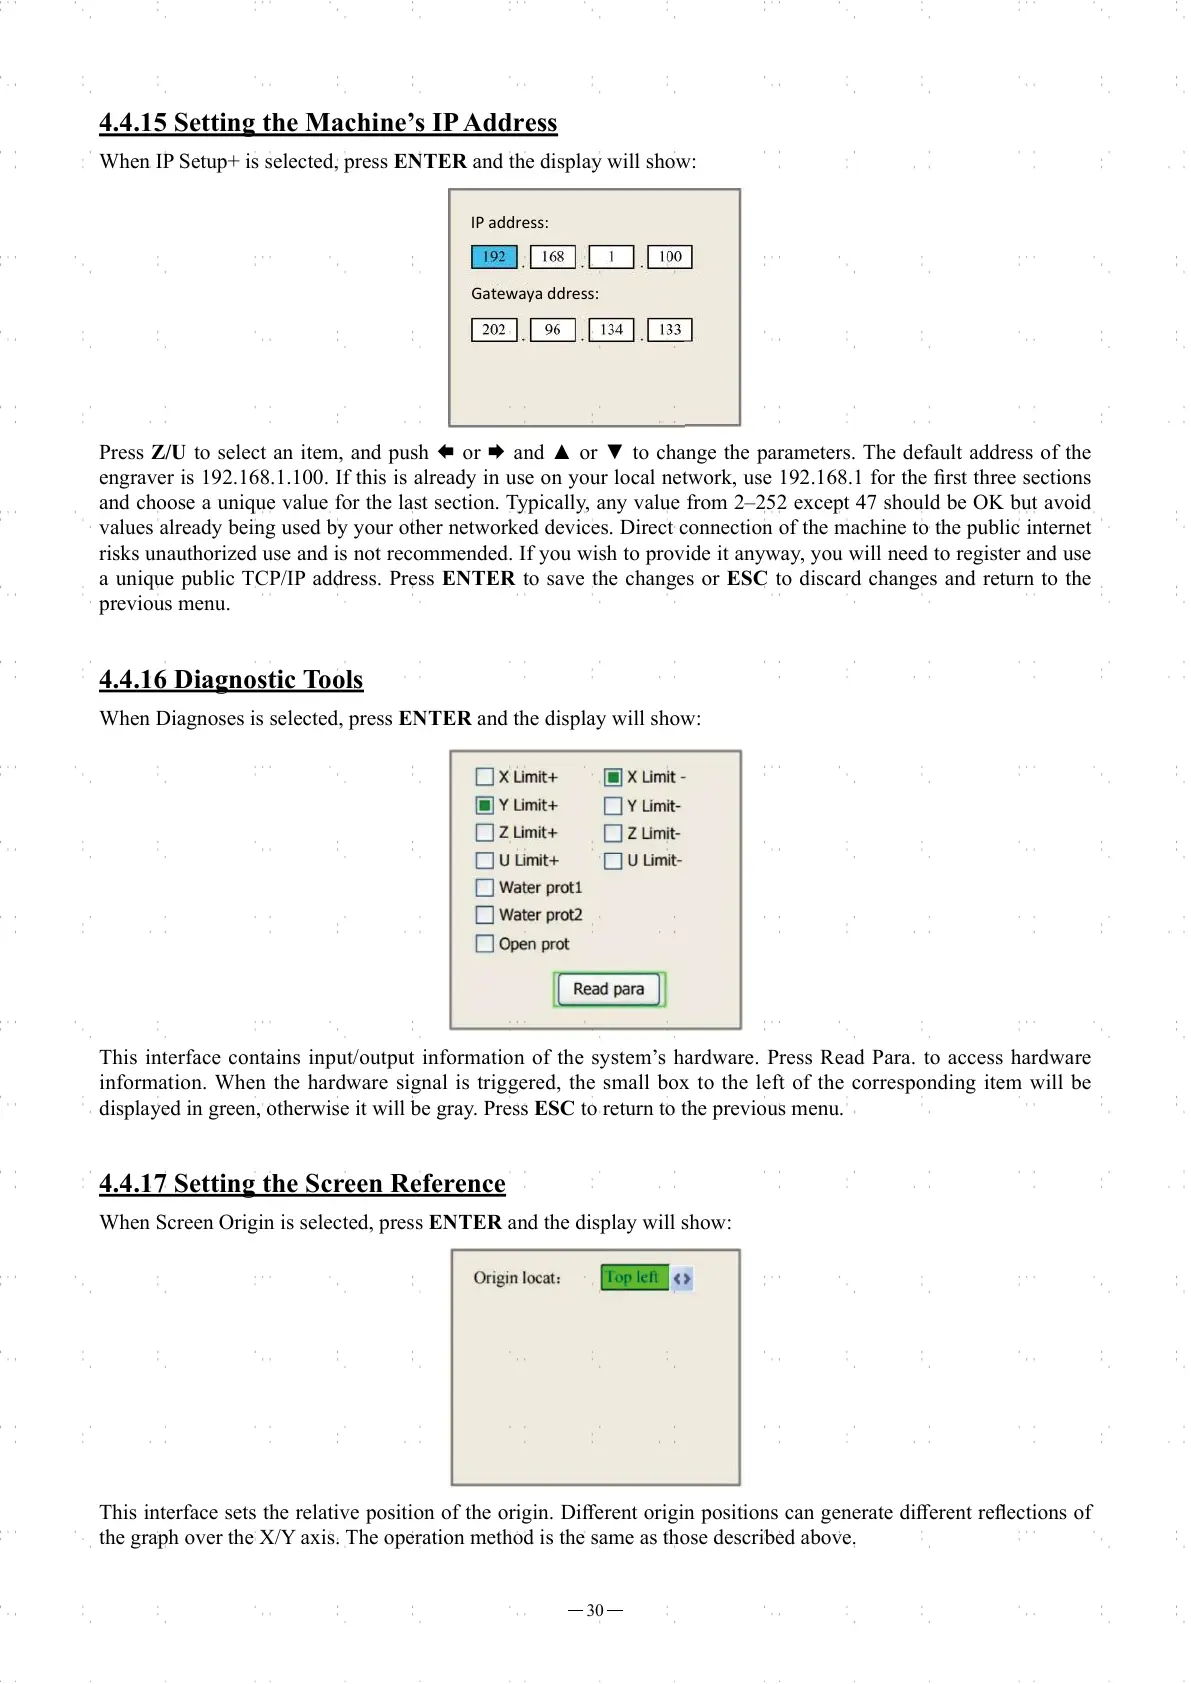
When IP Setup+ is selected, press ENTER and the display will show:
Press Z/U to select an item, and push
🡄
or
🡆
and ▲ or ▼ to change the parameters. The default address of the
engraver is 192.168.1.100. If this is already in use on your local network, use 192.168.1 for the fi rst three sections
and choose a unique value for the last section. Typically, any value from 2–252 except 47 should be OK but avoid
values already being used by your other networked devices. Direct connection of the machine to the public internet
risks unauthorized use and is not recommended. If you wish to provide it anyway, you will need to register and use
a unique public TCP/IP address. Press ENTER to save the changes or ESC to discard changes and return to the
previous menu.
4.4.16 Diagnostic Tools
When Diagnoses is selected, press ENTER and the display will show:
This interface contains input/output information of the system’s hardware. Press Read Para. to access hardware
information. When the hardware signal is triggered, the small box to the left of the corresponding item will be
displayed in green, otherwise it will be gray. Press ESC to return to the previous menu.
4.4.17 Setting the Screen Reference
When Screen Origin is selected, press ENTER and the display will show:
This interface sets the relative position of the origin. Diff erent origin positions can generate diff erent refl ections of
the graph over the X/Y axis. The operation method is the same as those described above.
IP address:
Gatewaya ddress: