36
5.3.4 Cleaning the Mirrors
The mirrors should be similarly cleaned if there is any debris or haze on their surface to improve performance and
avoid permanent damage. The 1st mirror is located in the back left of the machine beyond the far end of the Y axis.
The end of the laser tube closest to this mirror is itself a semitransparent mirror that should be checked at the same
time. The 2nd mirror is located on the Y axis at the left end of the X axis. The 3rd mirror is located on top of the
laser head on the X axis. The most detritus accumulates on the 3rd mirror and it should be checked daily along with
the focus lens. The laser tube and the 1st and 2nd mirrors can be checked daily if desired but are usually fi ne if they
are only checked once a week.
The semitransparent mirror at the end of the laser tube should only be cleaned when the engraver is fully
disconnected from power and the tube is fully cooled. Clean all four mirrors with lens-cleaning tissue or with cotton
wetted with lens-cleaning liquid or isopropyl alcohol. The 3 positioning mirrors can be cleaned in place or removed
for cleaning by turning them counterclockwise. Take care not to touch the surface of any mirror directly. Clean with
gentle circular motions and avoid pressing hard enough to grind any debris or cause scratching. If any mirrors are
removed for cleaning, reinstall them by turning them into place clockwise while again being careful to avoid any
scratching.
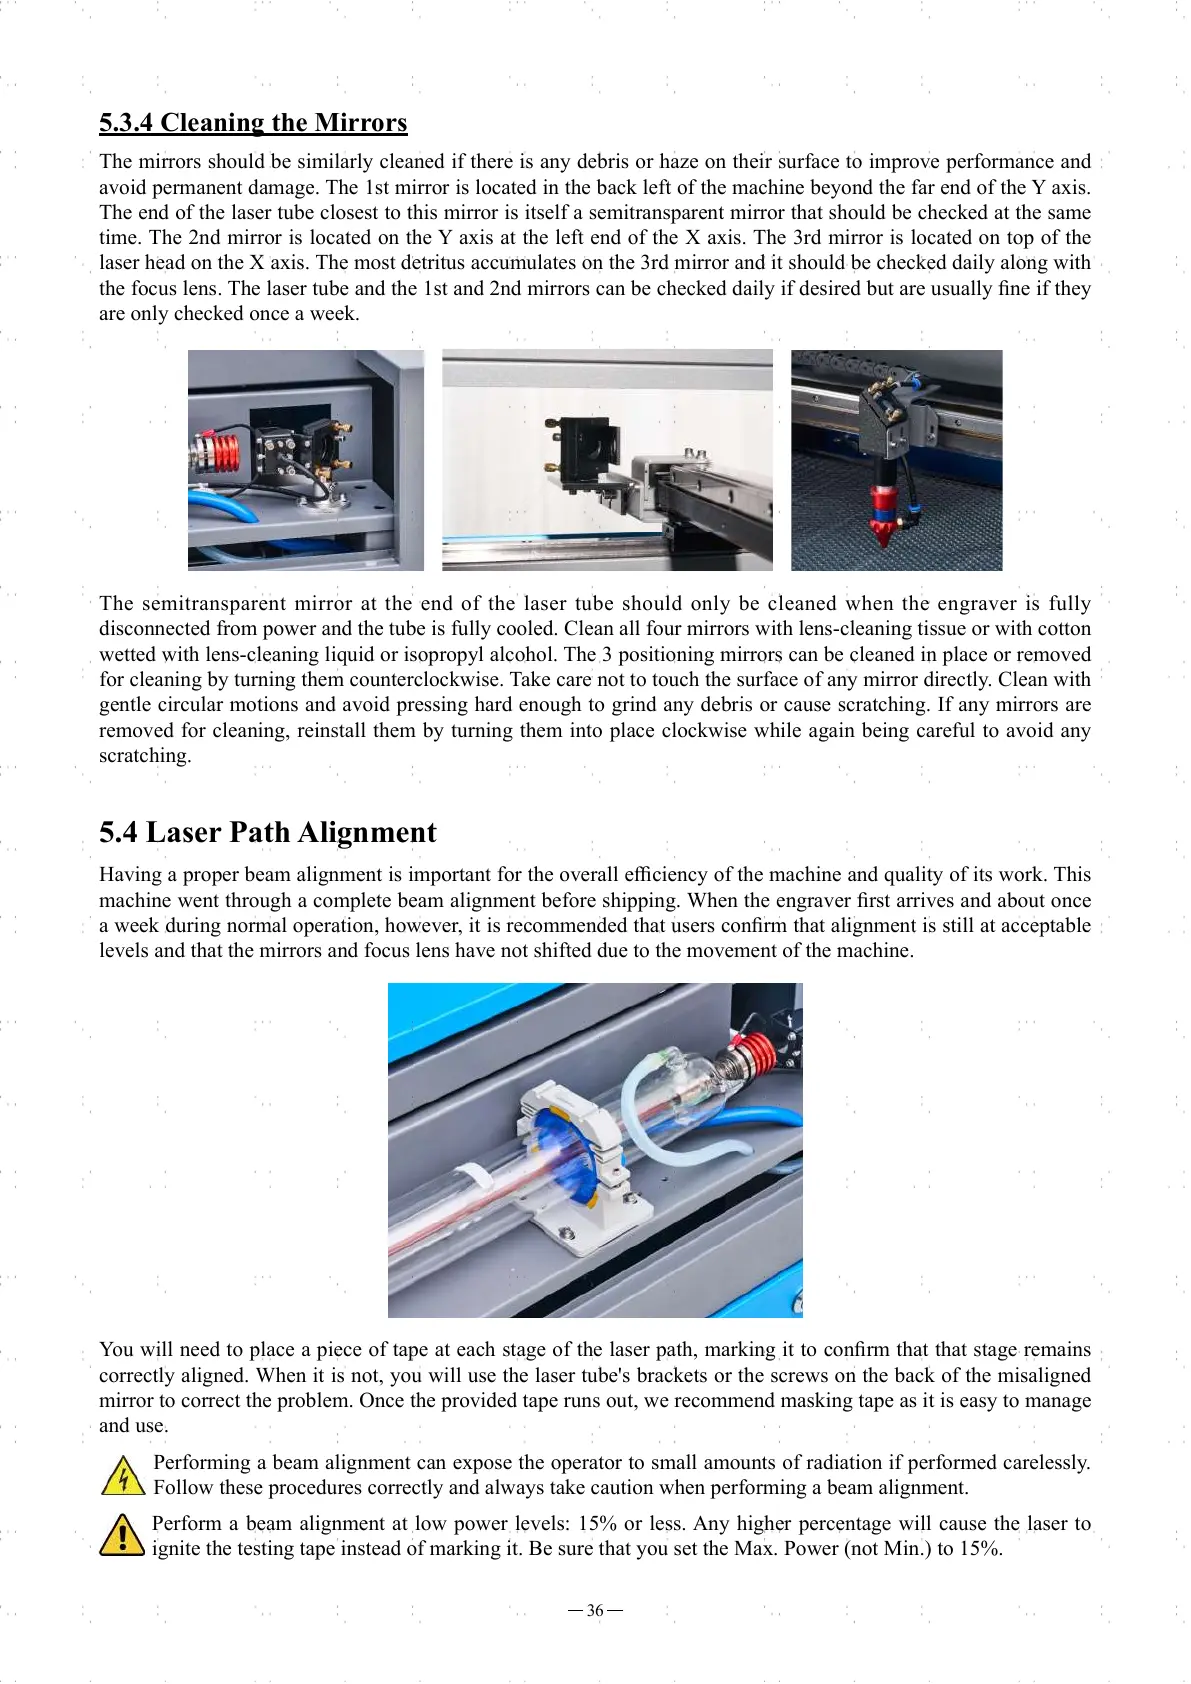
5.4 Laser Path Alignment
Having a proper beam alignment is important for the overall effi ciency of the machine and quality of its work. This
machine went through a complete beam alignment before shipping. When the engraver fi rst arrives and about once
a week during normal operation, however, it is recommended that users confi rm that alignment is still at acceptable
levels and that the mirrors and focus lens have not shifted due to the movement of the machine.
You will need to place a piece of tape at each stage of the laser path, marking it to confi rm that that stage remains
correctly aligned. When it is not, you will use the laser tube's brackets or the screws on the back of the misaligned
mirror to correct the problem. Once the provided tape runs out, we recommend masking tape as it is easy to manage
and use.
Performing a beam alignment can expose the operator to small amounts of radiation if performed carelessly.
Follow these procedures correctly and always take caution when performing a beam alignment.
Perform a beam alignment at low power levels: 15% or less. Any higher percentage will cause the laser to
ignite the testing tape instead of marking it. Be sure that you set the Max. Power (not Min.) to 15%.