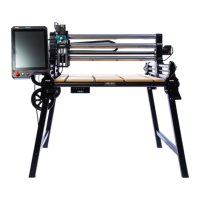
Step 18: After you have powered up your Elite
Onenity you’ll need to release the Controlled
Stop Button. Start by simultaneously twisting
and pulling out on the Controlled Stop Button
clockwise to release it to the “ON” position
(Green Arrow).
Assembly Instructions
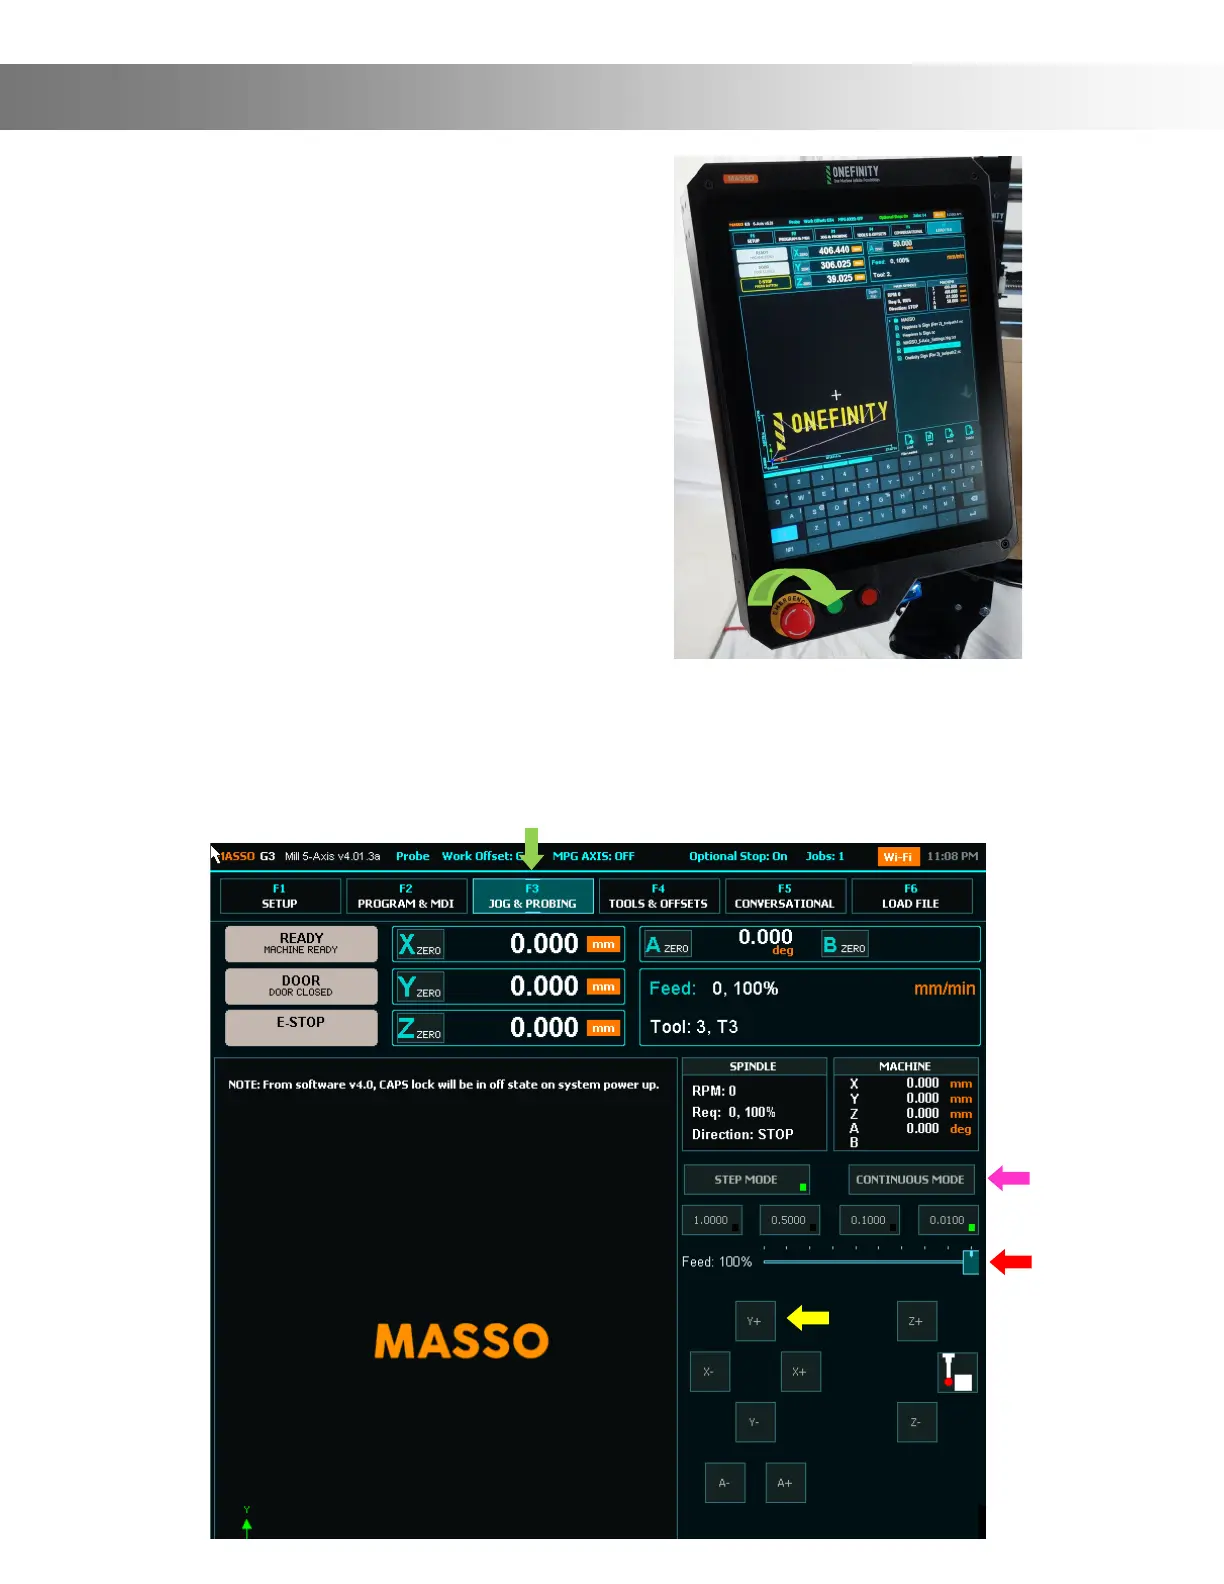
Step 19: We will now jog the Y-Axis so we can nish fastening the Y-Rails to the table. First
ensure you are on the F3 page (Green Arrow). Next, press the Continuous Mode button (Pink
Arrow). Now, press and hold the Y+ button (Yellow Arrow) until the X-Rail is almost all the way
to the back of the machine. Note: If you nd that it’s jogging to slow you can increase the Feed
by sliding the Feed bar up (Red Arrow)