Version 1.0 dated 2019-01-08 Page 47Translation of the original instructions
B13 basic | B14 basic | B16 basic GB
B13-B14-B16_basic_GB.fm
OPTIMUM
MASCHINEN - GERMANY
®
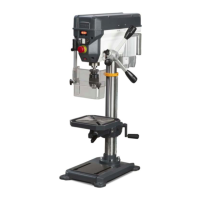
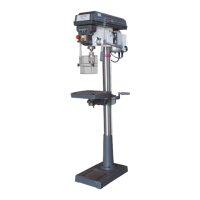
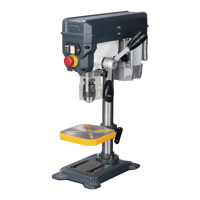
Place the drilling table at the drilling table support. Mount the clamping lever.
Img.3-5: Assembly clamping lever
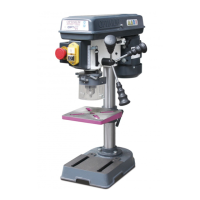
Assemble of the drilling table on B13 and B14
Push the table support with mounted drilling table on the drilling column.
Img.3-6: Assembly drilling table
3.5 Drill chuck guard
WARNING!
These drills must not be operated without the mounted fold-away drill chuck guard.
3.6 Installation
CAUTION!
The condition of the foundation and the fixing type of the machine foot to the foundation
must be in a way that it can bear the loads of the bench drill. The foundation must be
level. Check that the bench drill foundation is horizontal by using a spirit level.