Replacing a ZS3-4 DIMM
6.
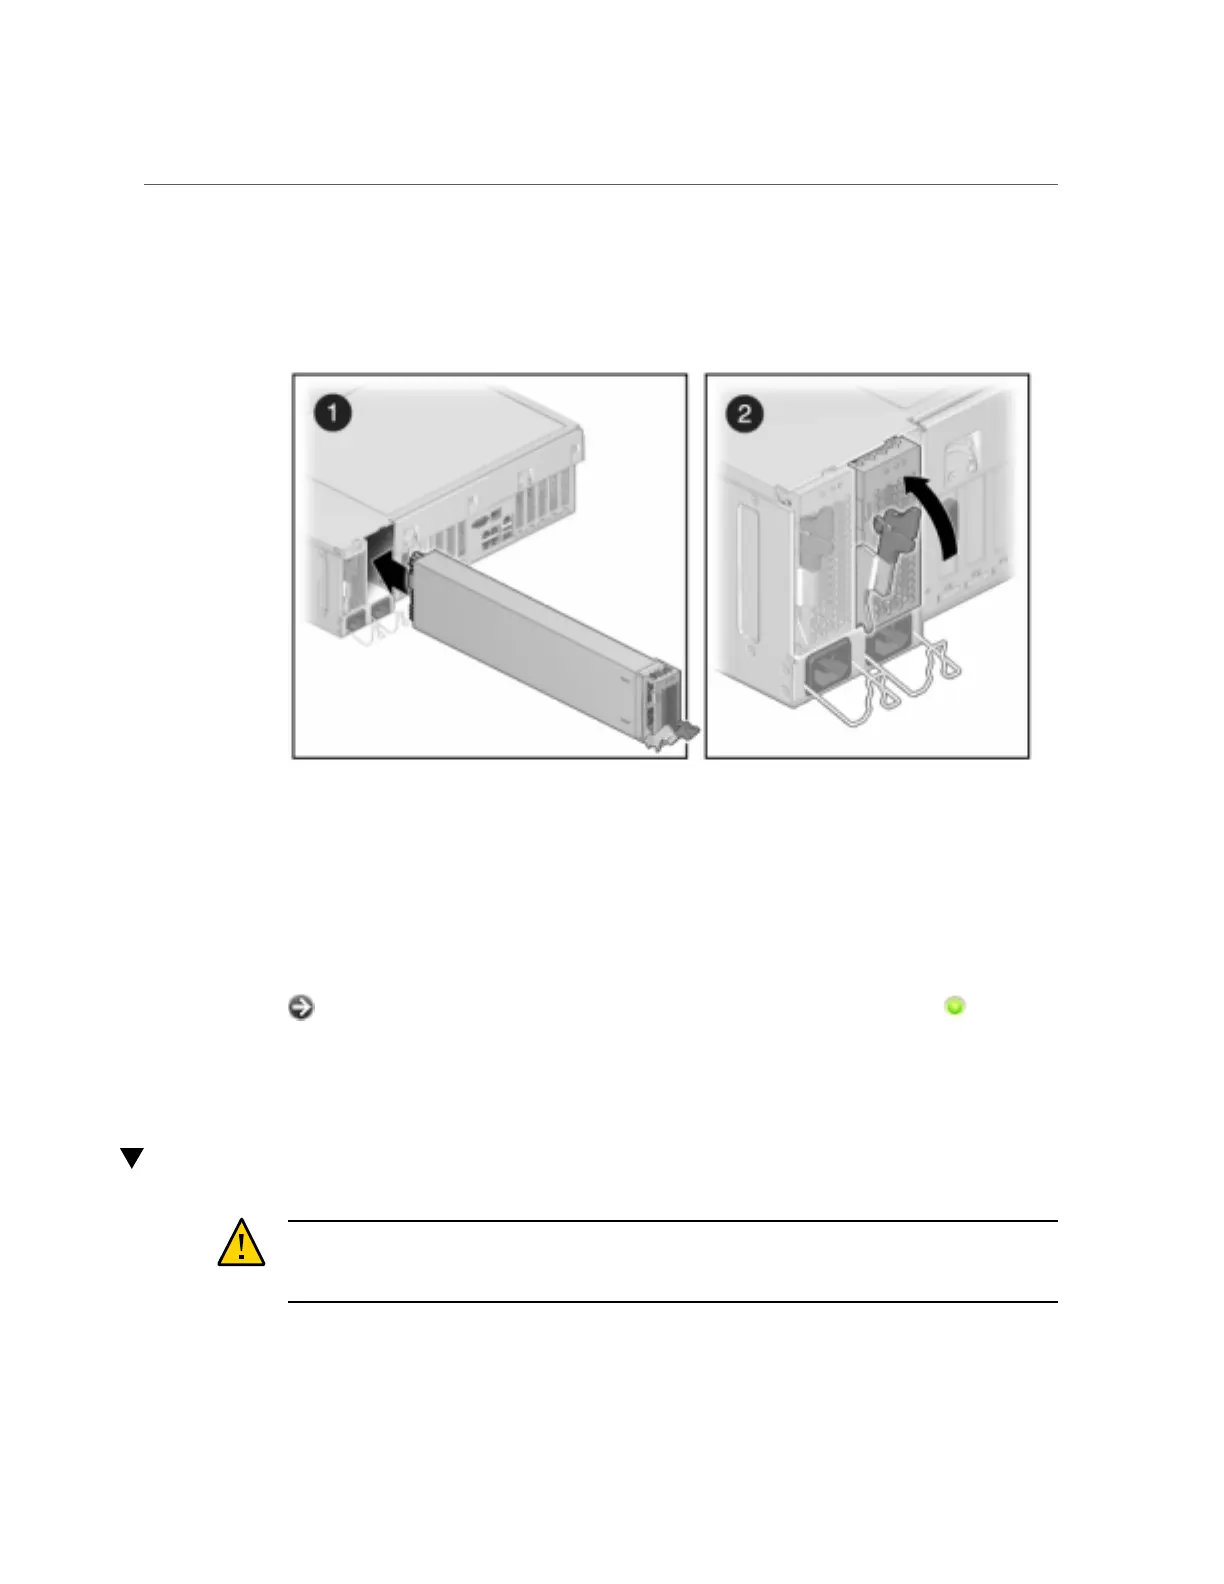
Slide the power supply into the bay until it is fully seated. The following figure
shows the power supply.
7.
Connect the power cord to the power supply.
8.
Verify that the green AC Present status indicator is lit.
9.
Close the CMA, inserting the CMA into the rear left rail bracket.
10.
Go to the Maintenance > Hardware screen of the BUI. Click the right-arrow icon
for the controller and then click PSU to verify that the online icon is green
for the newly installed power supply.
11.
If a fault does not self-clear, see “Repairing Active Problems” on page 37.
Replacing a ZS3-4 DIMM
Caution - This procedure requires that you handle components that are sensitive to static
discharge, which can cause the component to fail. To avoid damage, wear an antistatic wrist
strap and use an antistatic mat when handling components.
Servicing the ZS3-4 Controller 95

 Loading...


