ST 9100 - INSTALLATION GUIDE
5. Push gently until the card is all the way in (Figure 4).
Figure 4: SIM Card Installed
6. Replace the SIM card door.
Note: Ensure that the screws are fully seated / bottomed out. Failure to do so could result in water getting in
the transceiver.
7. Reconnect any cables you removed earlier and connect to external power.
8. Contact your cellular data solution provider to ensure your SIM card is operational.
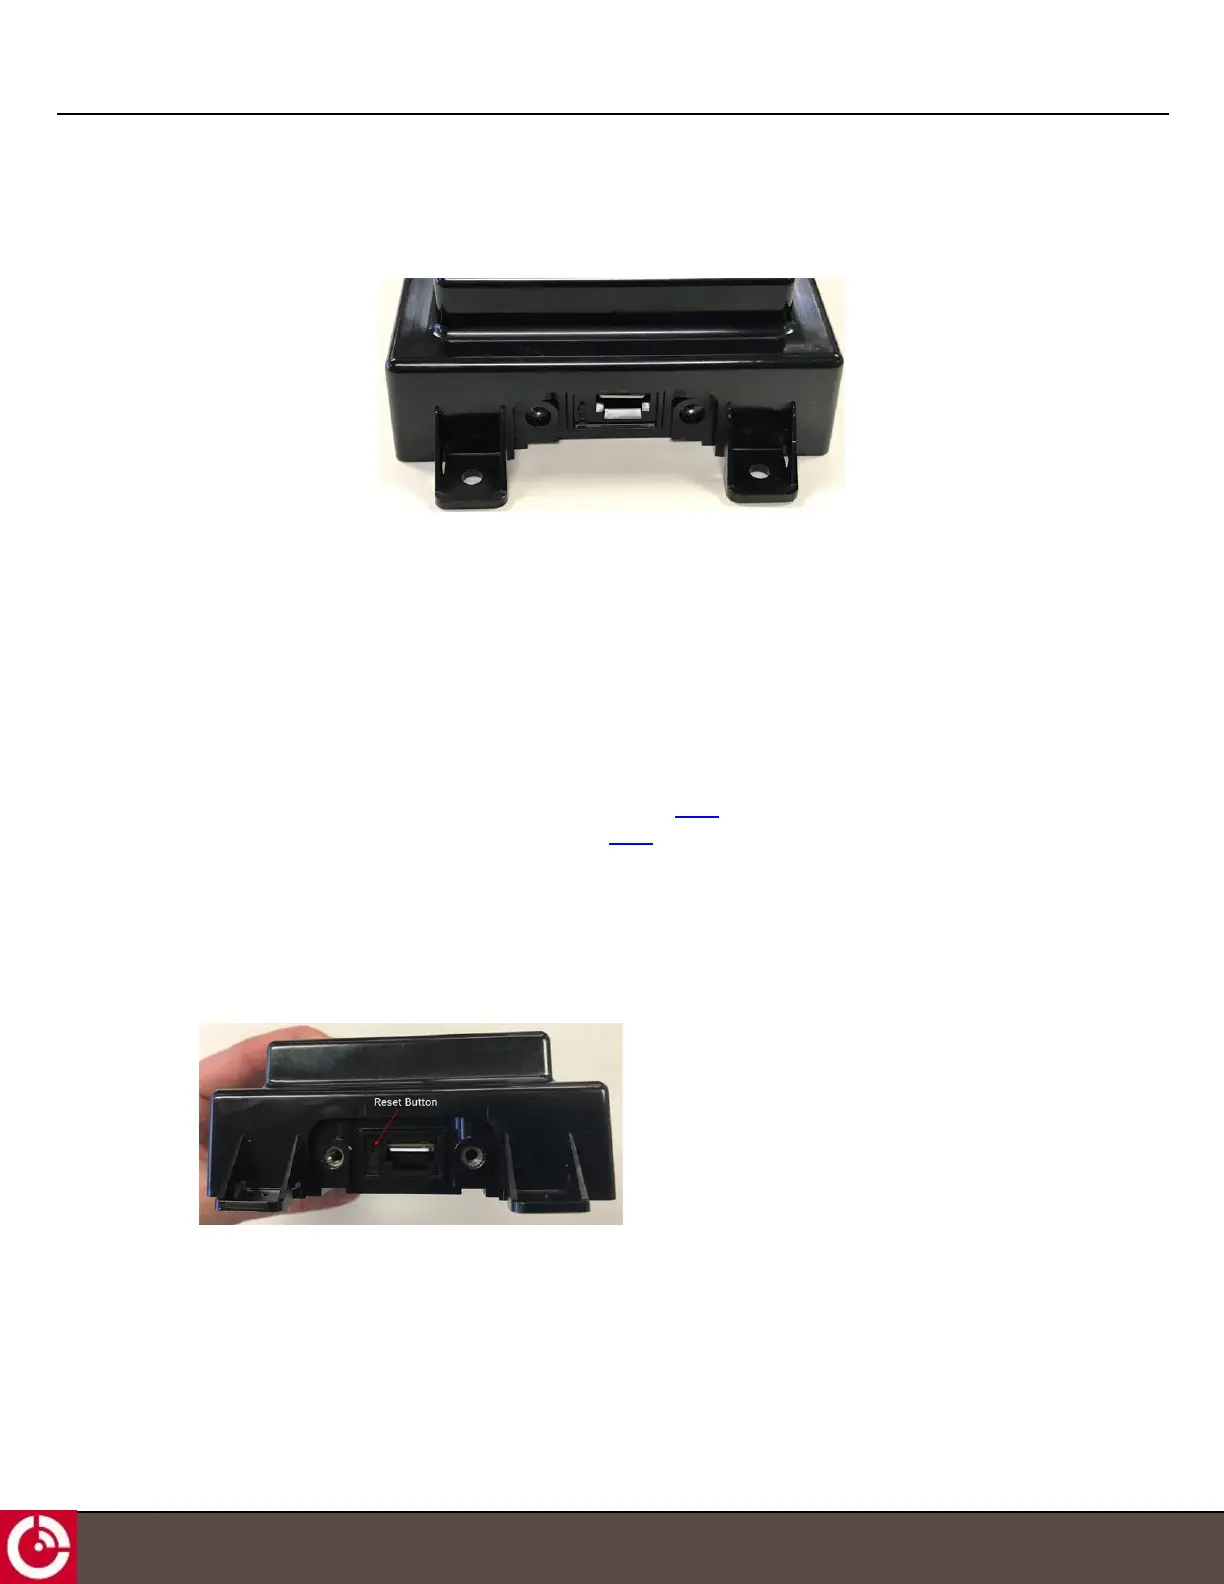
1.2.5.1 Reset Button
CAUTION: Transceivers with a backup battery might still be powered on if the power connector is
disconnected from the transceiver. In this case, it is recommended that the transceiver be
powered off locally using the shutdown command [T405] at the shell prompt, or by sending an over-
the-air powerOff message (SIN 17, MIN 1) [T405]. The transceiver automatically wakes up when
the power connector is reconnected.
To access the transceiver reset button,
1. Disconnect the transceiver from a power source and remove the SIMcard door.
Note: If the transceiver has a shroud, you must remove this before you can access the SIM card door.
2. Press the reset button.
3. Reattach the SIMcard door.
Note: Ensure that the screws are fully seated / bottomed out. Failure to do so could result in water getting in
the transceiver.
4. Reapply power to the transceiver. You may also need to reattach the terminal shroud.
T414, Version 0.04 BETA © ORBCOMM
®
Proprietary
12