ST 9100 - INSTALLATION GUIDE
1. Review the mounting guidelines before permanently mounting the transceiver.
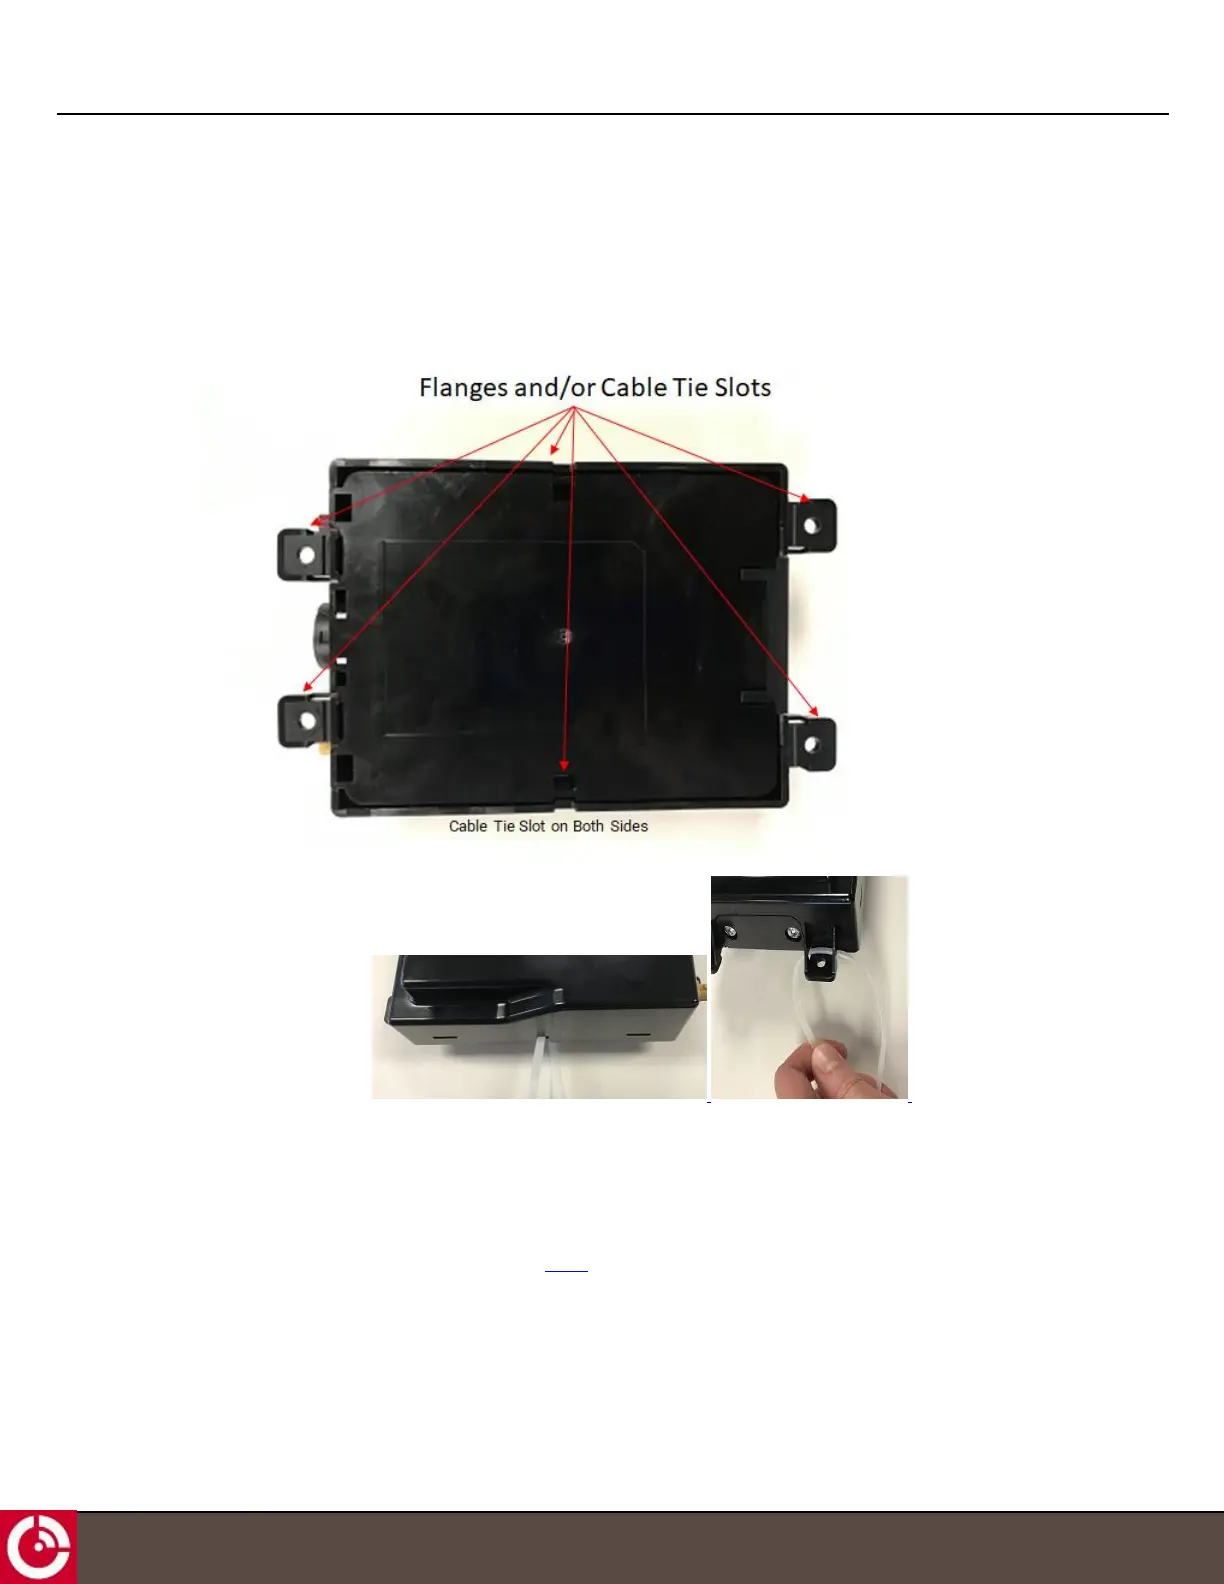
2. Mount the transceiver using cable ties or washers and screws. You can use cable ties if the transceiver remains
flat and is either parallel or perpendicular to the ground, for proper operation of the internal accelerometer.
Otherwise, fasten the transceiver to a rigid surface using washers and screws.
Use the holes to mark and drill pilot holes based on the type of screws.
There are multiple flanges or cable tie locations around the transceiver.
1.7 Connect to Power
CAUTION: Apply power only after making ground connection.
CAUTION: Before applying power to the transceiver, make sure that your power supply’s rated voltage follows
the recommended values. Refer to [T413] for details.
CAUTION: The installer is responsible for complying with local electrical codes.
T414, Version 0.04 BETA © ORBCOMM
®
Proprietary
23