4B. Upgrading the Nextruder (MMU3)
76 Original Prusa MK4/MK3.9 to MK4S/MK3.9S upgrade
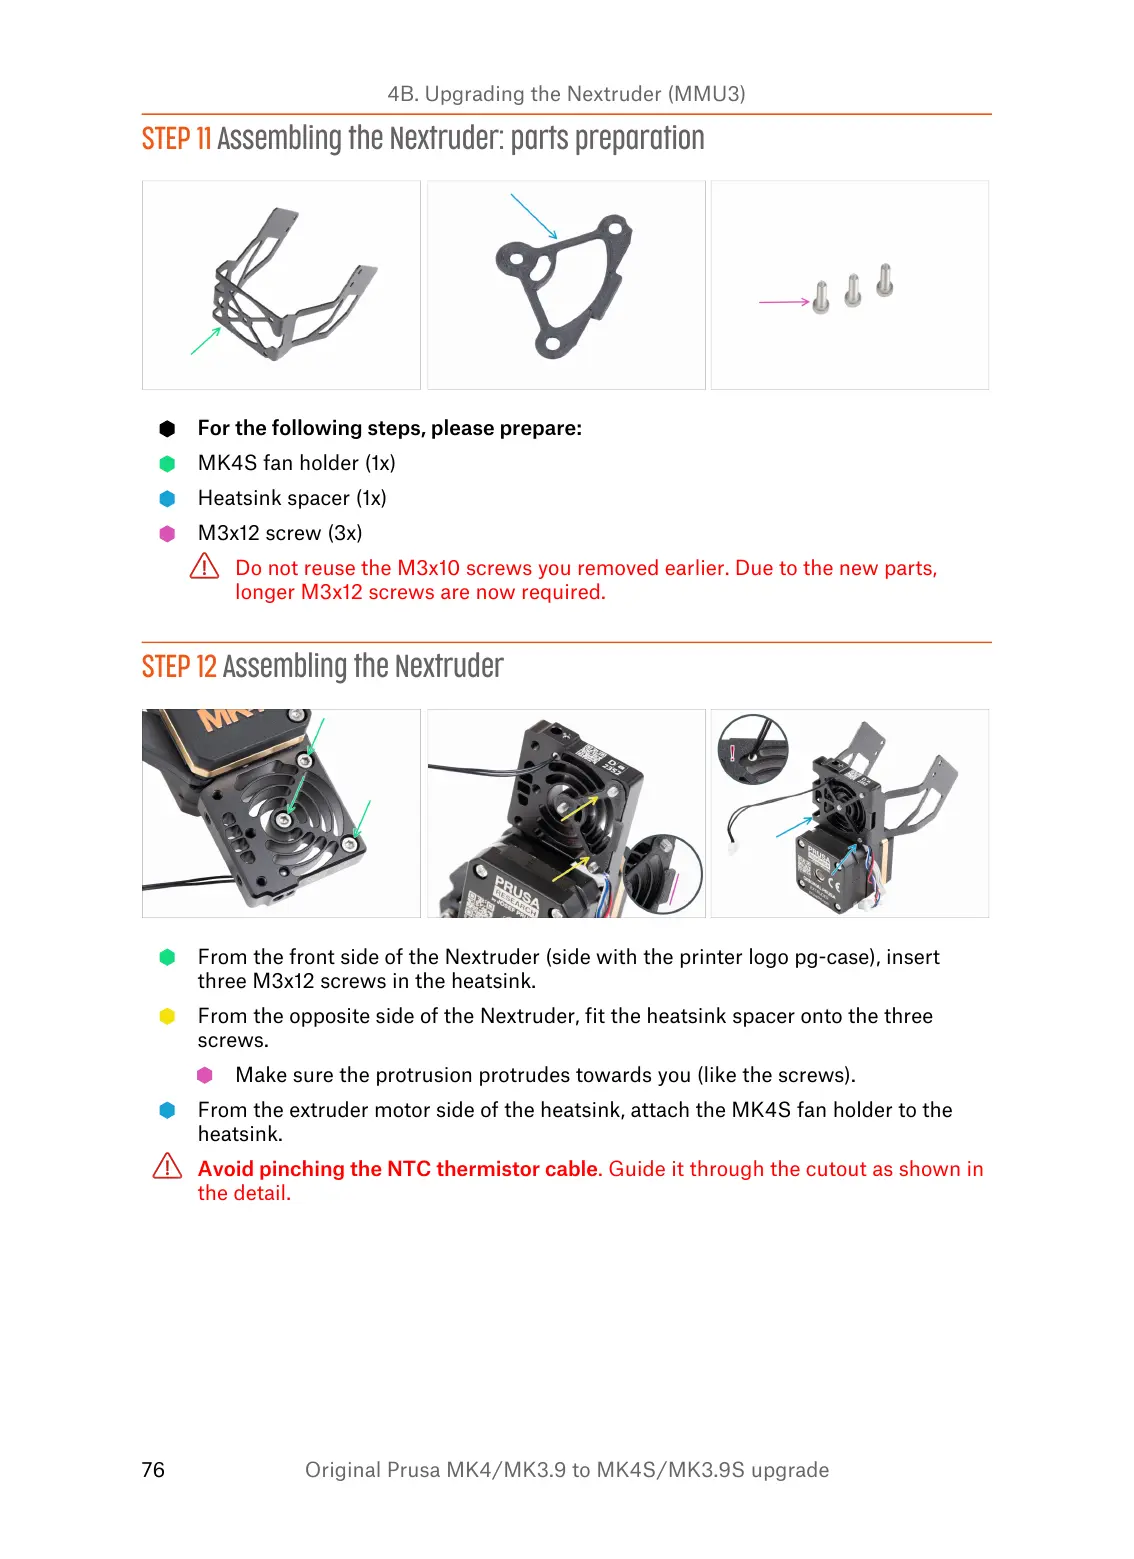
STEP 11 Assembling the Nextruder: parts preparation
For the following steps, please prepare:
MK4S fan holder (1x)
Heatsink spacer (1x)
M3x12 screw (3x)
Do not reuse the M3x10 screws you removed earlier. Due to the new parts,
longer M3x12 screws are now required.
STEP 12 Assembling the Nextruder
From the front side of the Nextruder (side with the printer logo pg-case), insert
three M3x12 screws in the heatsink.
From the opposite side of the Nextruder, fit the heatsink spacer onto the three
screws.
Make sure the protrusion protrudes towards you (like the screws).
From the extruder motor side of the heatsink, attach the MK4S fan holder to the
heatsink.
Avoid pinching the NTC thermistor cable. Guide it through the cutout as shown in
the detail.
 Loading...