100c User Manual
14
ch.1
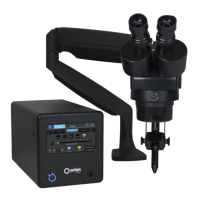
weld when the work piece touches the electrode.
1. Rest your hands on the table and position the
work piece close to the welding electrode before
looking into the microscope.
2. Make sure your focus is at the tip of the electrode.
3. Use slow, controlled movements.
4. It is helpful to have your hands resting and to only
use your fingers to move the work piece up to the
electrode.
5. Place the work piece surface perpendicular to the
point of the electrode. *As will be discussed, the angle of the electrode tip relative to the work
piece surface is very important and will take practice.
6. Now practice making light contact with the work piece to the electrode.
*Remember to follow these steps once the welder is completely set up ready to begin welding.
Electrode Setup
e Orion welder comes standard with a 0.5mm electrode collet and (5)
0.5mm electrodes; and a 1.0mm electrode collet and (5) 1.0mm electrodes.
e 1.0mm electrodes are a good all around electrode while the 0.5mm
electrode is excellent for very small projects (less than 5ws of energy).
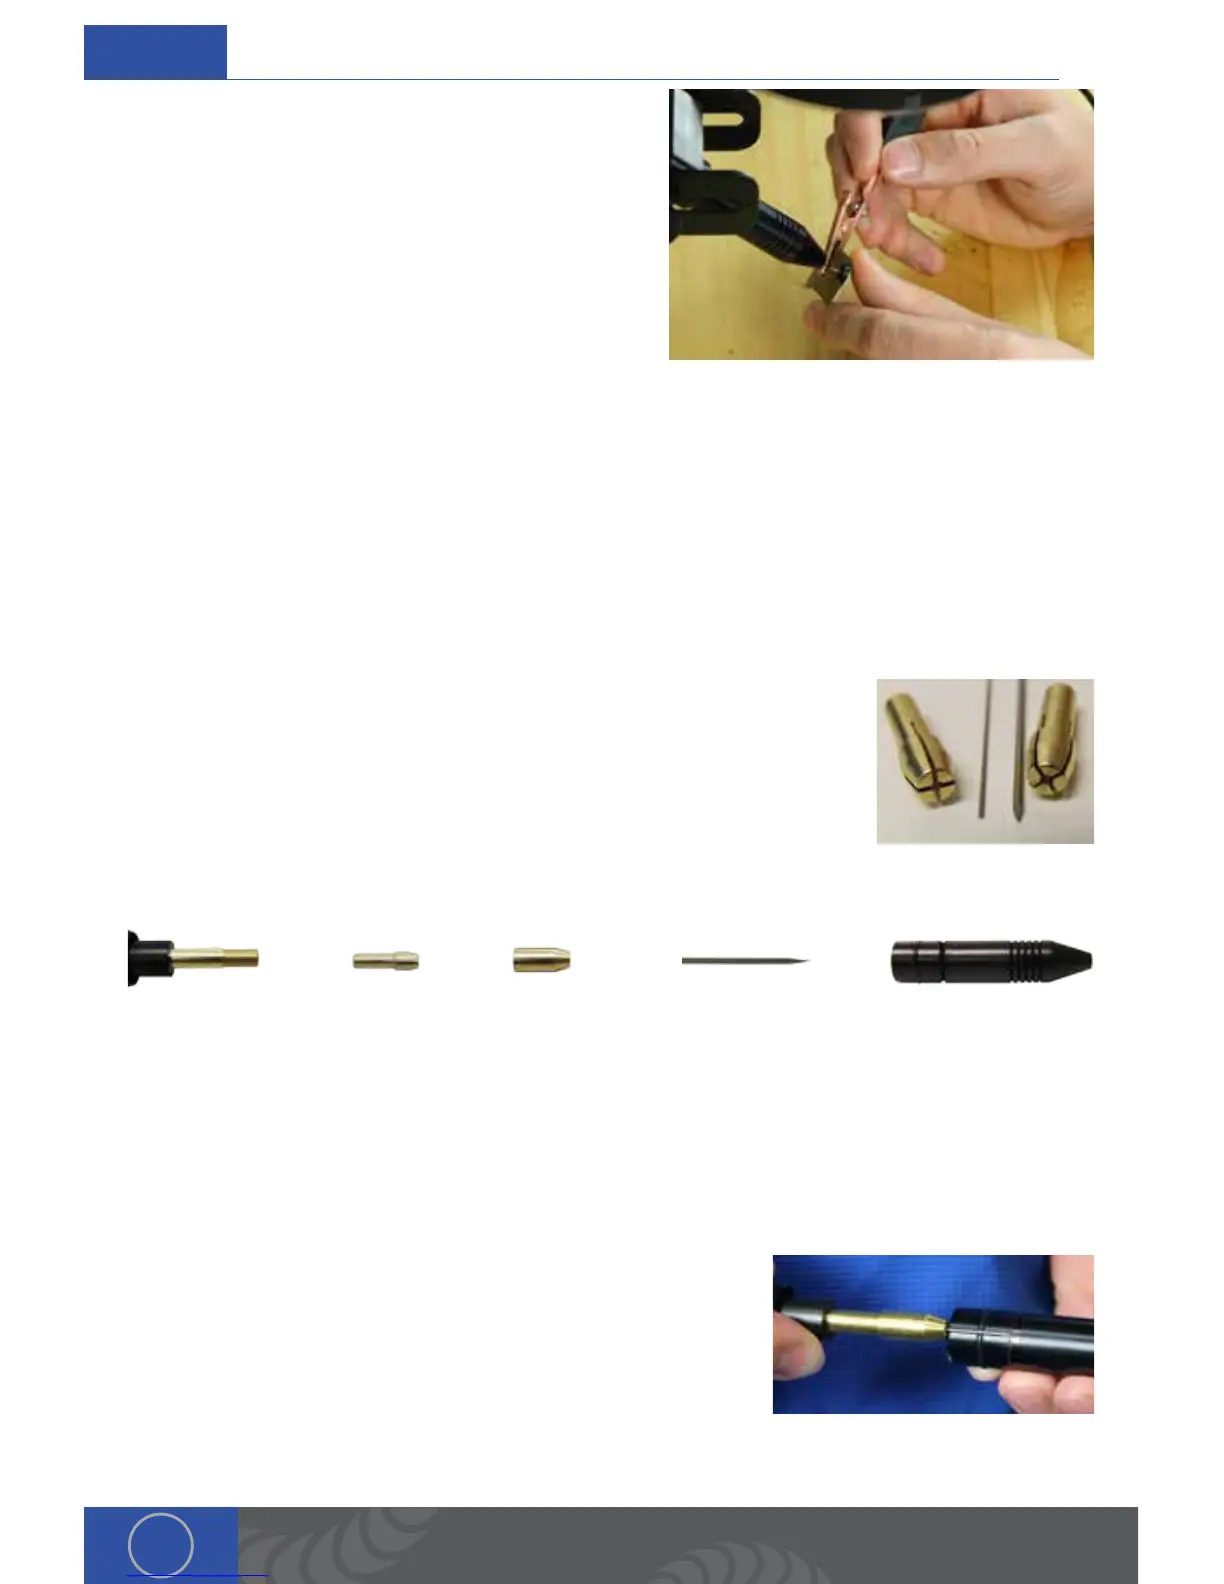
Stylus components:
1. Stylus Shaft 2. Collet 3. Collet Cap 4. Electrode 5. Stylus Hull
INSTALL THE TUNGSTEN ELECTRODE ONTO THE WELDING STYLUS
Follow these steps to properly install the tungsten electrode. A video explanation of the steps
below can be found at http://www.orionwelders.com/resources/orion-c-series-resources/
1. Remove the stylus hull by pulling it away from the stylus.
2. Loosen the collet cap by twisting it counter-clockwise.
3. e welder comes with 2 electrode collets. One that fits 0.5mm electrodes and one that
fits 1.0mm electrodes. e electrode stylus will be shipped with the 1.0mm electrode collet
installed.
4. Insert the 1.0mm electrode into the collet. Helpful Tip: Make
a mark around the Stylus Hull that will help measure the
electrode length. Place the end of the stylus hull up against
the collet cap then make sure the electrode tip falls between
mark.
5. ere should be between 0.6 - 0.7in (1.5 – 2cm) of the
electrode protruding from the stylus shaft. is will allow the electrode enough room to stick
out from the stylus once the stylus hull is placed back on the stylus.)