51
OrionWelders.com
ch.7/8
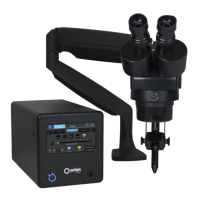
An example of titanium welded to gold and silver. e
gold to titanium weld looks clean but is brittle. e silver
to titanium weld also looks good and is strong. e
Silver to gold weld looks good and is strong.
CHAPTER 8: MAINTENANCE
Changing and Sharpening Electrodes
As electrodes wear, they will become dull and result in lower quality and less attractive welds.
Sharpening or changing them out periodically is important to maintain weld consistency.
e Orion’s electrodes are made of lanthanated tungsten. e small amounts of lanthinum found
in the electrodes help the tips stay sharp and help improve weld performance. e electrodes are
also double ended, meaning that either end can be used for welding. e 1mm electrodes require
the included collet with the small hole in the center. is collet is pre-installed in the stylus when
shipped. e 1mm electrodes cannot be used with the other zero clearance collet, and similarly
the 0.5mm electrodes cannot be used in the collet designed for the 1mm electrodes. Inserting and
tightening electrodes into the wrong collet can damage the stylus.
When swapping electrodes, use caution when touching any part internal to the stylus. With
extensive use, the internal parts and especially the electrode WILL BE HOT. Allow them to cool
before attempting to change electrodes. As an added safety precaution, it is recommended to put
the Orion in Stop Mode.
To change the electrode, first remove the stylus hull by pulling on it. en loosen the collet cap by
twisting it counter-clockwise. Grasp the electrode and push it into the collet to free it, and then
pull it out to remove it.
If changing electrode sizes, the collet must also be swapped out. To do this, remove the collet cap
by continuing to twist it counter-clockwise. e collet should be loose and will remain in the stylus
shaft. If it is not loose, gently tap it out with a screwdriver or other small tool. Replace the collet
with the desired one. Replace the collet cap, but do not tighten yet. Insert the fresh electrode into
the collet and lock it into place by hand tightening the collet cap in a clockwise direction. Finally,
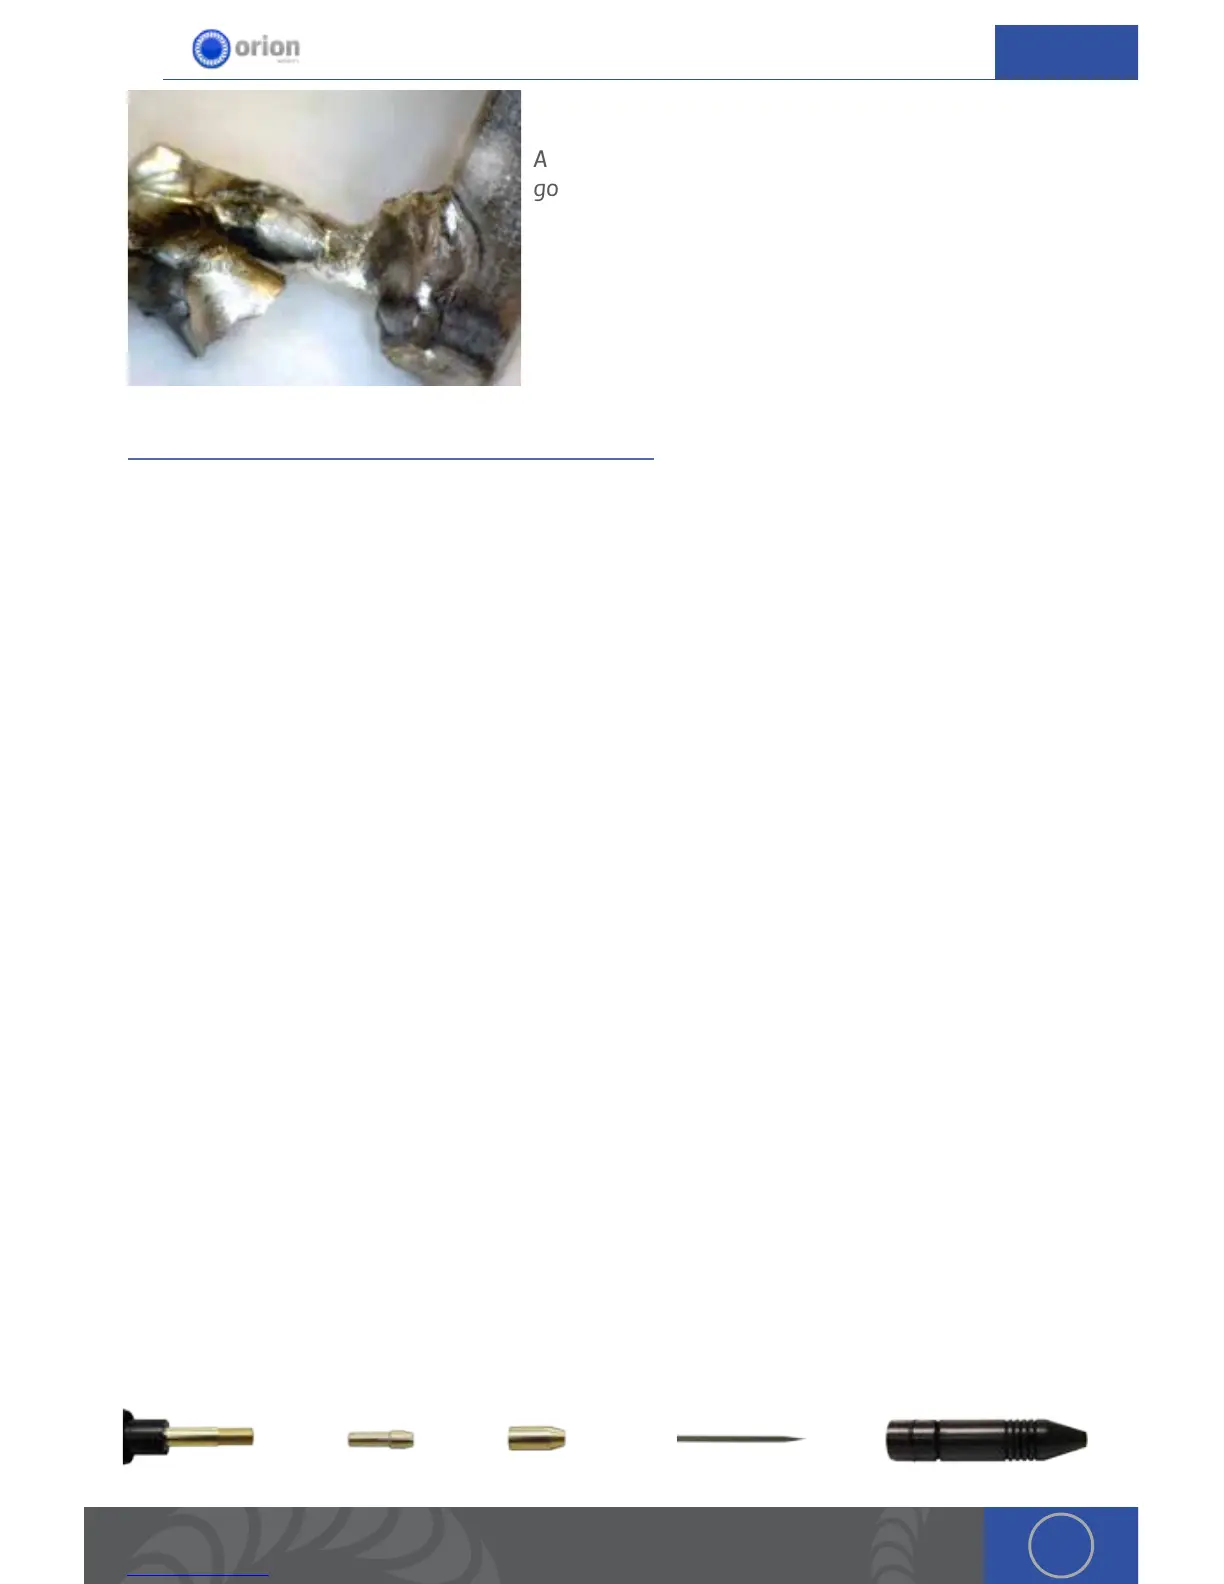
replace the stylus hull by pushing it snuggly back into place. See below for an exploded view of the
stylus.
Stylus Shaft Collet Collet Cap Electrode Stylus Hull
Ag
Ti
Au