17
OrionWelders.com
ch.1
a good safety practice. If the tube becomes dislodged, shielding gas could fill the room
displacing needed breathing oxygen. Argon is heavier than air and will fill the room from
the bottom upward. If you experience a large shielding gas leak, open all of the doors and
windows in the room.
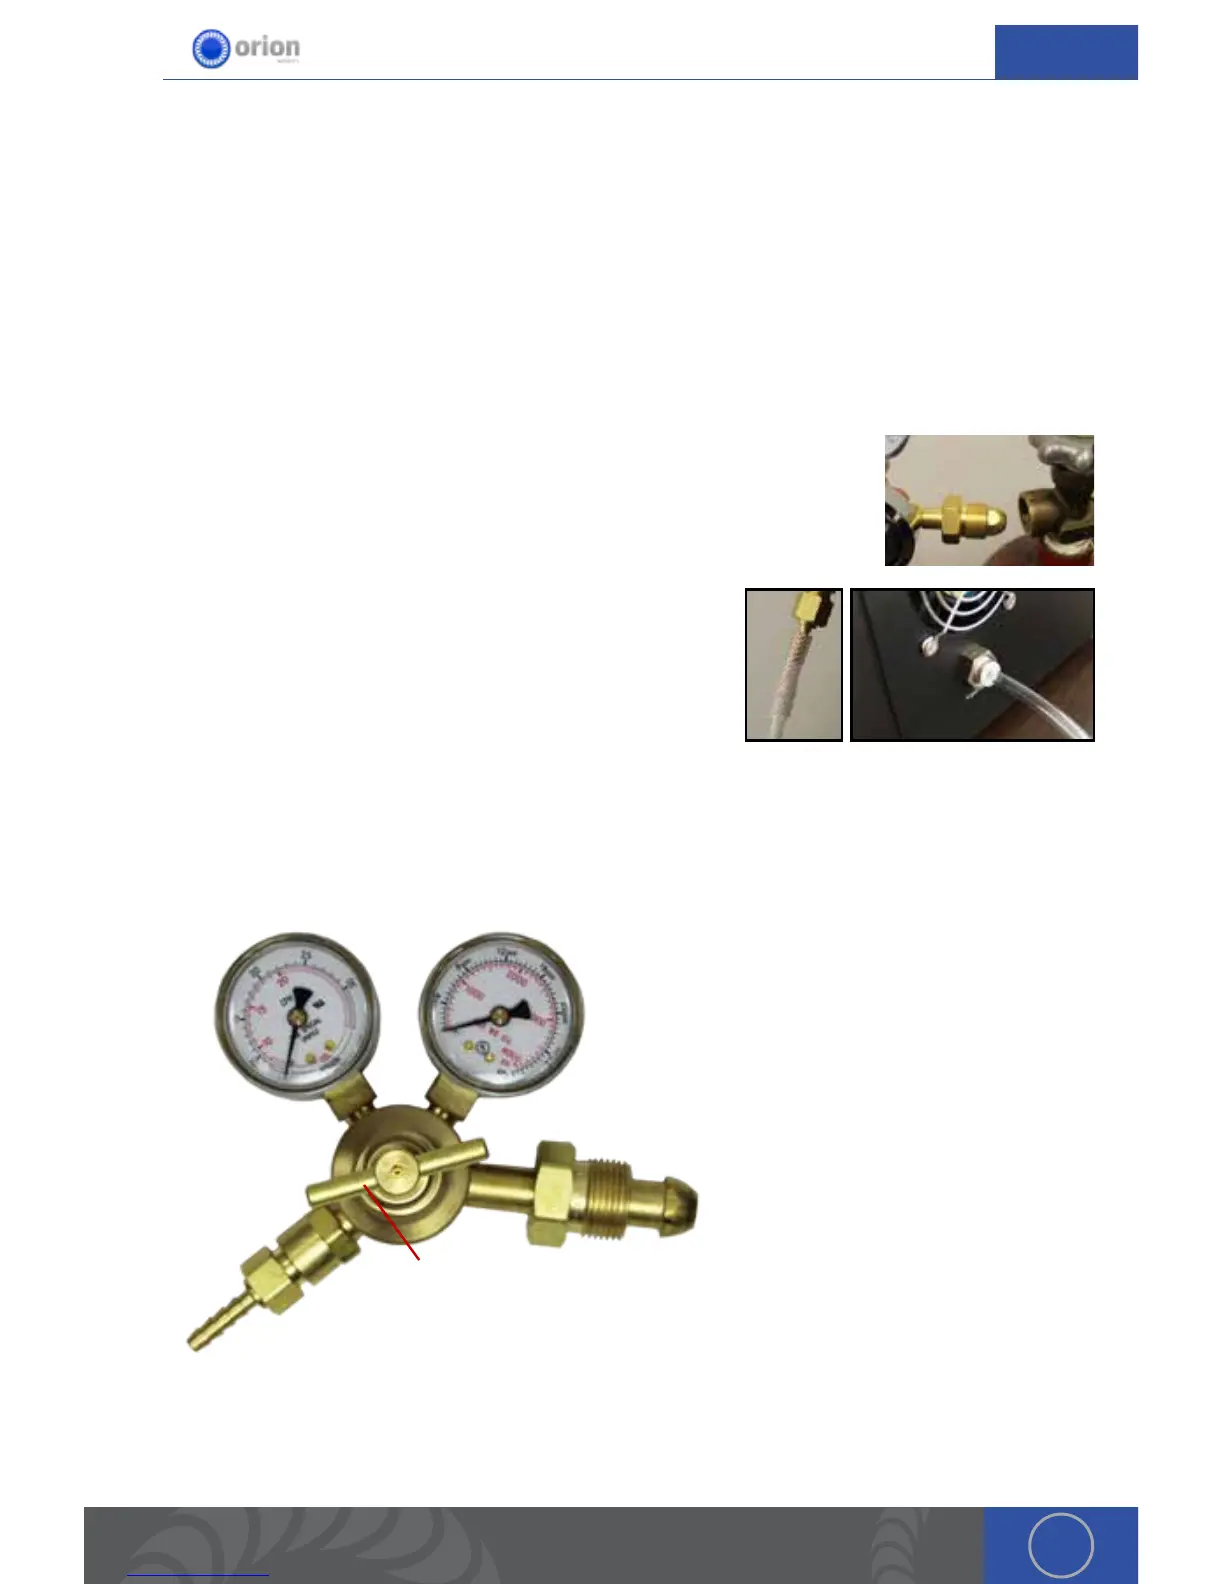
SHIELDING GAS TANK AND REGULATOR SETUP
A video explanation of the steps below can be found at http://www.orionwelders.com/
resources/orion-c-series-resources/
1. Ensure that your shielding gas tank is securely fastened to a stationary point near the welding
area.
2. Turn the regulator dial COUNTER CLOCKWISE (closed) until it is fully backed out to prevent
over-pressurization of the line.
3. Screw the gas regulator onto the shielding gas tank.
4. Connect one end of the gas tubing to the gas regulator.
5. Insert the other end of the gas tubing into the gas port on
the back of the power supply. It will stop when it is fully
connected. Tug gently on the tube to verify a tight fit.
6. Open the gas tank slowly. e dial on the right should pressurize and the dial on the right
should remain at zero (when the regulator dial is fully backed out – see step 2).
7. Slowly turn the regulator dial CLOCKWISE until the gas pressure reads between 7-10 psi. (is
will adjust the dial on the left side of the regulator.)
Regulator Dial