In the CLI:
Use the following command to set DHCP:
dhcp4set <intfc> <on|off>, where the intfc is 0 for Eth0
In the Web UI:
1.
Navigate to
MANAGEMENT > NETWORK > Network Setup.
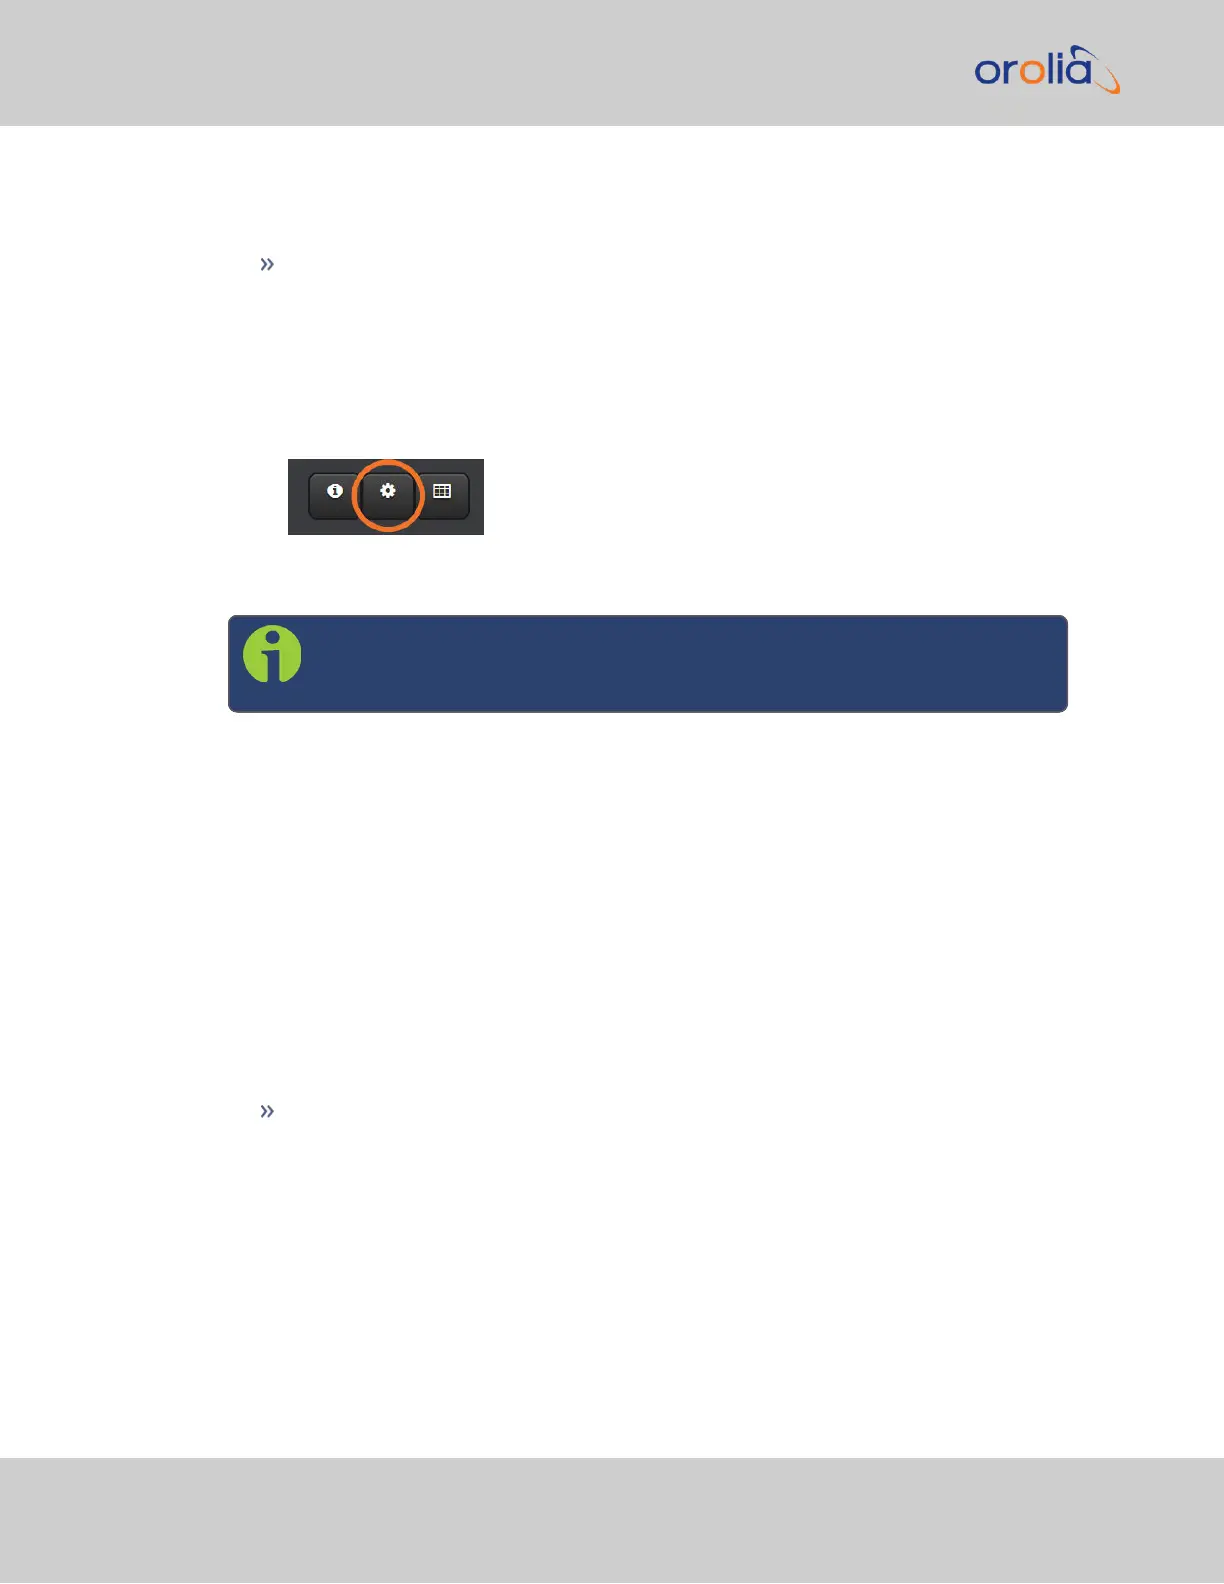
2.
Click on the gear icon next to an Ethernet port to change network settings for that
port. If you are disabling DHCP, it is recommended to enter your settings before click-
ing Submit to avoid errors (see next section).
Set the IPaddress
Note: DHCP must be disabled before you can configure a static IPaddress
(see above)
On the front panel display:
1.
Press UP or DOWN on the keypad to enter the menu screen.
2.
Select the
Netv4 sub-menu and press the ENTERkey.
3.
Highlight the interface to be updated (
Eth0) and press the ENTER key.
4.
Select the
IP Addr sub-menu and press the ENTER key.
5.
The "O" field (OLD) will list the current IPaddress. Highlight the "N" field (NEW),
scroll each number to the new address, and press the ENTERkey.
6.
If necessary, you can also configure the main default gateway, and the gateway for
each Ethernet port. See the main user manual for details.
In the CLI:
Use the command: ip4set <intfc> <addr> <mask> [<gateway>] where intfc
is 0 for Eth0; addr is the IPv4 address, (such as 192.168.100.12), mask is the subnet
mask (for instance, 255.255.255.0) and the gateway is the (optional) network gate-
way.
In the Web UI:
1.
Navigate to
MANAGEMENT > NETWORK > Network Setup.
2.
Click on the gear icon next to an Ethernet port. The
Edit Ethernet Port Settings
window will open. To change network settings for that port, including the IPaddress,
26
SecureSync Getting Started Guide Rev. 12.0
2.9 Network Setup