Part 3 - Conguration
38
t Clear All Data: Erases all recording data. Selecting
Clear All Data displays a conrmation window. Select
Clear to proceed.
t Before you perform Clear All Data, make sure you
are not accidentally deleting important data. Erased
data cannot be recovered.
t Clear All Data does not aect the system log.
Instead, the Clear All Data event will be added to
the log.
t System Shutdown: Shuts down the system. When
prompted, select System Shutdown
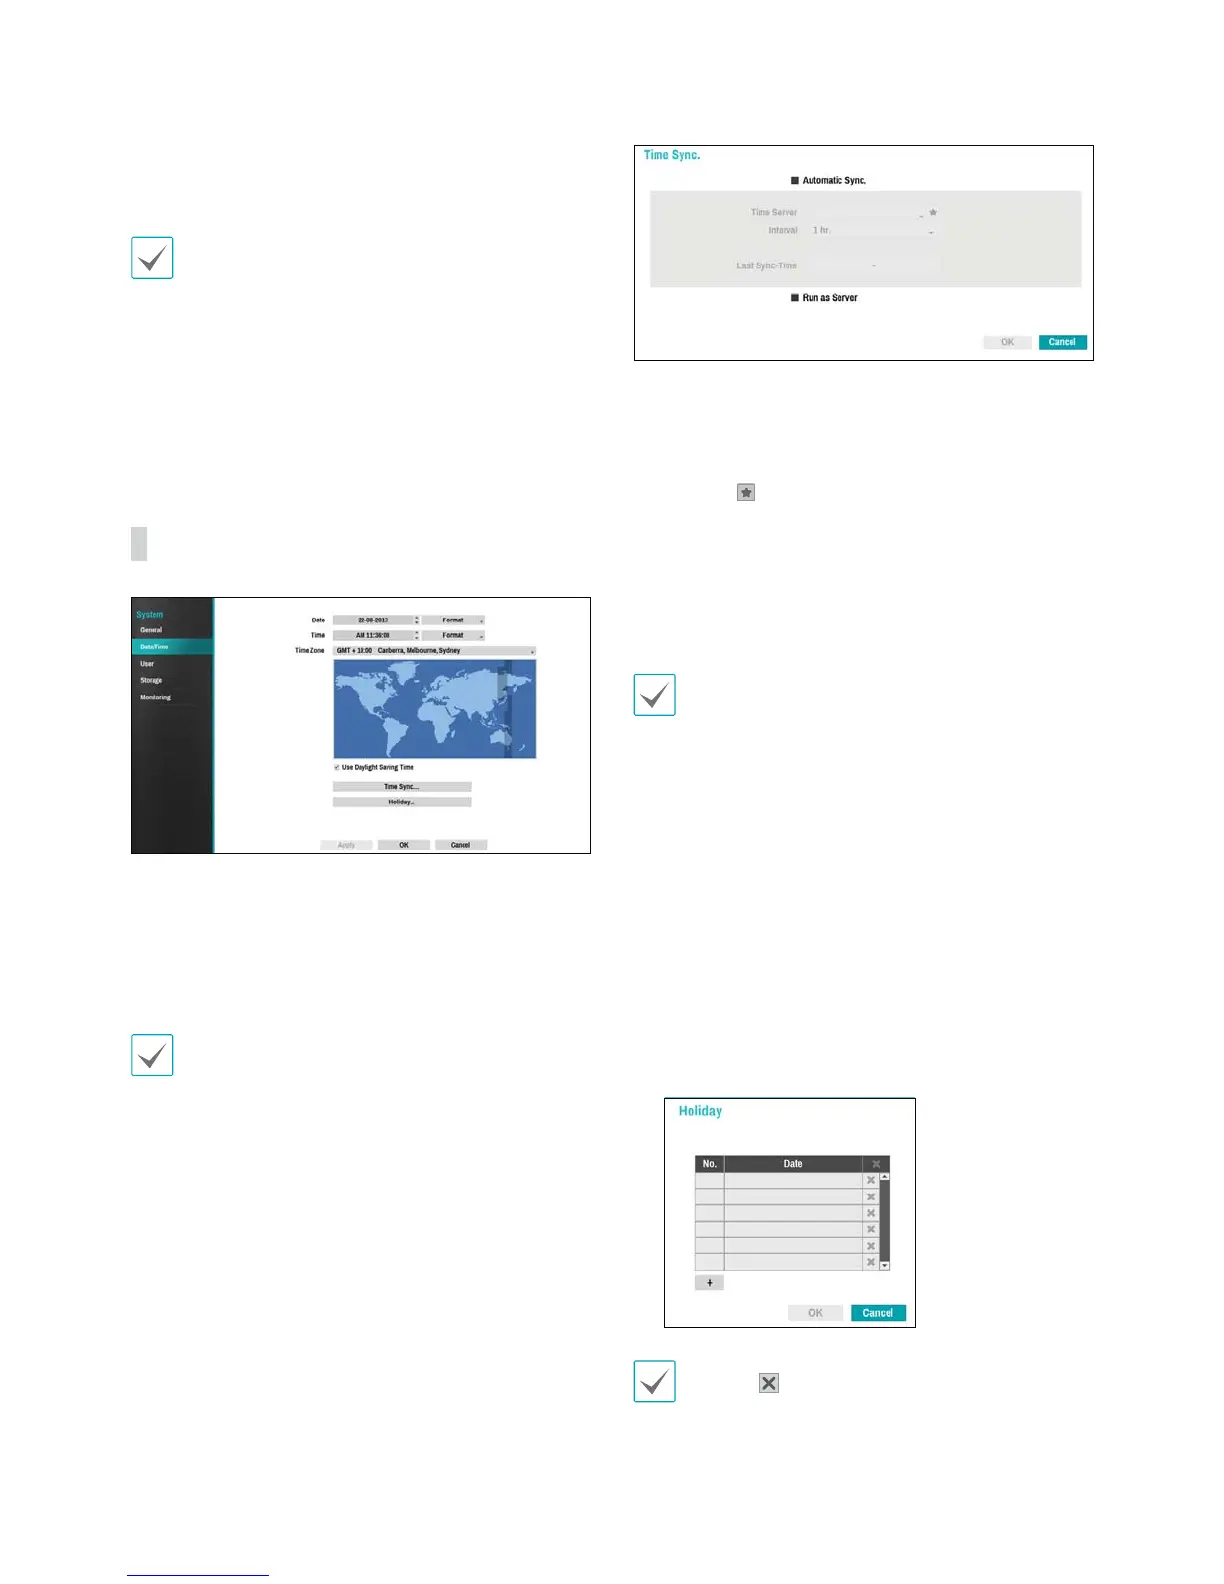
Date/Time
t Date: Used to change the system's date setting.
t Time: Used to change the system's time setting.
t Date Format/Time Format: Used to change the
system's date and time formats.
t Time Zone: Used to designate the system's time zone.
Refer to the map displayed on the screen and change
the time zone using the mouse or the arrow buttons.
t Use Daylight Saving Time: Enables DST correction.
t Time Sync.: Select a time server for the system to
synchronize with.
1
Select Automatic Sync.
2
Enter the Time Server's IP address or domain name
or select
and then choose a server from the list of
registered time servers.
3
Specify the server synchronization Interval.
4
Select OK to apply and exit.
t If you have congured the DNS Server setting under
Network - IP Address, you can enter the time
server's domain name instead of its IP address.
t Selecting Run as Server sets the current NVR as a
time server for other NVRs within the system.
t Holiday: Designate holidays. On specied holidays,
recording takes place according to the holiday
recording schedule specied under Record Schedule.
1
Select the + button at the bottom of the window.
2
Select a date.
3
Select OK to apply and exit.
Select the icon to delete the existing holiday date.