67
RQT8858
1 While stopped
Press [FUNCTION MENU].
2 Press [3, 4] to select “To Others”
and press [OK].
3 Press [3, 4] to select “Setup” and
press [OK].
4 Press [3, 4] to select “Tuning” and
press [1].
You can create four groups of channels for making viewing and
recording easier. Editing these groups does not affect the channel
setting itself.
≥Timer recording may not work correctly if you edit the groups
during timer recording standby.
After performing steps 1–4
5 Press [3, 4] to select “Edit
Favourites” and press [OK].
6 Press the “Green” button to select the
group.
∫ To add channels to a group
After performing steps 1–6
1 Press [3, 4] to select the channel in the “All
Services” column and press the “Yellow”
button.
≥Repeat this step to add other channels.
≥Press the “Blue” button to add all the available channels to the
group. (Only when no channels have been added to the group.)
2 Press [OK] to save the group.
∫ To change the order of channels of a group
After performing steps 1–6
1 Press [1]
§
.
2 Press [3, 4] to select the channel in the
“Favourite” column to move and press the
“Green” button.
3 Press [3, 4] to select the new position of the
channel and press the “Green” button.
≥Repeat the steps 2 – 3 to move other channels.
4 Press [OK] to save the group.
∫ To delete channels on a group
After performing steps 1–6
1 Press [1]
§
.
2 Press [3, 4] to select the channel in the
“Favourite” column and press the “Yellow”
button.
≥Repeat this step to delete other channels.
≥Press the “Blue” button to delete all the channels from the
group.
3 Press [OK] to save the group.
Deleting a channel from a group does not affect the channel
itself. You can still select the channel from the “All Services”
group.
∫ To change the name of a group in the
“Favourite” column
After performing steps 1–6
1 Press [1]
§
.
2 Press the “Red” button.
(➡ 57, Entering text)
§
When the station name of the “All Services” column is highlighted
To browse through the list
Press [WXCH].
To exit the screen
Press [EXIT].
You can restart auto channel setting for terrestrial digital and
analogue channels if set up (➡ 18) fails for some reason.
However, if you perform “Auto-Setup Restart”, the order of analogue
channels will change.
After performing steps 1–4
5 Press [3, 4] to select “Auto-Setup
Restart” and press [OK].
The confirmation screen appears.
6 Press [2, 1] to select “Yes” and
press [OK].
You can also use the following method to restart Auto-Setup.
When the unit is on and stopped,
Press and hold [X CH] and [CH W] on the main unit until the
Auto-Setup screen appears.
All the settings except for the ratings level, ratings password and
clock settings return to the factory preset. The timer recording
programmes are also cancelled.
To return to the previous screen
Press [RETURN].
To exit the screen
Press [EXIT].
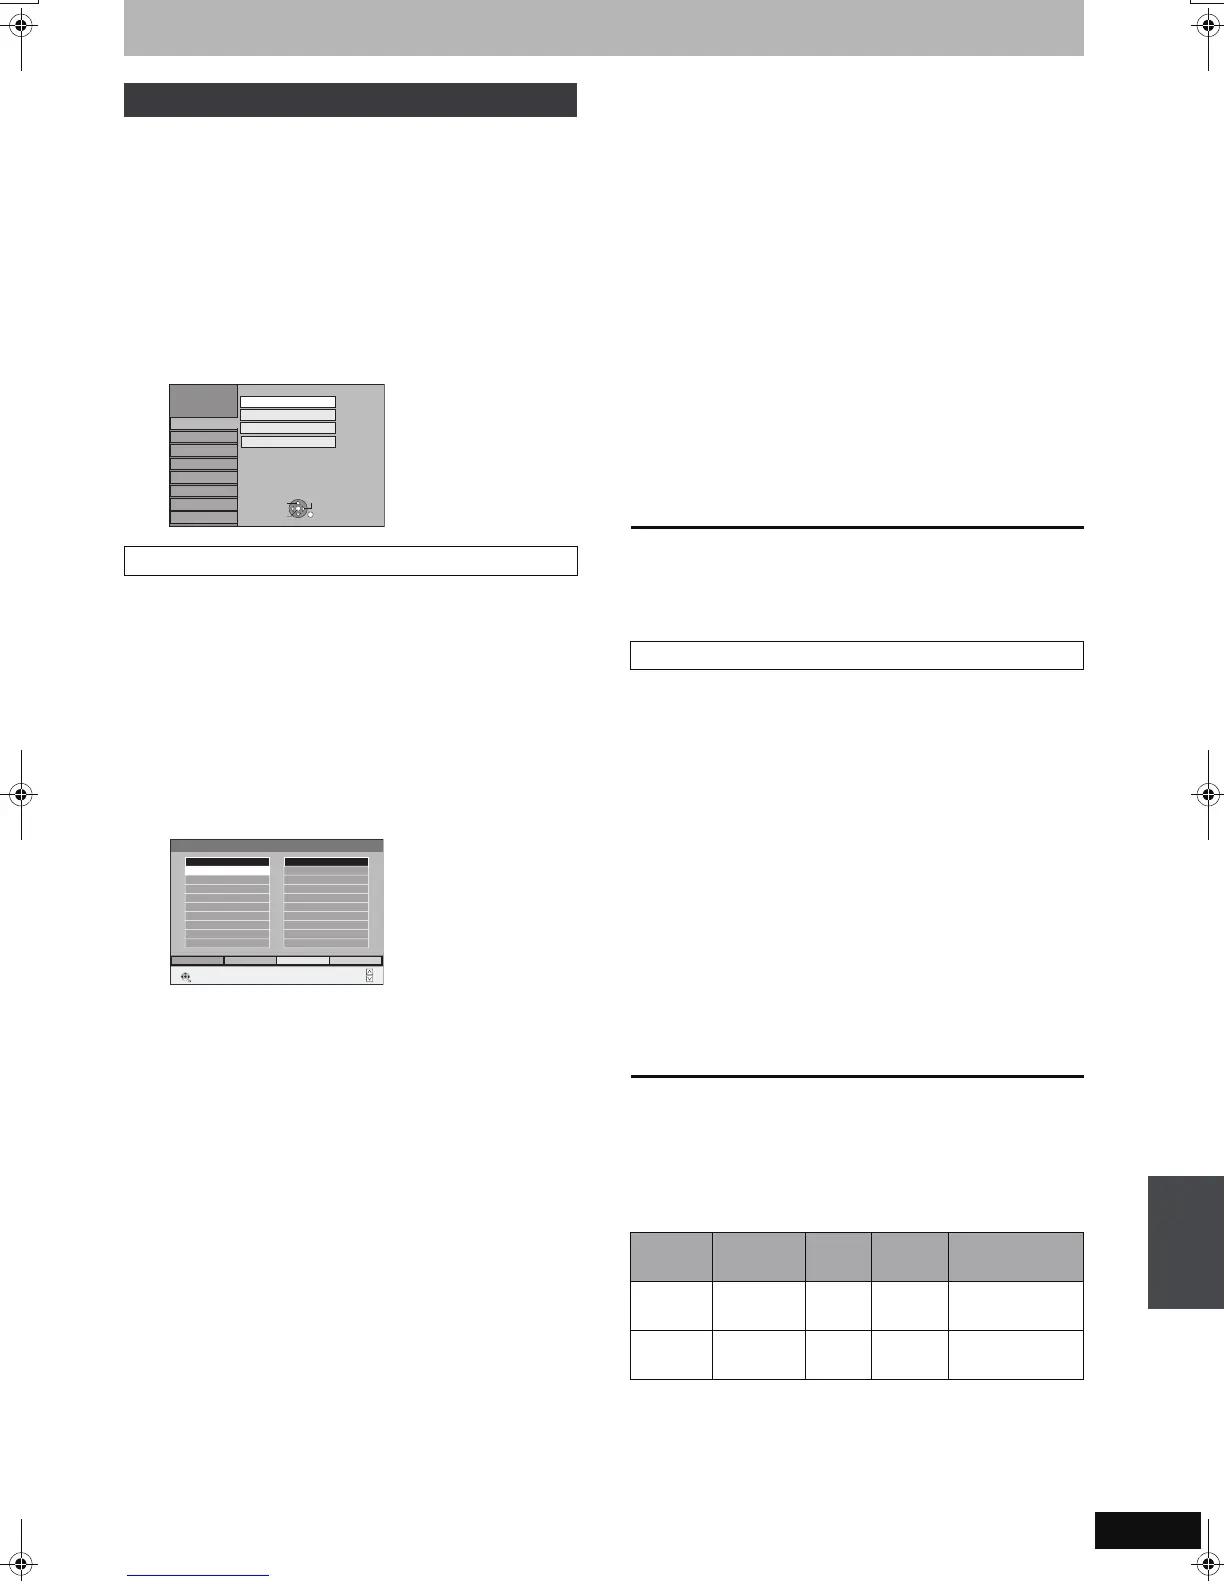
List of TV Reception Channels
Tuning
Edit Favourites
Setup
Disc
Picture
Sound
Display
Connection
Tun in g
Edit Favourites
Auto-Setup Restart
Settings for Digital Services
Others
VHS
OK
RETURN
TAB
SELECT
Settings for Analogue Services
Edit Favourites
RETURN
SELECT
Favourite Select
Add AllAdd
All Services
2A ABC
20A ABC HDTV
Favourites 1
Page -
Page +
Auto-Setup Restart
Tuner
System
Channel
Coverage
VHF UHF CATV
PAL–B
Australia
Analogue
0–12 28–69
45 MHz to
470 MHz
DVB–T
Australia
Digital
6–12 27–69 –
Changing the unit’s settings
EZ47VGN.book 67 ページ 2007年6月18日 月曜日 午後2時12分

 Loading...