Chapter 2 Getting Started — Removing/attaching the projection lens
42 - ENGLISH
Attaching the projection lens
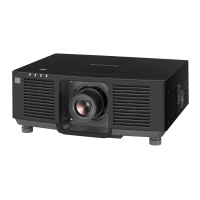
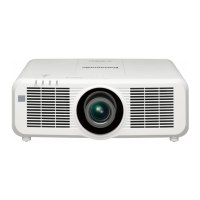
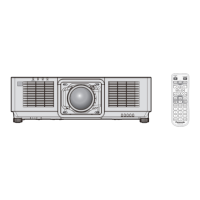
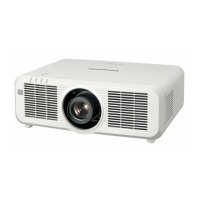
Attach the projection lens using the following procedure.
Unlock
Lock
Unlock
Lock
Top slide cover attachment line
Lens lock lever
Top slide cover
Guide groove
Guide
Fig. 1
Fig. 2
Fig. 4
Fig. 3
Lens lock lever
Holding
position
Red dots
1) Slide the top slide cover. (Fig. 1)
f
Slide the top slide cover until you can pinch the lens lock lever.
2) Confirm that the lens lock lever is positioned at the UNLOCK side. (Fig. 2)
f
If the lens lock lever is at the LOCK side (Fig. 3), pinch the lens lock lever and turn to the UNLOCK side.
(Fig. 2)
3) Align the mark (red dot) on the projection lens with the mark (red dot) on the projector, and insert the
projection lens all the way in. (Fig. 2)
f
When the mark (red dot) on the projection lens is aligned with the mark (red dot) on the projector, the
projection lens guide groove is aligned with the guide of the projector.
4) While holding the projection lens, turn the lock lever fully to the LOCK side. (Fig. 3)
f
Make sure to fully turn the lens lock lever.
f
The lock lever is split when the projection lens is locked.
5) Attach the top slide cover. (Fig. 4)
f
Align the top slide cover with the top slide cover attachment line, and attach it by sliding.
Attention
f
When installing the projector to a ceiling or in a high location, install the projector after attaching the projection lens to the projector.
f
After replacing the projection lens, turn on the projector and conrm the [PROJECTOR SETUP] menu → [LENS] → [LENS TYPE] setting.
Change the setting if the type does not match the projection lens attached to the projector. (
x
pages 61, 117)

 Loading...


