Chapter 2 Getting Started — Setting up
46 - ENGLISH
Projection lens Model No. Throw ratio Aspect ratio
Projection distance (L) formula
Min. (LW) Max. (LT)
ET-DLE450
5.36 - 8.58:1 16:10 = 4.6931 x SD
-
0.3017 = 7.4193 x SD
-
0.2991
5.36 - 8.58:1 16:9 = 4.8236 x SD
-
0.3017 = 7.6256 x SD
-
0.2991
6.46 - 10.3:1 4:3 = 5.3129 x SD
-
0.3017 = 8.3992 x SD
-
0.2991
r Fixed-focus Lens (Model No.: ET-DLE055)
Projection lens Model No. Throw ratio Aspect ratio Projection distance (L) formula
ET-DLE055
0.785:1 16:10 = 0.6893 x SD
-
0.0476
0.786:1 16:9 = 0.7084 x SD
-
0.0476
0.946:1 4:3 = 0.7803 x SD
-
0.0476
r Fixed-focus Lens (Model No.: ET-DLE035)
Projection lens Model No. Throw ratio Aspect ratio
Projection distance (L1)
formula
Distance (A1) formula from
the projector to the screen
ET-DLE035
0.380:1 16:10 = 0.3205 x SD + 0.0047 = 0.1977 x SD
-
0.0721
0.380:1 16:9 = 0.3294 x SD + 0.0047 = 0.2304 x SD
-
0.0721
0.456:1 4:3 = 0.3628 x SD + 0.0047 = 0.2238 x SD
-
0.0721
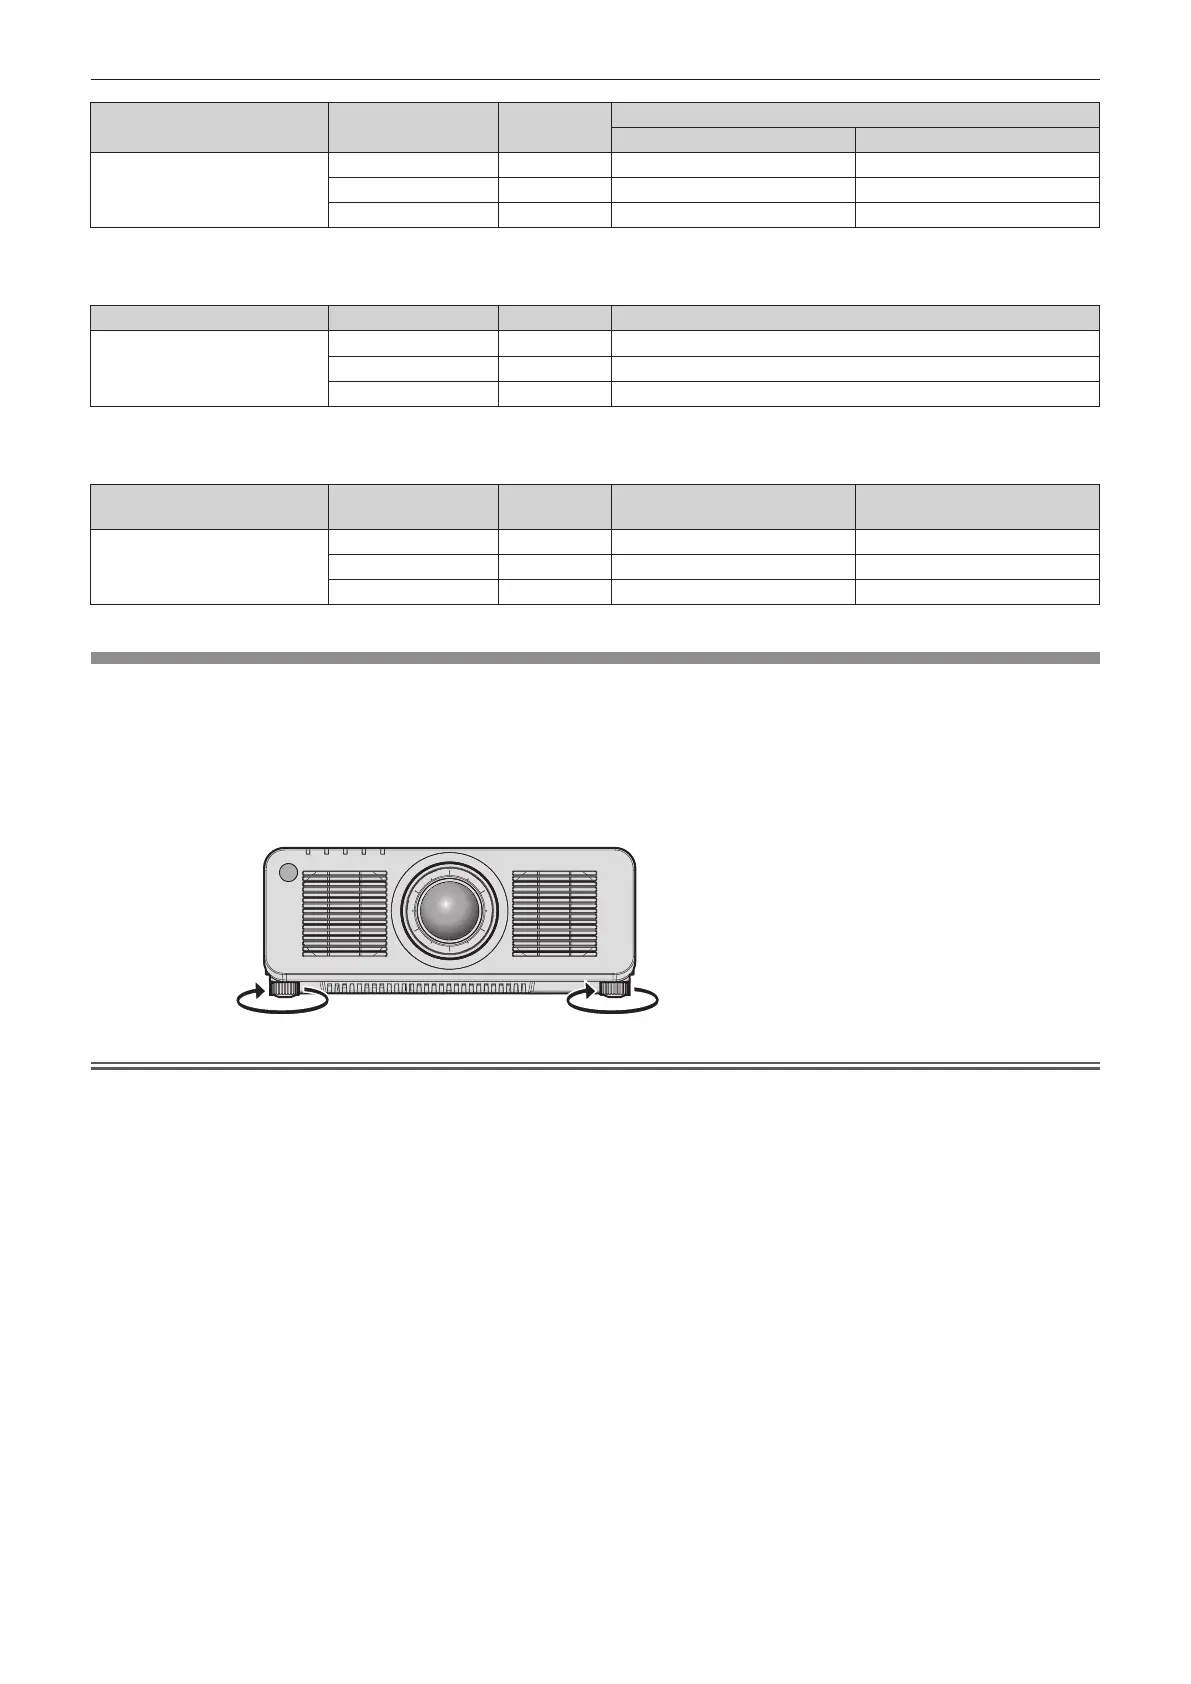
Adjusting adjustable feet
Install the projector on a at surface so that the front of the projector is parallel to the screen surface and the
projection screen is rectangular.
If the screen is tilted downward, extend the front adjustable feet so that the projected image becomes rectangular.
The adjustable feet can also be used to adjust the projector to be level when it is tilted in the horizontal direction.
Adjustable feet can be extended by turning them as shown in the gure. Turning them in the opposite direction will
return them to the original position.
Maximum adjustable range
Adjustable feet: 30 mm (1-3/16") each
Attention
f Be careful not to block the intake/exhaust ports with your hands or any objects when adjusting the adjustable feet while the light source is
on. (x page 30)

 Loading...


