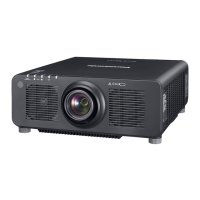
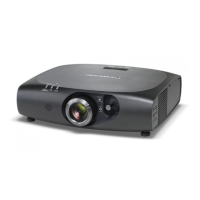
Chapter 1 Preparation — About your projector
ENGLISH - 29
11 Remote control signal receiver (rear)
12 Air exhaust port
13 Control panel (x page 30)
14 Connecting terminals (x page 31)
15 Security slot
This security slot is compatible with the Kensington security
cables.
16 <AC IN> terminal
Connect the supplied power cord.
17 <MAIN POWER> switch
Turns on/off the main power.
3
2
1
2
Projection direction
BottomTop
WARNING
Do not touch the top surface of the projector during use.
f Doing so may result in burns, as the top surface is hot during
use and for a while after use.
1 Screw holes for eyebolts
Screw diameter: M10, tapping depth inside the projector:
35 mm (1-3/8")
2 Handle
Hold the handle with your hand when carrying the projector.
3 Screw holes to x the projector
Screw diameter: M10, tapping depth inside the projector:
30 mm (1-3/16")
Attention
f Do not block the ventilation ports (intake and exhaust) of the projector.
 Loading...
