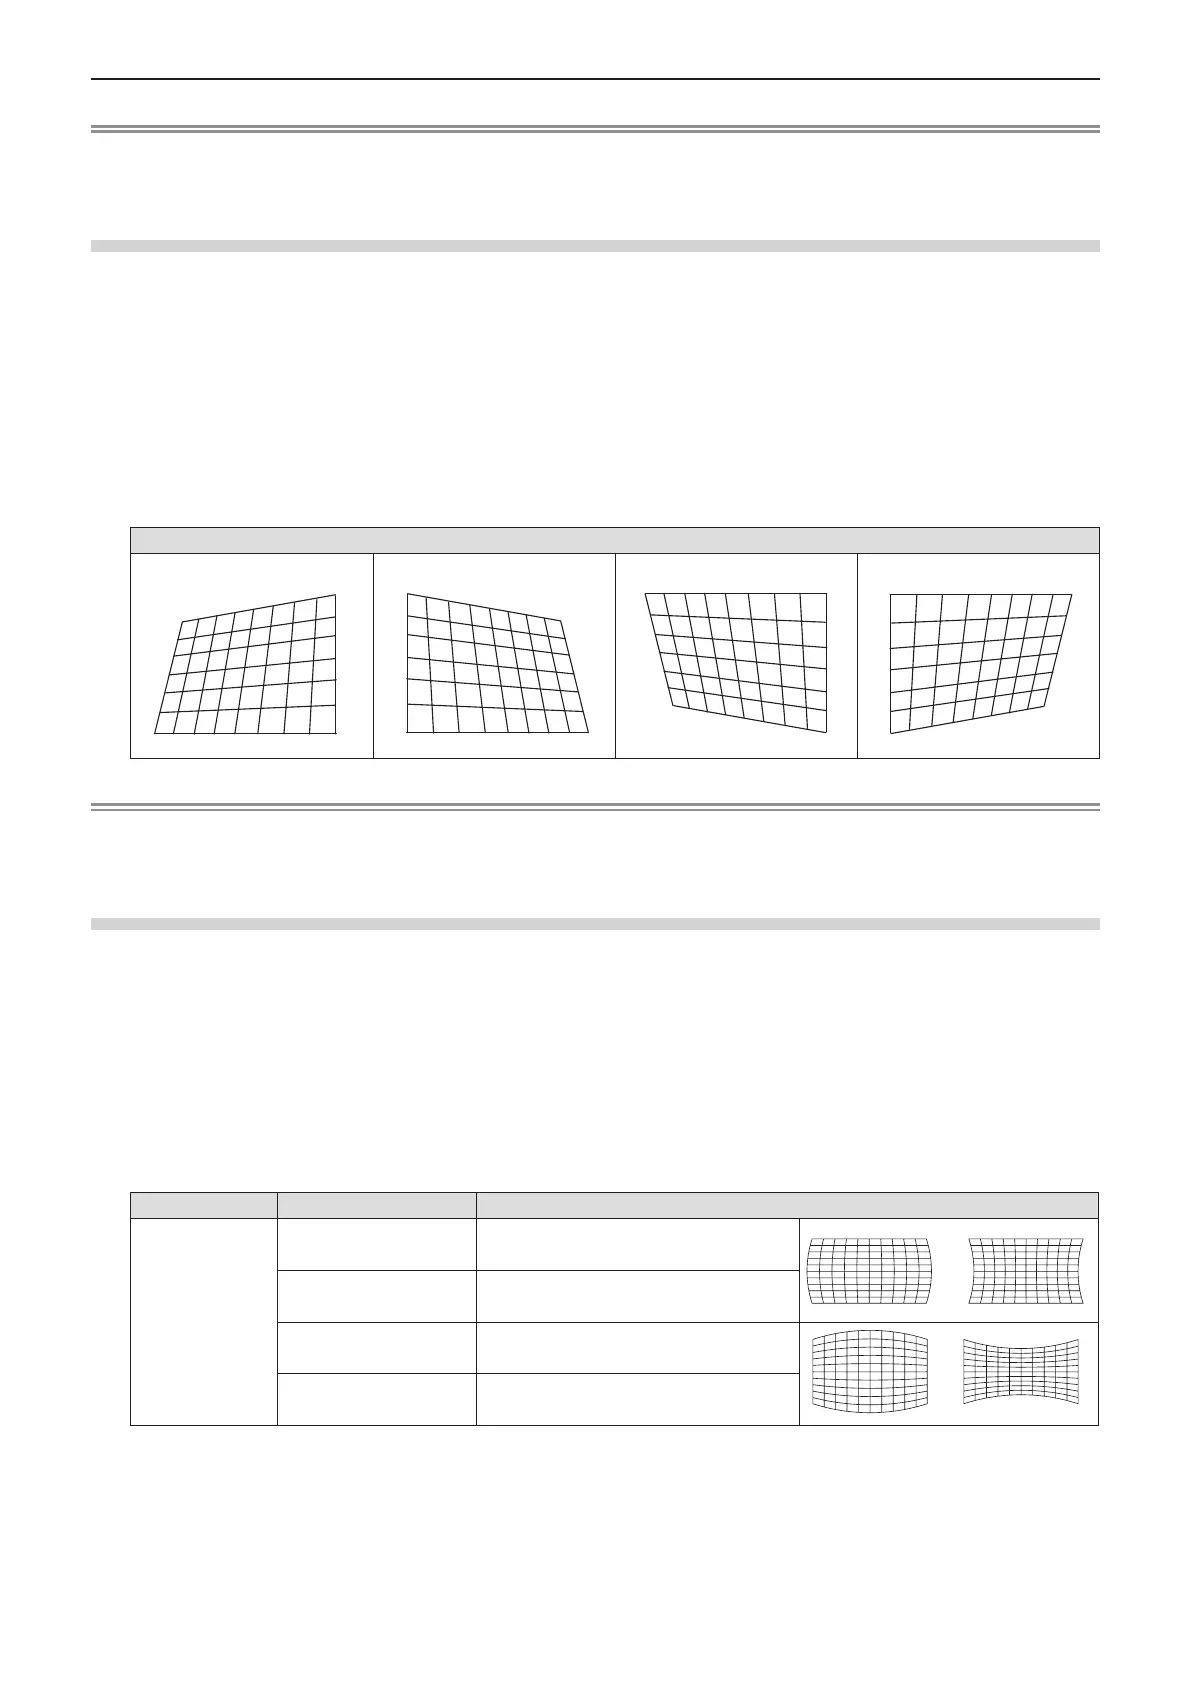
62 - ENGLISH
Note
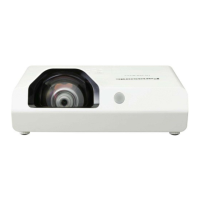
f The white arrows indicate that there is no correction.
f A red arrow indicates the direction of correction.
f An arrow disappears at the maximum correction.
[Corner correction]
1) Press as to select [Keystone].
2) Press the <ENTER> button.
f The [Keystone] screen is displayed.
3) Press as to select [Corner correction].
4) Press the <ENTER> button.
f The Corner correction arrows are displayed on the upper left corner of the projected image.
5) Press asqw to adjust.
[Corner correction]
Upper left Upper right Lower left Lower right
Note
f The white arrows indicate that there is no correction.
f A red arrow indicates the direction of correction.
f An arrow disappears at the maximum correction.
[Curved correction]
1) Press as to select [Keystone].
2) Press the <ENTER> button.
f The [Keystone] screen is displayed.
3) Press as to select [Curved correction].
4) Press the <ENTER> button.
f The [Curved correction] screen is displayed.
5) Press asqw to adjust the item.
Items Operation Adjustment
[Curved
correction X/Y
Gain]
Press the w button.
Extend the vertical lines to left and
right.
Press the q button.
Dent the vertical lines to left and right.
Press the a button.
Extend the horizontal lines to top and
bottom.
Press the s button.
Dent the horizontal lines to top and
bottom.
Chapter 4 - Settings - [Expand] menu
 Loading...