Do you have a question about the Panasonic PT-VW435NU and is the answer not in the manual?
Covers warnings about exposing the projector to rain/moisture and risk of electric shock.
Caution regarding the use and importance of the three-pin grounding-type power plug.
Details FCC (USA) and Canadian ICES-003 compliance information.
Covers safe power connection, handling, and installation practices.
Covers safe handling, foreign object insertion, and installation warnings.
Covers safe battery, lamp, and accessory handling and replacement.
Reinforces power handling, usage conditions, and accessory cautions.
Details battery handling in Brazil and lists trademarks.
Highlights Auto Setup, Direct Power Off, LAN, and Presentation functions.
Outlines the basic sequence for setting up and operating the projector.
Guidelines for securely handling and transporting the projector.
Warnings about installation location, environment, and mounting.
Covers projector placement, ventilation, and product disposal.
Details on picture quality, lens care, optical components, and lamp safety.
Guidelines for using wireless connections, avoiding interference, and channel usage.
Safety measures against unauthorized access and information leaks.
Lists the manuals and software included on the CD-ROM.
Details available optional accessories and their model numbers.
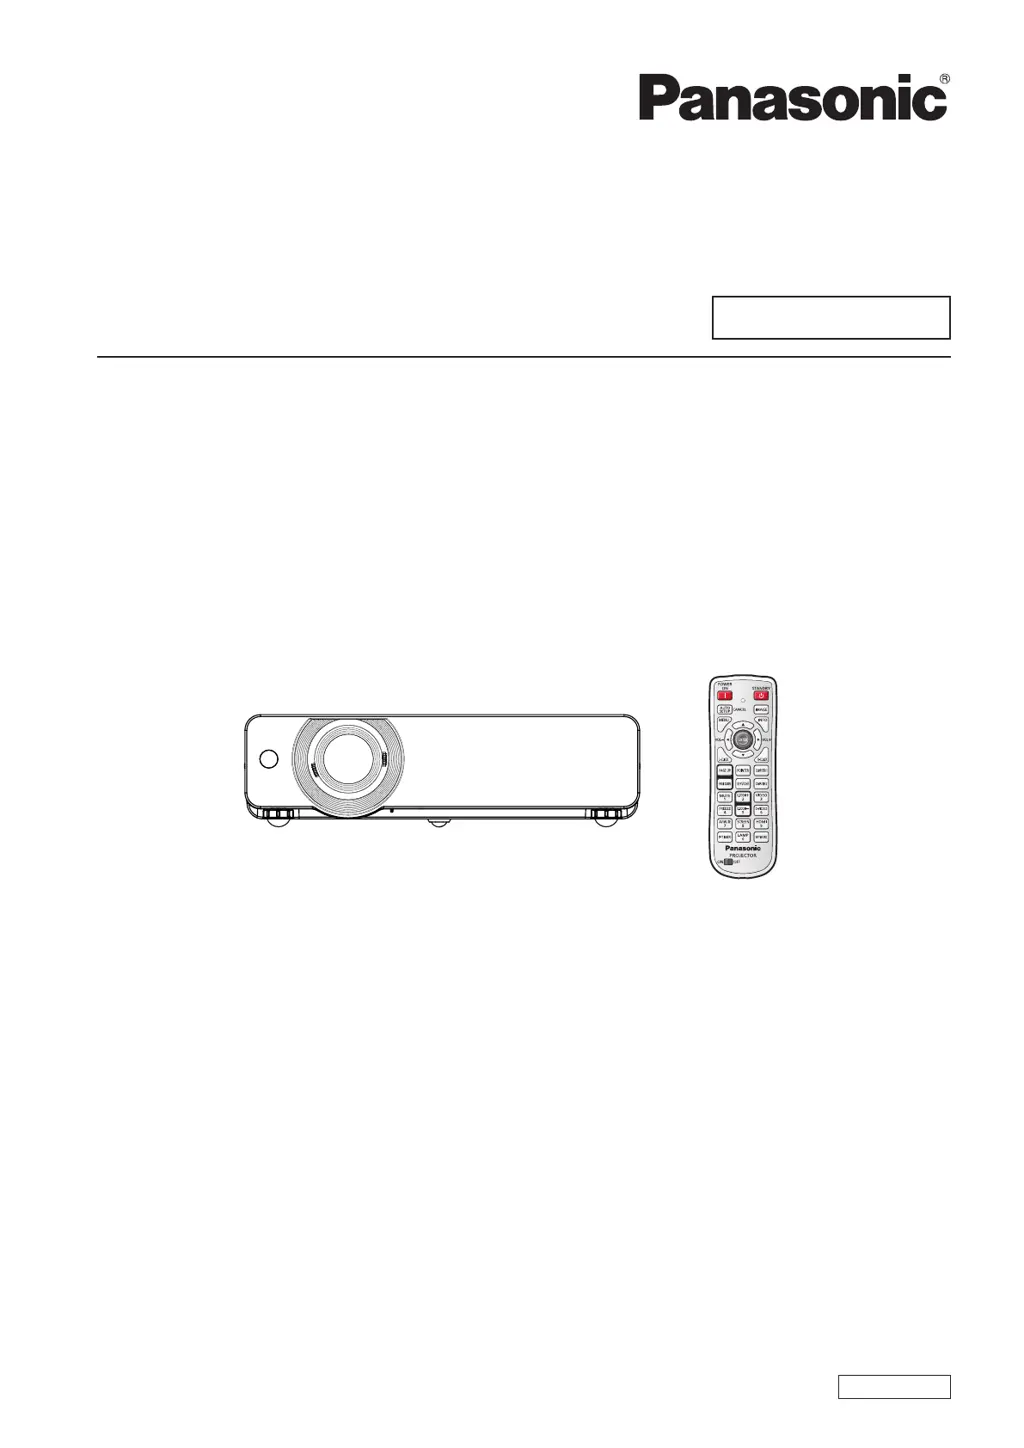
Explains the functions and buttons of the remote control unit.
Explains buttons for pointer, page navigation, mute, zoom, freeze, and input selection.
Identifies key parts like lens, control panel, ports, and air vents.
Details the function of each button and status indicator on the projector.
Explains the function of each input/output terminal on the projector.
Instructions for inserting and removing batteries from the remote.
How to set and reset remote control ID numbers for multi-projector use.
Explains four projection methods: desk, ceiling, and rear projection.
Information on required optional ceiling mount brackets and bases.
Tables showing projection distance based on screen size and aspect ratio.
Formulas for calculating screen dimensions and projection distances.
Instructions for adjusting the projector's front feet for tilt and height.
How to adjust the projected image position vertically using the lens shift.
Important checks and signal compatibility before connecting devices.
A visual guide illustrating typical projector connections.
Step-by-step guide for attaching and securing the power cord.
Details the meaning of different colors and blinking patterns of the power indicator.
Steps for powering on the projector, including preparation and input selection.
Instructions for entering a PIN code for projector operation.
Procedure for safely turning off the projector and cooling down fans.
Method to disconnect power directly without normal shutdown.
Guide to selecting the desired input signal source for projection.
Steps for adjusting projection angle, lens shift, zoom, and focus.
How to use the Auto Setup for input search and PC adjustment.
Using the IMAGE button to select desired picture modes.
How to open and navigate the projector's on-screen menu.
Using the INFO button to display projector and signal information.
Adjusting the projector's speaker or audio output volume.
How to use the remote control as a wireless mouse for computer control.
Using PAGE UP/DOWN buttons for presentations via USB connection.
Activating and using the on-screen pointer with the remote.
Manually correcting keystone distortion using the KEYSTONE button.
Selecting different input signals like HDMI, Video, Computer, and Network.
Temporarily muting the audio output using the MUTE button.
Using D.ZOOM buttons to zoom in and out of the projected image.
Freezing the projected image and sound temporarily.
Blacking out the screen and restoring the image using AV MUTE.
Selecting screen modes or changing screen aspect ratio.
Operating the P-timer for count up or count down timing.
Selecting lamp modes to adjust screen brightness.
Step-by-step guide on how to access and navigate the projector's menu system.
Lists the nine main menu categories available for configuration.
Explains the options and settings within the Input, PC Adjust, Image Select, and Image Adjust sub-menus.
Explains options in Screen, Sound, Setting, Information, and Network sub-menus.
Details on setting up Computer 1 and Computer 2 input signals.
Configuration for HDMI, Video, and S-Video input sources.
Settings for Component input and Network connection as input sources.
Explanation of the Auto PC adjustment feature for fine-tuning PC signals.
How to store adjusted parameters for easy recall later.
Adjusting fine sync and total dots for precise PC signal alignment.
Manually adjusting the horizontal and vertical position of the projected image.
Settings for current mode, clamp level, display area, and resetting adjustments.
Options for clearing modes and storing custom settings.
Descriptions of Dynamic, Standard, Real, and Cinema picture modes.
Explains Blackboard, Colorboard, and user-defined Image 1-4 modes.
How to adjust contrast and brightness levels for the projected image.
Adjusting color intensity, tint, and iris settings for image quality.
Setting color temperature and adjusting individual Red, Green, and Blue color tones.
Using Daylight View to automatically adjust output based on ambient light.
Adjusting image sharpness and gamma for better contrast balance.
Settings for noise reduction, progressive scan, resetting, and storing image adjustments.
Explains Normal, Full, Wide(16:9), and Zoom screen size adjustments.
Details True, Natural Wide (model-specific), and Custom screen aspect ratios.
Manually adjusting screen scale and position for custom aspect ratios.
Using digital zoom and keystone functions to adjust image size and shape.
Configuring the projector for ceiling mount or rear screen projection.
Setting screen aspect ratio and resetting screen adjustments.
Adjusting volume levels and using the mute function for audio output.
Configuring MIC input and adjusting MIC gain for audio input.
Enabling MIC output during standby mode for specific network settings.
Selecting the on-screen menu language and adjusting menu display position.
Configuring input search and auto PC adjustment behaviors.
Auto keystone correction and setting background display options.
Controlling on-screen displays and customizing the startup logo.
Changing logo PIN code and configuring HDMI input settings.
Managing USB drives, pointer settings, and terminal functions.
Configuring power management for lamp life and standby mode settings.
Setting P-timer and enabling direct power-on functionality.
Executing timer functions and setting closed captioning display.
Adjusting color, lamp power, and remote control codes for operation.
Configuring key lock, PIN code lock, and changing PIN codes for security.
Adjusting fan speed for cooling based on operating elevation.
Adjusting video delay and setting the filter replacement timer.
Emulating older projector commands, viewing warning logs, and resetting to factory defaults.
Displays selected input source, system settings, and frequencies.
Shows screen settings, language, lamp power, and runtime status.
Displays key lock, PIN code status, remote control code, and serial number.
How to check network number, projector name, and ID for wireless LAN.
Detailed settings for wired LAN connections, including DHCP.
Selecting network numbers and configuring wireless LAN connections.
Configuring advanced network settings for wireless LAN, including IP and SSID.
Configuring authentication methods like OPEN, SHARED, WPA-PSK, WPA2-PSK.
Selecting encryption methods (NONE, WEP, TKIP, AES) for wireless security.
Configuring USER 1-3 settings and sending images from mobile devices.
Setting passwords for access and enabling network control features.
Enabling AMX D.D. detection and configuring Crestron RoomView.
Using memory viewer via USB and resetting network settings to factory defaults.
Operations available via web browser control, including settings and status.
Explains the function of LAN Link/ACT lamp, LAN terminal, and LAN 10/100 lamp.
Steps for connecting the projector via wired LAN and computer setup.
Steps for connecting the projector via wireless LAN using M-DIRECT or USER modes.
Network settings for computers connecting via M-DIRECT or USER modes.
Steps to access projector settings and status using a web browser.
Description of page tabs, buttons, and control elements in the web interface.
Explains the information displayed on the projector status page.
Displays error details and current network configuration information.
Basic projector controls like power, input, volume, image mode, and AV mute.
Advanced controls for setup, screen, keystone, and image adjustments via web.
Changing network settings on the projector through the web interface.
Performing a ping test to check network connectivity to servers.
Setting up email alerts for errors, lamp runtime, and temperature warnings.
Entering recipient email addresses and selecting notification conditions.
Configuring POP/SMTP server details for email authentication.
Shows the format and content of email reports sent by the projector.
Configuring the port number for command control via serial or network.
Procedures for changing administrator and user passwords for access control.
Interface for monitoring and controlling the projector via RoomView.
Details on control system, user/admin passwords, and network status in RoomView.
Displays projector name, MAC address, lamp status, and user password changes.
Functionality for presentations using USB drives without computers.
Specifies supported image formats (JPEG, Bitmap) and text file formats.
Guidelines for using and inserting USB thumb drives for the Memory Viewer.
Safety warnings for handling, storing, and using USB thumb drives.
How to start the memory viewer mode directly upon projector startup.
Displays the memory viewer browser window in list or thumbnail format.
Explains icons for folders, files, and supported image types.
Methods to terminate the memory viewer function via menu or USB removal.
Instructions for formatting USB thumb drives for projector compatibility.
Explains the yellow LAMP indicator and when to replace the lamp unit.
Describes the red WARNING indicator and checks for abnormal conditions.
Safety procedures before performing maintenance or replacing parts.
Cleaning the projector's outer case and front lens surface.
Step-by-step guide for removing and replacing the side air filter unit.
Instructions for removing and installing the back air filter unit.
How to reset the filter counter after replacing the air filter.
Important cautions and notes regarding lamp replacement safety and handling.
Information on when to replace the lamp based on runtime and indicators.
Detailed instructions for safely removing and installing the lamp unit.
Procedure for attaching the lens cap using the included string to prevent loss.
Solutions for power not turning on and no picture appearing.
Troubleshooting fuzzy pictures, color issues, and no sound from speaker.
Solutions for remote control malfunctions and incorrect picture display.
Troubleshooting HDMI connection stability and image distortion.
Introduction to the PJLink protocol for projector control and status queries.
Table of PJLink commands for controlling projector settings and status.
Details on LAN control commands, connection, and transmission methods in protect mode.
LAN control command procedures when administrator rights password is not set.
Information on connecting the projector to a computer via RS-232C serial interface.
Details pin assignments, signal names, and communication conditions for serial terminals.
Explains the basic format and sub-command format for serial communication.
Specifications for cables connecting the projector to a computer.
Lists available commands for projector control via computer.
Pin assignments for S-VIDEO IN, COMPUTER 1 IN/COMPONENT IN, COMPUTER 2 IN/MONITOR OUT, and HDMI terminals.
Pin assignments for the USB Type A and Type B connectors.
Details compatible video and computer signal modes, resolutions, and frequencies.
Further details on signal compatibility for SXGA+, XGA, and SXGA resolutions.
Signal compatibility for WXGA, WUXGA, and various D-VGA resolutions.
Signal compatibility for high-resolution formats like WUXGA and 1080p.
Details model numbers, power supply, and power consumption specifications.
Specifications for LCD panel, lens system, and luminous lamp.
Details on applicable scanning frequencies and signal types.
Specifications for color system, projection size, speaker, and contrast.
Details operating environment, temperature, humidity, and remote control specifications.
Physical dimensions of the projector unit.
Safety guidelines and precautions for installing ceiling mount brackets.
Definitions for terms like Access Point, AD HOC, AES, Default Gateway, DHCP, EAP, and IP Address.
Definitions for terms like LAN and MAC address.
Definitions for terms like MD5, RADIUS server, SSID, Subnet mask, TKIP, WEP, WPA.
Information on product disposal in countries outside the European Union.
Contact details for Panasonic Corporation and its North American divisions.