11.3. ABL operation level adjustment
Instrument Name Connection Remarks
·
PC (RGB) signal generator
(Leader: VGA/No.9 signal)
·
Wattmeter
·
Component 1
·
Connect the AC power of the
adjustment set to the wattmeter.
Procedure Remarks
[condition]
·
Make sure the set is aged for 30 minutes or more before adjustment.
·
Voltage 120V 50/60Hz (variation within 1%)
·
Volume at minimum and screen size at full
·
Component 1 input, Pic. mode : Vivid (Normal : Set)
1. Connect the set’s AC power to the wattmeter.
2. Receive the VGA No.9 signal from Leader.
3. Select the PWRCTRL item in WB-ADJ in the factory mode (INTERCAT2001).
4. Adjust PWRCTRL so the set’s power consumption are as follows.
Adjust to shift large to small for DAC.
Factory adjustment with OSD
TH-37PX60U 270 ± 5W
TH-42PX60U 330 ± 5W
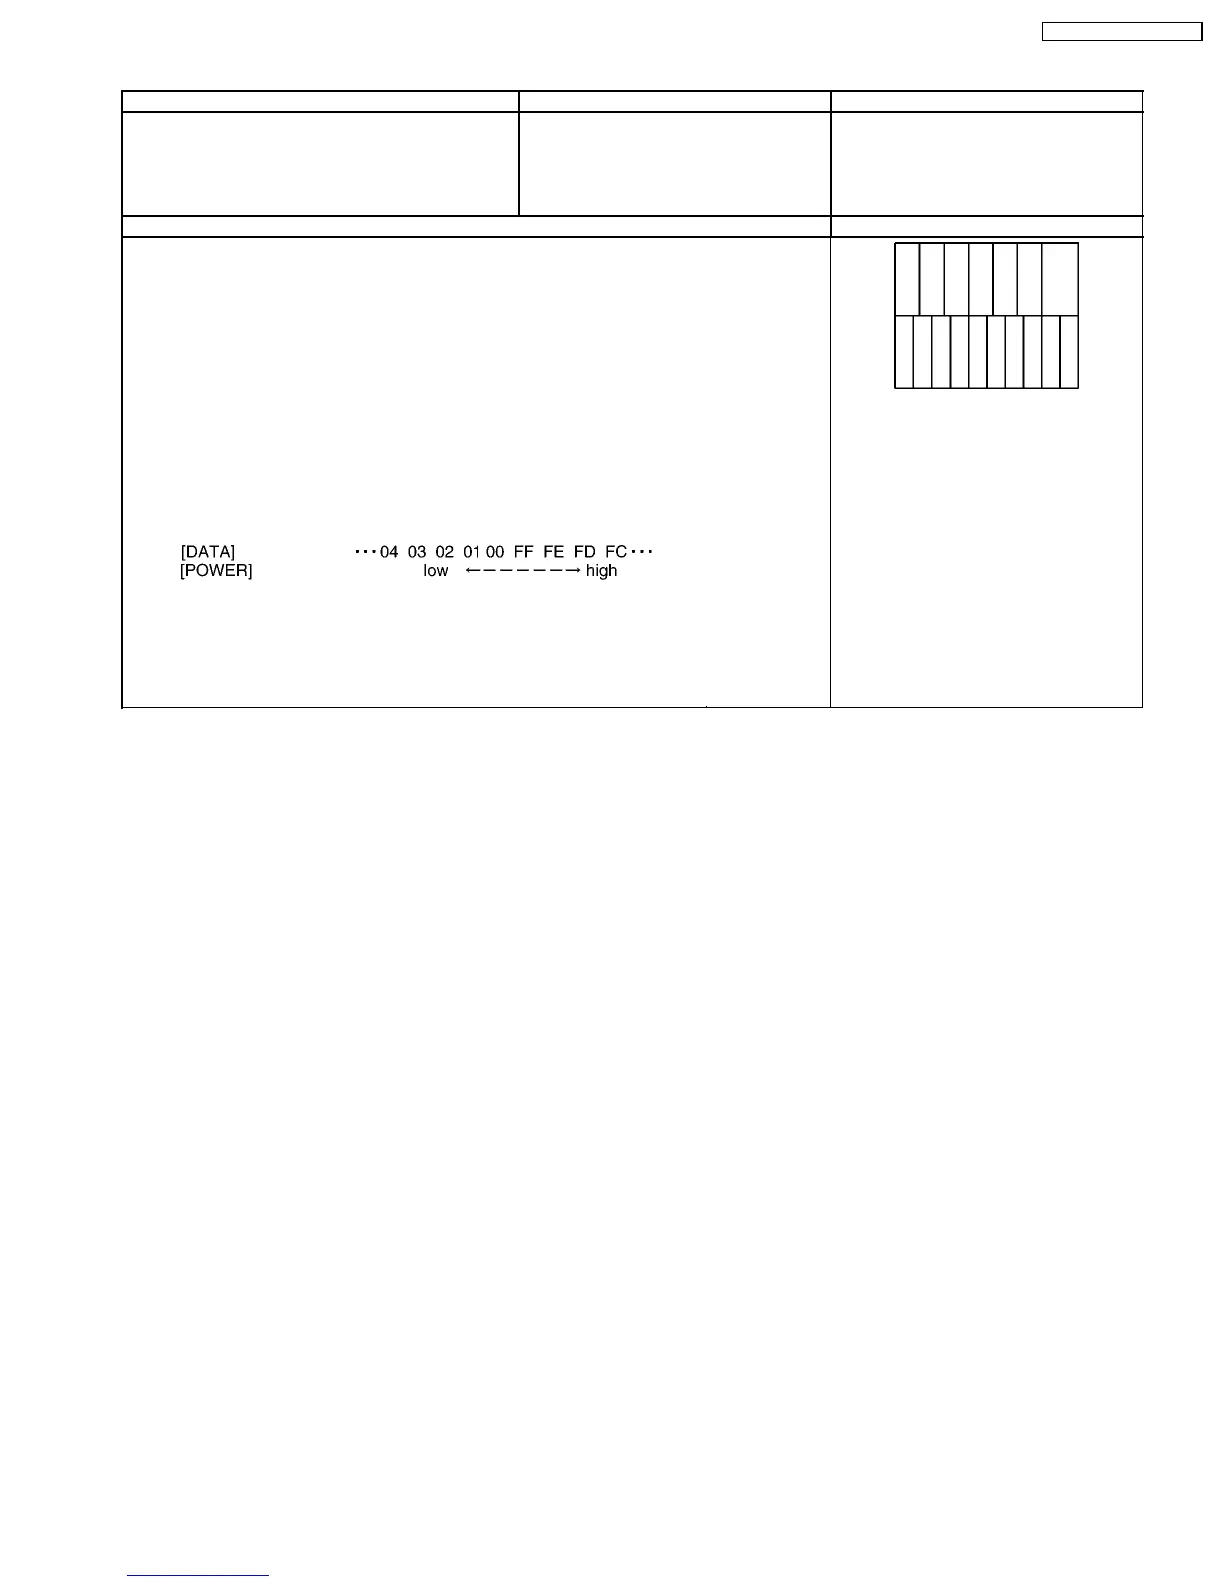
No.9 Signal
Top half: Full color bar
Bottom half: Horizontal 10 steps bar
Notes:
1. It is OK that falling down the power
few watts when exiting the factory
adjustment mode.
2. Adjust the large number for DAC
when they have 2 adjustment
points.
41
TH-37PX60U / TH-42PX60U
 Loading...