1.
With the Select Card or Select Mode screen opens, press Setup to
open the Setup Menu.
2.
With the Setup menu open, use the
Up
and Down arrows to choose
a display option.
3.
Press ENTER
to
select the option. A second menu opens, listing the
available settings. A blue highlight shows the current setting.
4.
Use the Up and Down arrows
to
choose the desired setting.
5.
Press ENTER
to
select the setting. The second menu closes.
6.
You can make as many changes as you wish
in
the same manner.
When you are finished, press the EXIT button to close the Setup
Menu and return
to
the previous screen.
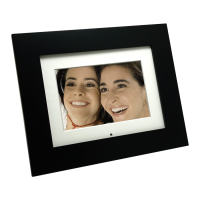
Displaying A Clock with a Calendar and a
Slideshow
You can use your Digital Photo Frame as a desk calendar with a real-
time clock and continuous slideshow. You can also use the Digital Photo
Frame as
an
Alarm Clock, after setting internal clock.
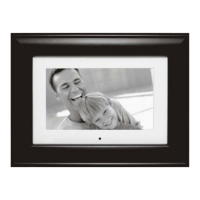
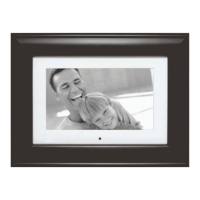
To Display the Calendar/Clock screen:
1.
Open the Mode Selection Screen.
2.
Use the arrow buttons
to
choose Clock and press ENTER. The
Calendar/Clock screen will look similar
to
the one shown below. The
slideshow displays photos from the currently selected memory
source, and if the alarm
is
set,
on
alarm icon appears under the
slideshow window.
17
 Loading...