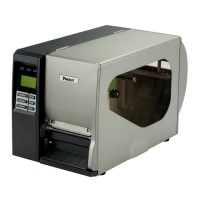
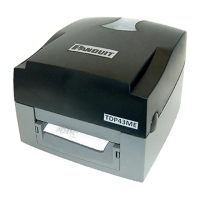
TDP43ME
TDP43ME: PA26305A01_08 Page 62 of 75 11-2022
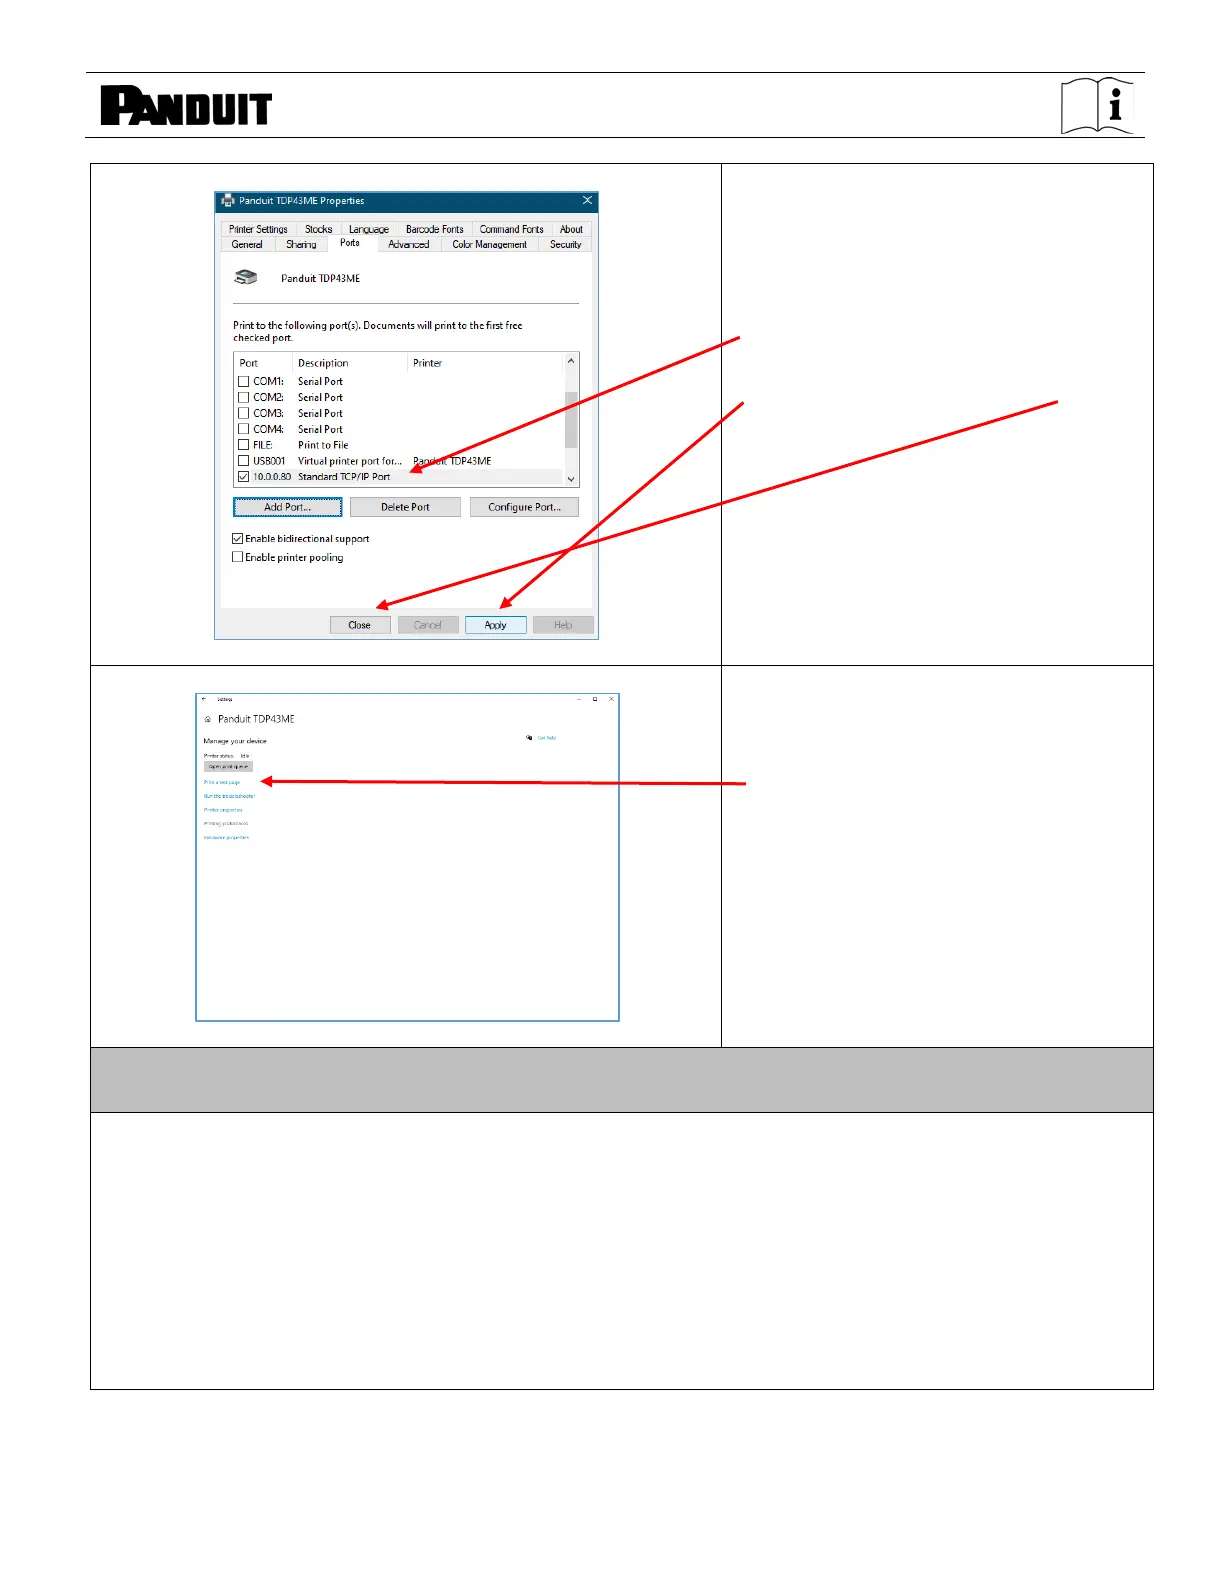
New port should be checked.
Click APPLY and then click CLOSE or
OK.
The Ethernet port is now active and set
as the printer’s port.
Click on the PRINT TEST PAGE button
to print to this printer. It should be
printed.
Your printer is now set to Ethernet Port
printing.
Close all windows and disconnect the
USB cable.
If The Printer Is To Be Installed On An Ethernet Port (Win7):
There are three basic steps in installing a TDP43ME printer on an Ethernet port in Windows 7. These are:
1. Install printer on USB port and change printer internal circuitry to Ethernet port active.
2. Obtain the IP address that the printer will use in communicating with the computer. Using NetPS
Control Center software can determine the IP address for the selected printer.
3. Change the port selection to the TCP/IP port by adding the port, using the above found IP address
and selecting it in Devices and Printers.
 Loading...