22
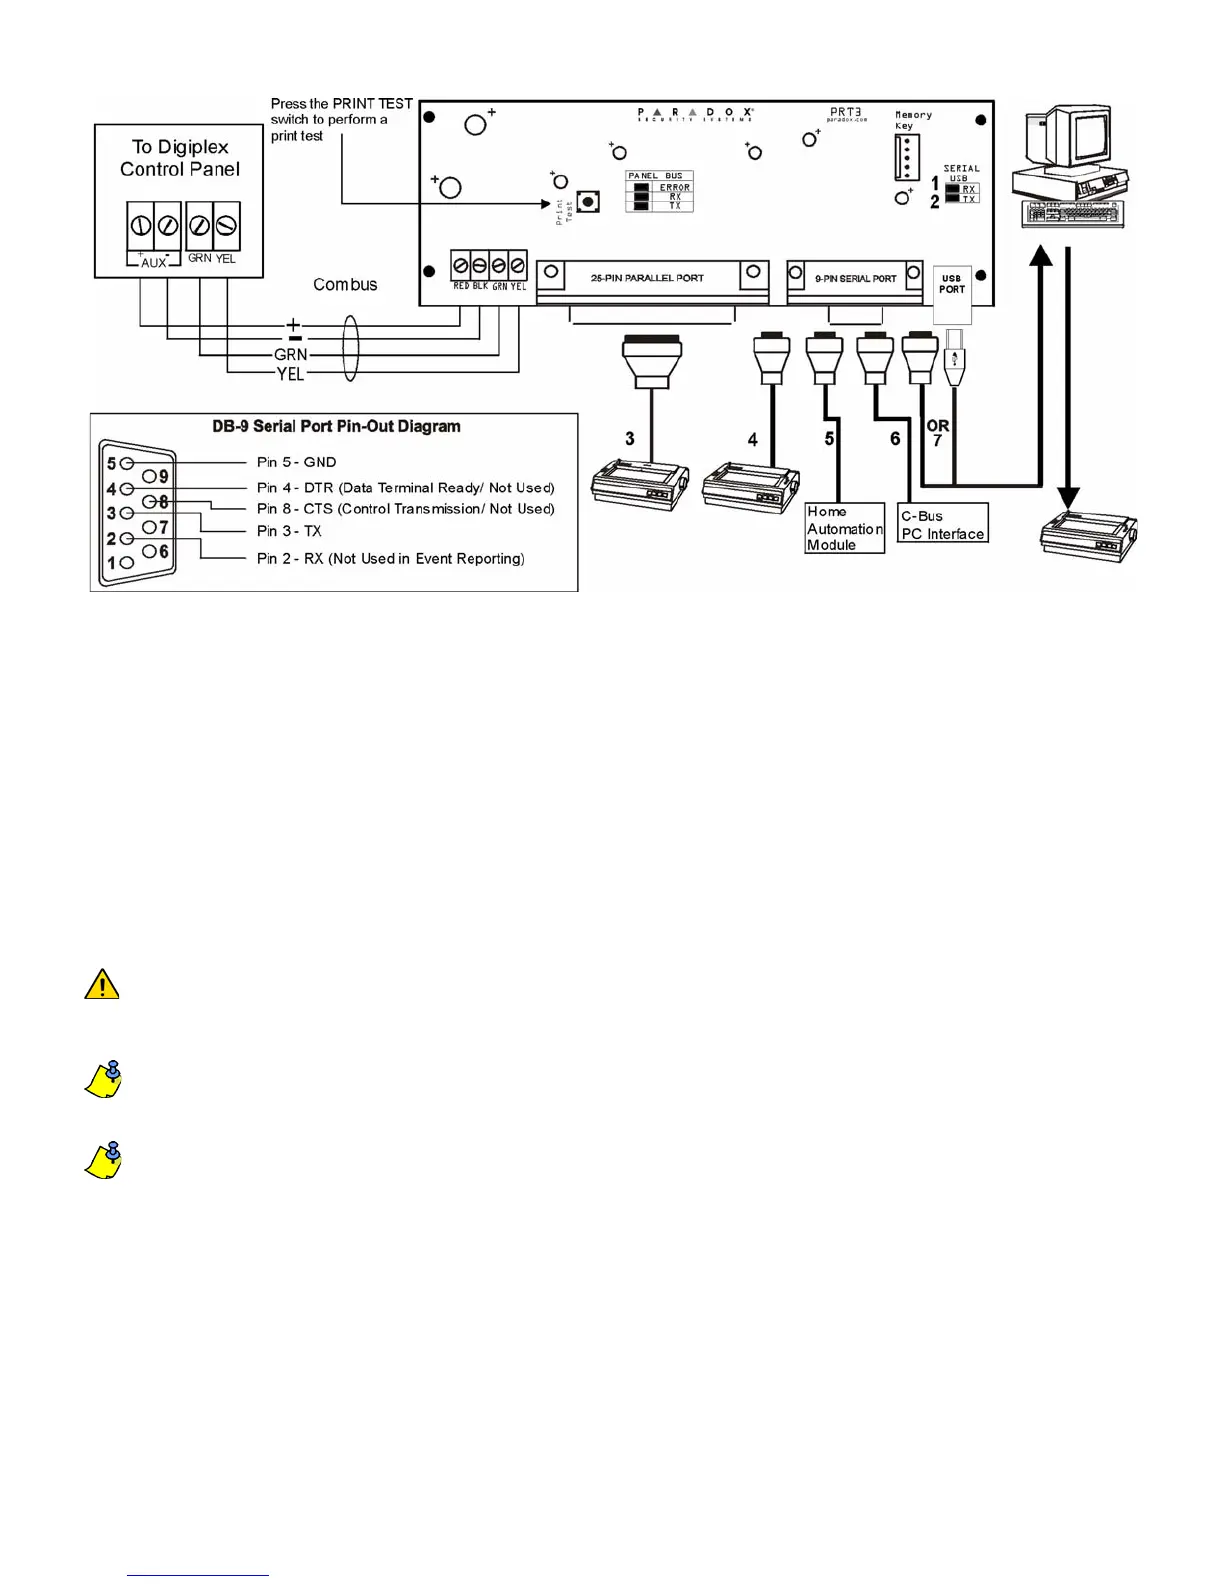
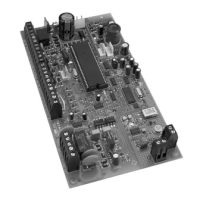
Figure 2: .PRT3 Connection
1) Green “RX” LED: Flashes when the Printer Module is receiving data through the serial port only.
2) Red “TX” LED: Flashes when the Printer Module is transmitting data through the serial port only.
3) 25-Pin Parallel Port: Connect the Printer Module’s 25-pin parallel port to any dot matrix printer.
Note: The dot matrix printer must support a minimum of 80 columns.
4) 9-Pin Serial Port: Connect the Printer Module’s 9-Pin serial port to a dot matrix printer.
Note: The dot matrix printer must support a minimum of 80 columns.
5) 9-pin Serial Port: Connect the Printer Module’s 9-pin serial port to a home automation module.
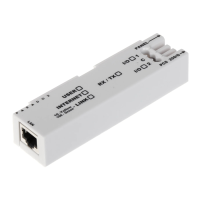
6) 9-pin Serial Port: Connect C-Bus to the Printer Module using a null modem cable.
7) 9-pin Serial Port: Connect either the Printer Module’s USB or 9-pin serial port to a computer’s COM port to view the control panel’s events on
the computer’s monitor. The events display on the monitor can then be printed through the printer connected to the computer.
Remove AC power and battery before adding a module to the system. Refer to the Digplex EVO
or DGP-848 Reference & Installation Manual for the maximum allowable installation distance
from the control panel.
Printer cable length must not exceed 25ft.
For information on using the Printer Module as an interface with home automation modules, see
the ASCII Protocol Programming Instructions or C-Bus Programming Instructions.