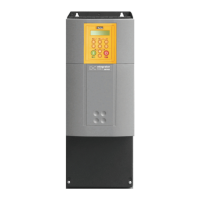
890SD Standalone Drive 5-8
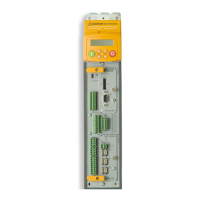
890CS Common Bus Supply - Frames B & D; 890CD Common Bus Drive and 890SD Standalone Drive - Frames B, C & D
The 890 Installation Kit is supplied with your unit. The kit provides several options for earth/ground
connections. It also includes the brackets for DIN rail mounting the unit. Refer to the
instructions in the kit and use the appropriate parts.
Cables are considered to be electrically sensitive, clean or noisy. Plan your cable routes to
segregate these cables for EMC compliance. Refer to Appendix C: "Certification".
Panel Mount Fixings
Support the unit at the top and bottom with fixings to secure the unit to the panel. Mark
and drill the fixing holes into the panel. Refer to the fixing centres given on the previous
page. Insert the fixings into the top hole(s) and hang the unit. Insert the bottom fixing(s)
and tighten to the required torque.
DIN Rail Mounting
The unit can be DIN rail mounted (35mm DIN).
Convert the unit to accept to DIN rail mounting:
1. Secure the DIN clips from the 890 Installation Kit into the threaded inserts at the top of
the unit using the fixings supplied.
2. Hang the unit on the top DIN rail. Fix the DIN clips onto the bottom of the unit and clip
onto the DIN rail.
3. Tighten both the top and bottom clips when the unit is in position on the rail.
Shield Bonding Clips
Fit the shield bonding clips to the Control Bracket/Power Bracket. Select slots providing a
loose fit. This will then allow the clips to be tightened by hand.
Note Do not squeeze the clip sides to produce a fit as this will crimp the sides to the clip's
moving soleplate.