5. SET-UP & ADJUSTMENTS
. ..A. BLADE...
4D
9
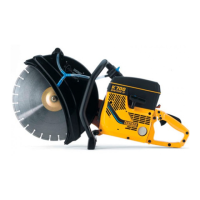
Installation
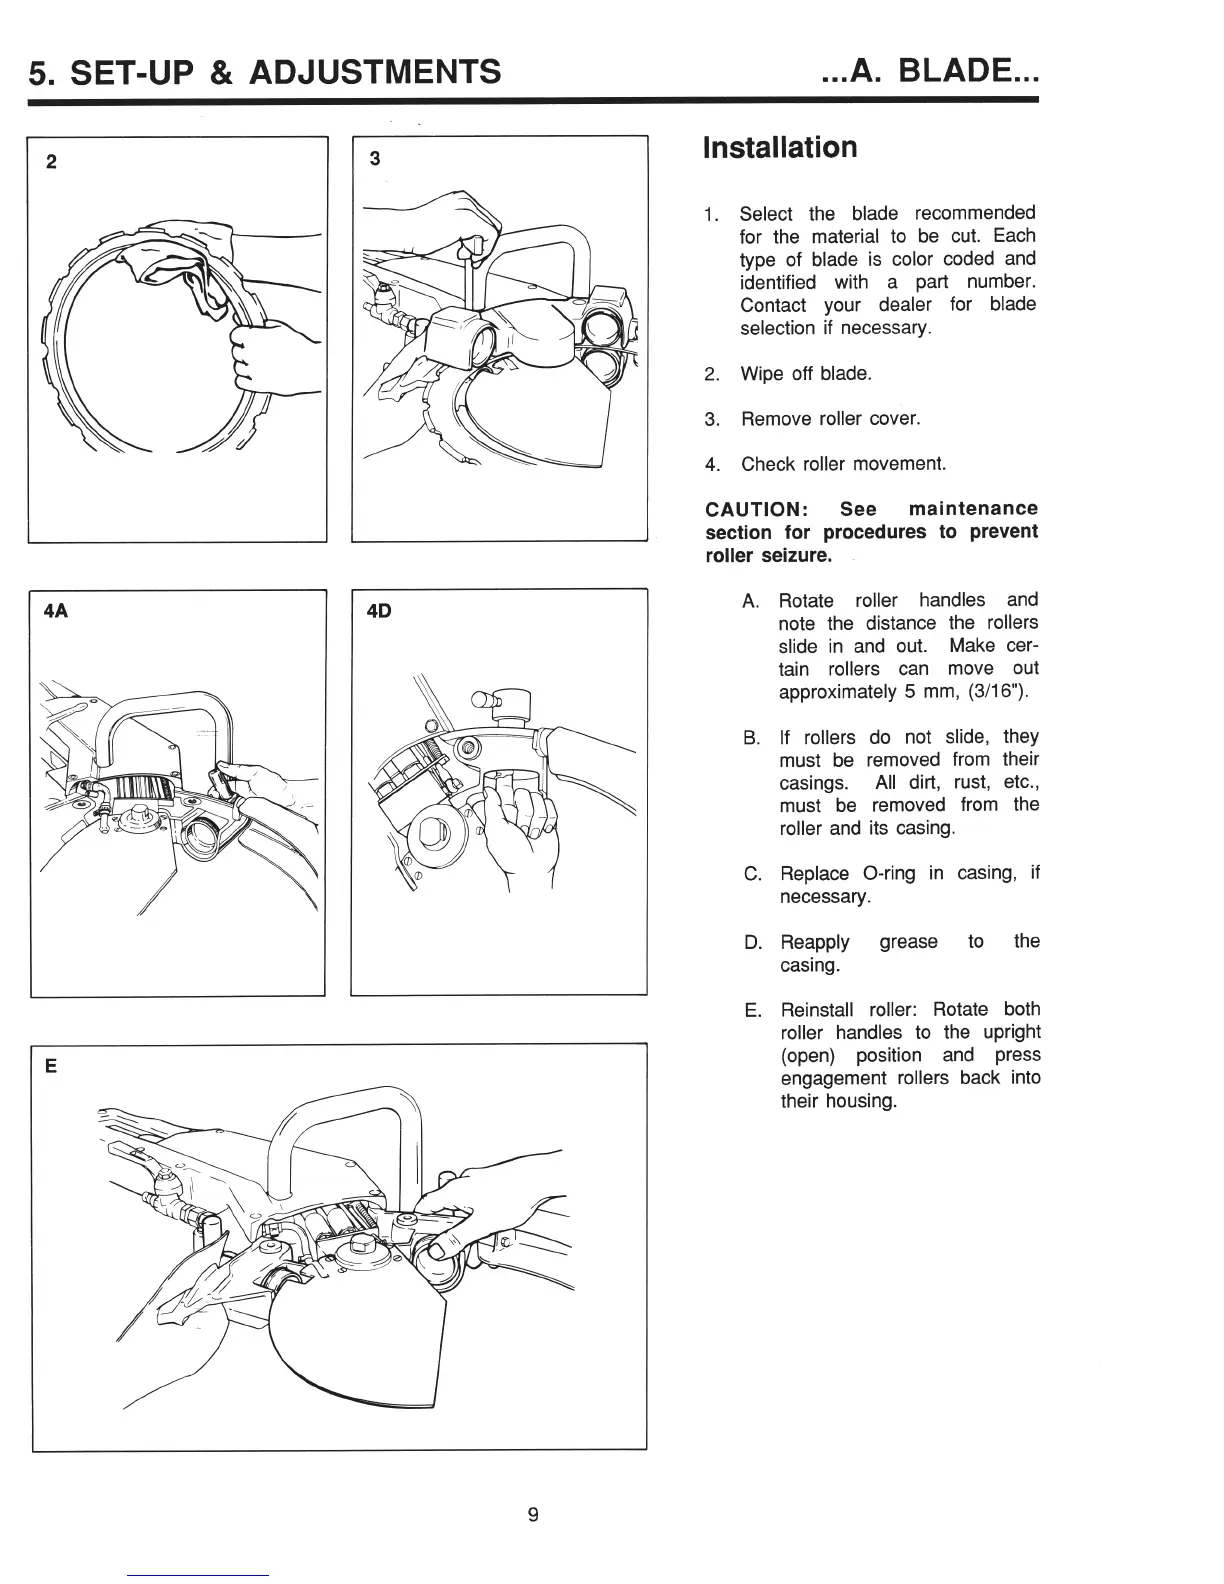
1. Select the blade recommended
for the material to be cut. Each
type of blade is color coded and
identified with a part number.
Contact your dealer for blade
selection if necessary.
2. Wipe off blade.
3. Remove roller cover.
4. Check roller movement.
CAUTION:
See
maintenance
section for procedures to prevent
roller seizure.
A. Rotate roller handles and
note the distance the rollers
slide in and out. Make cer-
tain rollers can move out
approximately 5 mm, (3/16”).
B. If rollers do not slide, they
must be removed from their
casings.
All dirt, rust, etc.,
must be removed from the
roller and its casing.
C. Replace O-ring in casing, if
necessary.
D. Reapply grease to
the
casing.
E. Reinstall roller: Rotate both
roller handles to the upright
(open) position and press
engagement rollers back into
their housing.
r’
.\