32
EasyTouch Control System User’s Guide
Pump #1
Pump #2
X
Selecting the IntelliFlo PUMP TYPE
To access the IntelliFlo menu:
Up/Down button: Choose Pump #1. Choose Pump #1. To assign a circuit to Pump
#2, be sure to change the pump to “ADDRESS 2” on the pump’s control panel.
Right button: Select Pump #1.
Right button: Select Pump Type. Note: To change the current pump type for Pump
#1. press the Up/Down button and select Y, then press the Right button. To
continue to the Pump #1 settings menu, press the Right button (or Menu to exit).
S
T
Settings Menu: IntelliFlo
®
(Continued)
Connecting power to an IntelliFlo pump
The IntelliFlo pump is designed to be permanently connected to its power source. Typically the pump receives
power directly from the circuit breaker. No contactor or motor starter is required. The drive controls the starting
and stopping of the pump. If the IntelliFlo pump is connected to an automation system, such as the EasyTouch
automation system, the drive must be powered up to receive and respond to the RS-485 serial communication from
the automation system. However, the pump can be operated in “stand-alone” mode, starting and stopping when
power is applied or removed. When the drive powers up it will return to the mode and run status that it was in
when power was removed. This setup maybe appropriate if you need to use existing relays or timers.
MENU ▼ SETTINGS ▼ INTELLIFLO PUMP # 1
Getting There
▲
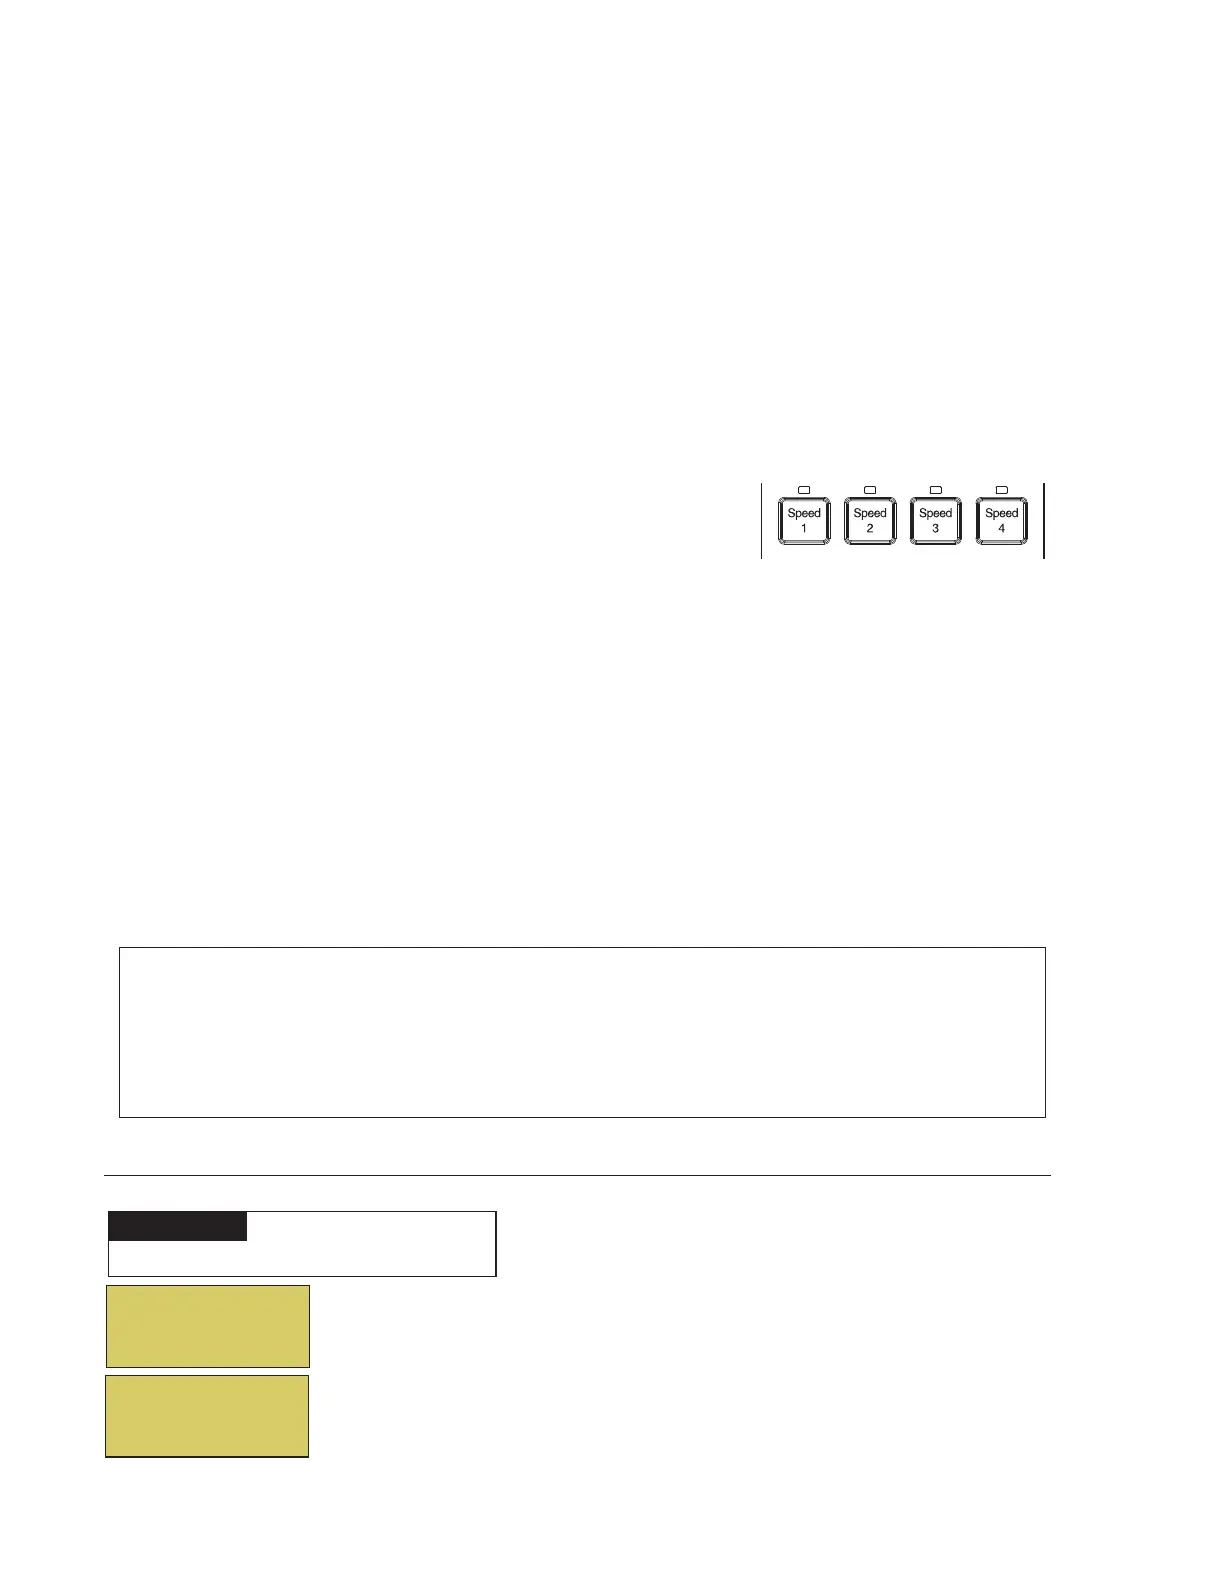
IntelliFlo VS 3050 Speed buttons (1-4)
Assigning an IntelliFlo VS 3050 pump address
Before assigning a pump address in the IntelliTouch indoor control
panel, first set the address on the pump itself. If there is only one
pump, it is always seen as pump #1 by IntelliTouch. In this case you
do not need to set the pump address. When using multiple IntelliFlo
VS 3050 pumps with IntelliTouch you need to assign an address to
each pump. The address can be set to #1, #2, #3, or #4. The
address set at the pump must match the IntelliFlo pump number
selected in the IntelliTouch indoor control panel.
To assign an IntelliFlo VS 3050 pump address:
1. Be sure that the pump is powered on and the green power LED is on.
2. Press the Stop buttons to stop the pump.
3. Press and hold both the Start and Stop buttons until the red LED will starts flashing, then press one of the
four speed buttons (1-4) to select which address to assign the pump. For example, if you are assigning the
pump as pump #1, then press Speed button number 1.
4. Press and hold both the Start and Stop buttons to save the address. Repeat the process for the other
pumps.
Changing Pump1’s
Type will config
it to default.
Continue ? N
NOTE: INTELLIFLO IN “SERVICE MODE” - IntelliFlo pumps will STOP when IntelliTouch is in ‘Service” mode.
NOTE: INTELLIFLO “FREEZE” PROTECTION - If the IntelliFlo pump is on due to a freeze condition (not switch
on from a relay circuit), and if a freeze speed is set in IntelliTouch, this setting takes priority even if the previous
setting is lower than the default circuit speed. If no “freeze” protection is set, the pump will be forced on at the
default circuit speed. Any programmed or manual operation that actually switches on a circuit, will cause the
pump to run at that speed if it is higher.