Operation Guide 250ML Lighting Control Consoles
17 CONSOLE SETUP
Range Patching
Range patching allows the patching of multiple dimmers and multiple channels using a single command. Below are
some examples of range patching.
Should you need multiple dimmers controlled by the same channel, [DIMMER] [THRU] [DIMMER] [@]
[CHANNEL] [ENTER]. Example: [1] [THRU] [5] [@] [1] [ENTER] will patch dimmers 1 thru 5 to channel 1.
Should you need a consecutive dimmer range to be patched to a consecutive channel range, [DIMMER] [THRU]
[DIMMER] [@] [CHANNEL] [THRU] [CHANNEL] [ENTER]. Example: [1] [THRU] [5] [@] [11] [THRU] [15]
[ENTER] will patch dimmer 1 to channel 11, dimmer 2 to channel 12 and so on for the range limit that was entered.
Removing Patching Assignment
To remove any patch assignment to any dimmer, just type [DIMMER] [@] [ENTER]. This will remove any channel
assignment to the selected dimmer and any previous channel number (yellow) will be removed. Notice that [THRU],
[+] and [-] will help you speed up the patching process.
Note: Refer to "Range Patching" (above) on how to use [THRU], [+] and [-].
Patching Intelligent Fixtures
Intelligent fixtures such as LEDs and Moving Lights require a more sophisticated control system and the 250ML
Control Console has everything you need to get started with intelligent fixture control.
Note: There is a limit of 30 intelligent fixtures and 40 parameter capacity on the 250ML Control Console.
From the Setup menu (hold [SHIFT] + [UNTAG] for 3 seconds), press (S2 - Patch) and roll Encoder D clockwise to
move the cursor (white background) down to "Assign Fixture" and press the Encoder D to select.
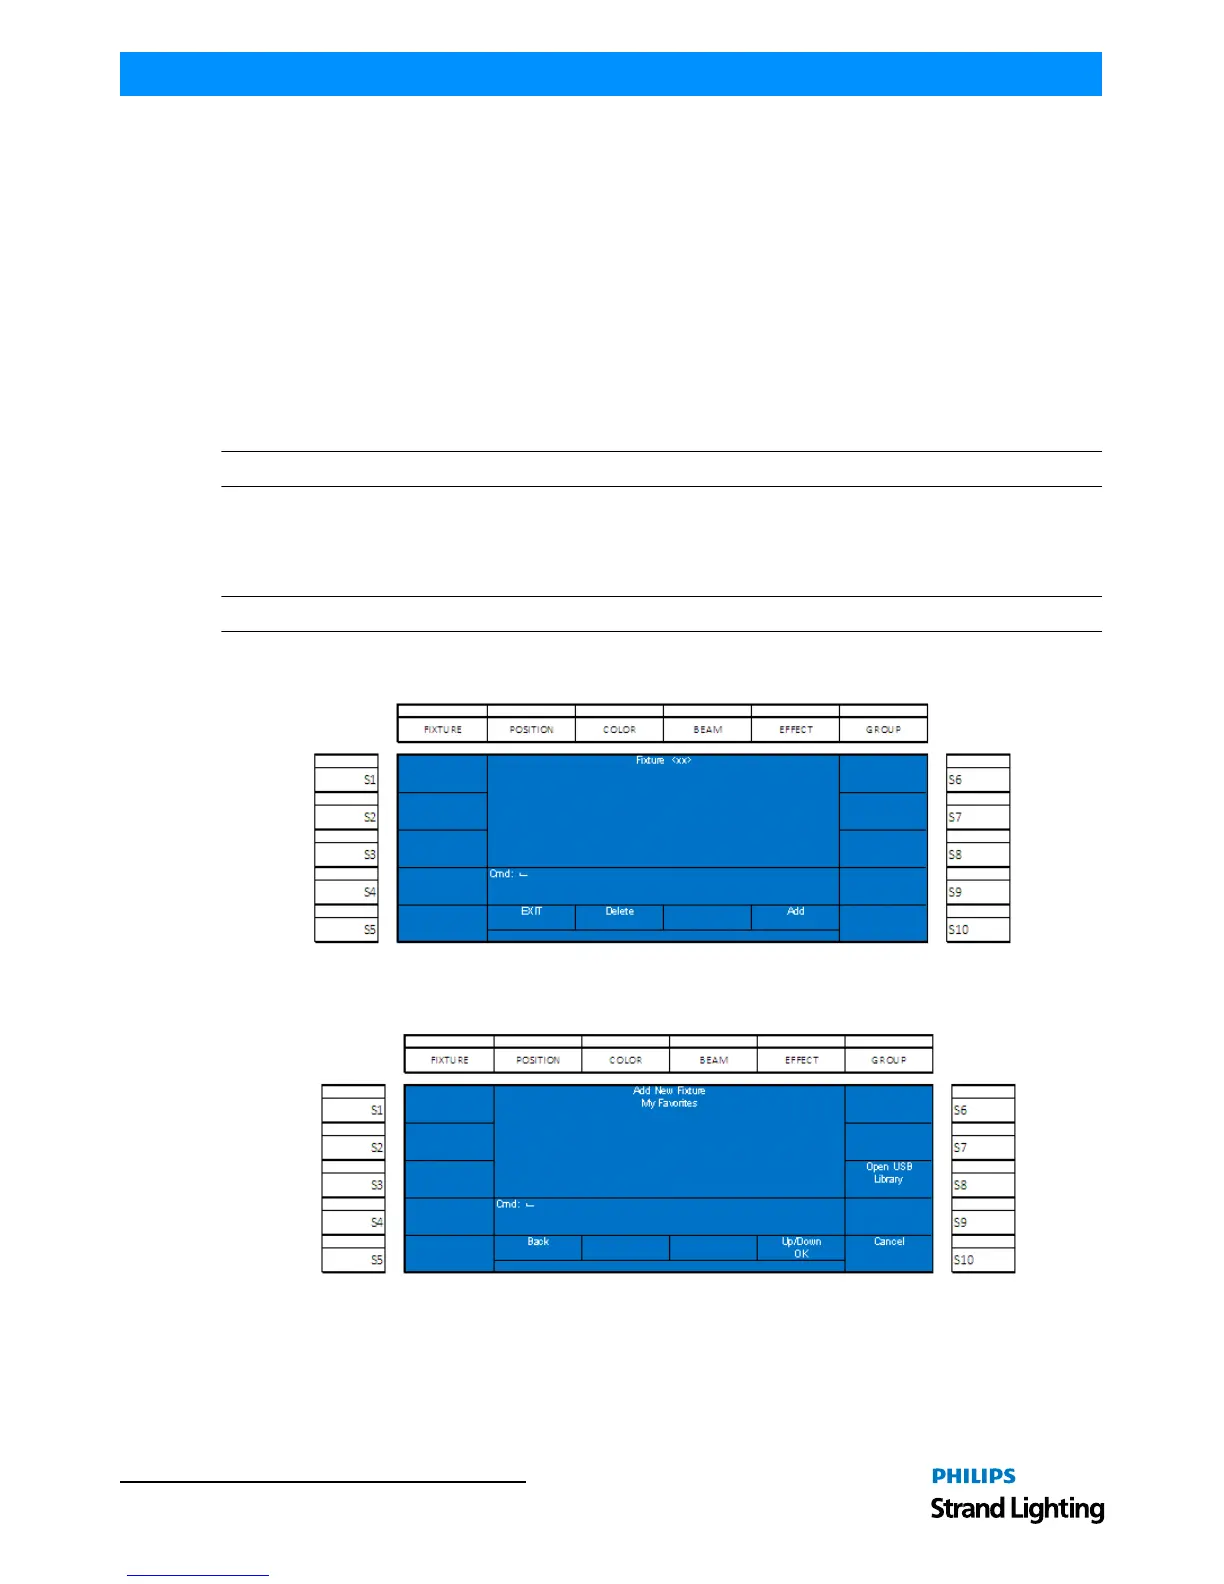
Figure 15: Patching Intelligent Fixtures - Fixture Screen
From the fixture screen, select Encode D to Add a fixture.
Figure 16: Patching Intelligent Fixtures - Fixture Screen (Adding a Fixture)