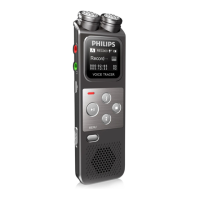
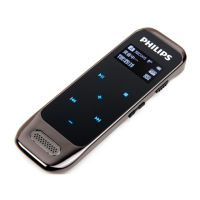
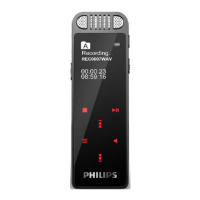
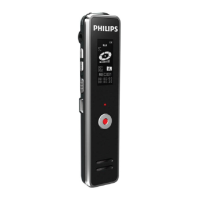
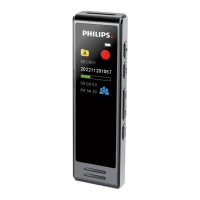
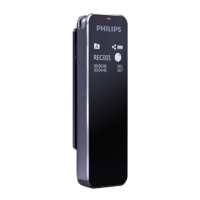
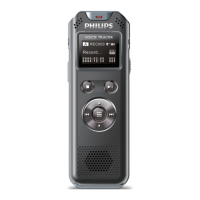
This document describes the Philips Voice Tracer VTR6200 digital recorder.
Function Description
The Philips Voice Tracer VTR6200 is a digital voice recorder designed for various recording and playback needs. It supports one-touch recording, digital noise reduction for clear audio in noisy environments, and records in common MP3 and WAV formats. The device also functions as a USB mass storage device for easy file management and offers high-speed USB 2.0 data access.
Important Technical Specifications
Storage:
- Internal storage: 8GB NAND Flash memory.
- Estimated recording time (8GB):
- Long Recording mode: approximately 2160 hours
- Standard Quality Recording mode: 544 hours
- High Quality Recording mode: 136 hours
- NOISE CUT REC Recording mode: 46 hours
- PCM mode: 11 hours
- Portable storage (PC): Yes
Recording Formats and Bit Rates:
- PCM (WAV): 1536kbps
- NOISE CUT REC (WAV): 384kbps
- Stereo REC (HQ) (MP3): 128kbps
- Standard REC (SP) (MP3): 32kbps
- Long REC (SLP) (MP3): 8kbps
Dimensions and Weight:
- Dimensions (W × L × H): 36 × 108.0 × 13 mm
- Weight (with battery): 32.4g
Operating Conditions:
- Temperature: 5°C to 45°C
- Humidity: 10% to 90% (non-condensing)
System Requirements:
- Operating System: Windows 7/Vista/XP/2000, Mac OS X, Linux
- Port: USB
Usage Features
Getting Started:
- Battery Insertion: Open the battery cover, insert batteries with correct polarity, and close the cover.
- Power On/Off: Slide and hold the POWER button for 2 or 3 seconds to start or shut down the device. The "Philips icon" will be displayed.
- Keypad Lock (HOLD Function): Slide the POWER button to the lock position to disable all buttons except the slide switch. "Hold" is displayed for a moment. To unlock, slide the POWER button to the middle position.
Recording:
- Starting Recording: In voice mode, press "STOP" to select a folder, then press "REC" to start. The red "Record" indicator will light up.
- Pausing/Resuming Recording: Press "REC" to pause, the red "Record" indicator will flash, and a "Pause" icon will appear. Press "REC" again to resume.
- Stopping Recording: Press "STOP" to end recording. The device returns to the stopped playing interface.
- External Microphone: Plug an external microphone into the Line-in jack. The built-in microphone will be disabled, and the record type will automatically become "HQ REC".
- Telephone Record: Connect the telephone cable to the telephone recording adapter, then to the device.
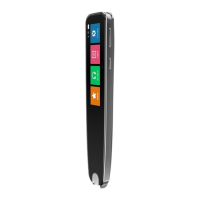
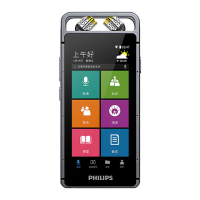
Voice Mode:
- Selecting Voice Mode: On the main interface, select the voice mode icon and press the MENU button.
- Playback: In Stop Mode, press "STOP" to switch folders. Select a file with "T" or " " and press "PLAY" to start.
- Playback Settings: Includes Repeat (continuously, sequence, folder, one, random), Equalizer (Normal, Rock, Pop, Classic, Soft, Jazz, DBB), and A-B Replay.
- Deleting Files: In the stopped playing voice interface, long press the delete button to open the delete menu (Delete file, Delete all, Exit).
Record Settings:
- Record Type: Choose from NOISE CUT REC, HQ REC, SP REC, SLP REC.
- Mic Sensitivity: Select High or Low.
- Voice Activation (VOR): A practical recording function where recording starts when voice is detected and pauses after 3 seconds of no voice.
- Listen In: Connect earphones to listen to any sound output.
- Record Timer: Set a pre-set time for the system to automatically start recording. Includes "Set date" and "Set time".
- Duration: Set recording duration (30, 60, 120 minutes, or infinite).
- Record Source: Choose between MIC or FM.
- Auto Divide: Automatically saves recordings into new files every 30 or 60 minutes.
Music Mode:
- Selecting Music Mode: On the main interface, select the music mode icon and press the MENU button.
- Playback: Similar to voice mode, select a track and press PLAY.
- Playback Settings: Includes Repeat (continuously, sequence, folder, one, random), Equalizer (Normal, Rock, Pop, Classic, Soft, Jazz, DBB), and A-B Replay.
- Deleting Files: Similar to voice mode.
Radio Mode:
- Selecting Radio Mode: From the main menu, select Radio Mode and press MENU.
- Reception: Plug in earphones for radio reception.
- Auto Search: Automatically searches and saves radio channels.
- Save/Delete Channel: Save current channel or delete saved channels. The device can store up to 40 channels.
- FM Record: Record FM radio broadcasts.
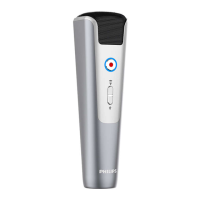
Wireless Microphone Mode:
- Activating: On the main interface, switch MIC to ON.
- Channel Selection: Two built-in frequency channels are available.
- Recording: Press "PLAY" to start wireless recording.
- Working Range: 20 to 30 meters in a barrier-free environment.
- Monitoring: Earphones can be plugged in to monitor the sound during wireless recording.
System Settings:
- Backlight Time: Set to 15, 30, 45, 60 seconds, or Off.
- Language: Choose system language (Simplified Chinese, Traditional Chinese, English).
- Contrast: Adjust LCD display contrast.
- Auto Off: Set automatic shutdown time (5, 15, 30, 60 minutes, or Off).
- Record Lamp: Turn the record indicator lamp On or Off.
- Device Sounds: Turn device sounds On or Off.
- Date/Time: Set time format (12H/24H), date, and time.
- Memory Select: Choose between internal or Micro-SD storage.
- Information: View memory information (total capacity, remaining capacity) and firmware version.
- Format Device: Format internal memory or SD card.
- Reset Default: Restore to factory settings.
Maintenance Features
- Battery Care: If the device will be idle for a long time, remove the battery to prevent leakage. Replace batteries when low.
- Data Protection: Before replacing batteries, power off the device. Take out the battery only when the device is switched off.
- File Management: When moving files to or from the device, do not disconnect the device from the computer.
- Troubleshooting: Consult the "Frequently Asked Questions" section for common issues like device not switching on, not recording, or not playing audio.
- Charging Wireless Microphone: Charge for two hours before first use. Slide the ON/OFF switch to OFF when not in use. Stretch the antenna for better signal. Recharge if the indicator light or device is not working. Do not use while charging.