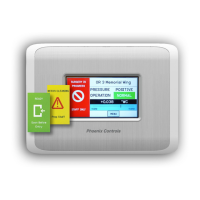
Do you have a question about the Phoenix Advanced pressure monitor II and is the answer not in the manual?
| Display | LCD |
|---|---|
| Accuracy (Pressure) | ±3 mmHg |
| Resolution | 1 mmHg |
| Accuracy (Pulse) | ±5% |
| Memory | Up to 120 readings |
Lists parts the installer must provide for the APM2 rough-in installation.
Details the components provided in the APM2 order package.
Covers the detailed wiring connections for the APM2 unit.
Details how to connect the analog output signals from the APM2.
Explains wiring for analog inputs used for transducers or door status.
Instructions for wiring the relay and annunciator output on the APM2.
Steps to safely power down and remove the existing APM100 unit.
Offers guidelines for safe and compliant electrical wiring for the APM2 Central Display.
Instructions for routing wires through the triple gang electrical box for the Central Display.
Covers the detailed wiring connections for the APM2 Central Display unit.
Instructions for connecting the power supply to the APM2 Central Display.