14
MKT-0262 MPC-1748 Rev 02/13
Fitting an APM2 in an APM100 Enclosure
Instructions
2.2 Instructions
IMPORTANT: As part of the site preparation, any wiring or tubing coming into the APM100 unit may
need to be moved to accomodate the depth of the APM2.
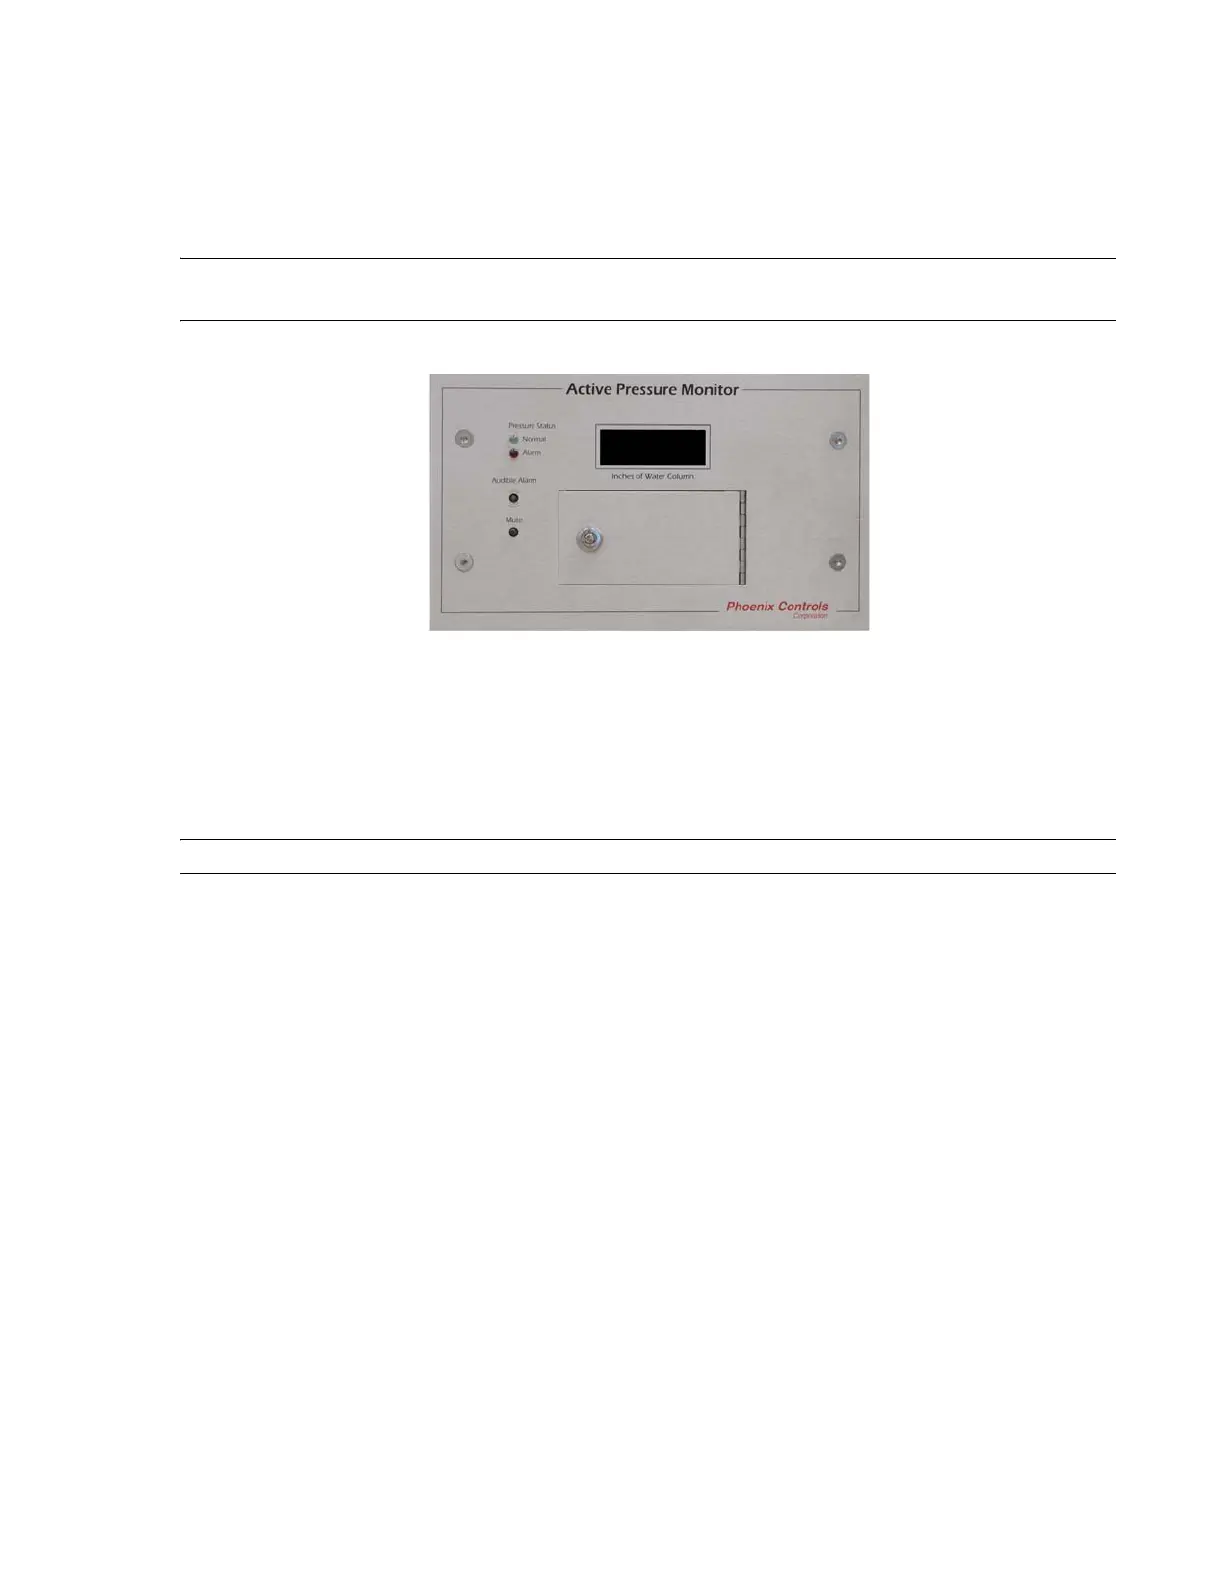
Figure 2-1. APM100 Display
2.2.1 Turn Off Power To the APM100 Unit And Remove It From The
Wall
1. Remove the four allen head screws from the APM100.
CAUTION: Carefully, pull the APM100 out of the APM100 box.
2. Disconnect power and all connectors. Label connectors so it will be clear how to reconnect them to the
APM2 unit.
3. Disconnect pressure tubing from the APM100 and label room side and reference side tubing.
 Loading...