22
MKT-0262 MPC-1748 Rev 02/13
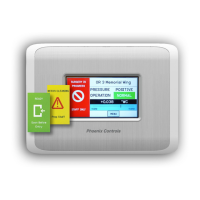
APM2 Central Display Rough-In Installation
Wiring
3.4 Wiring
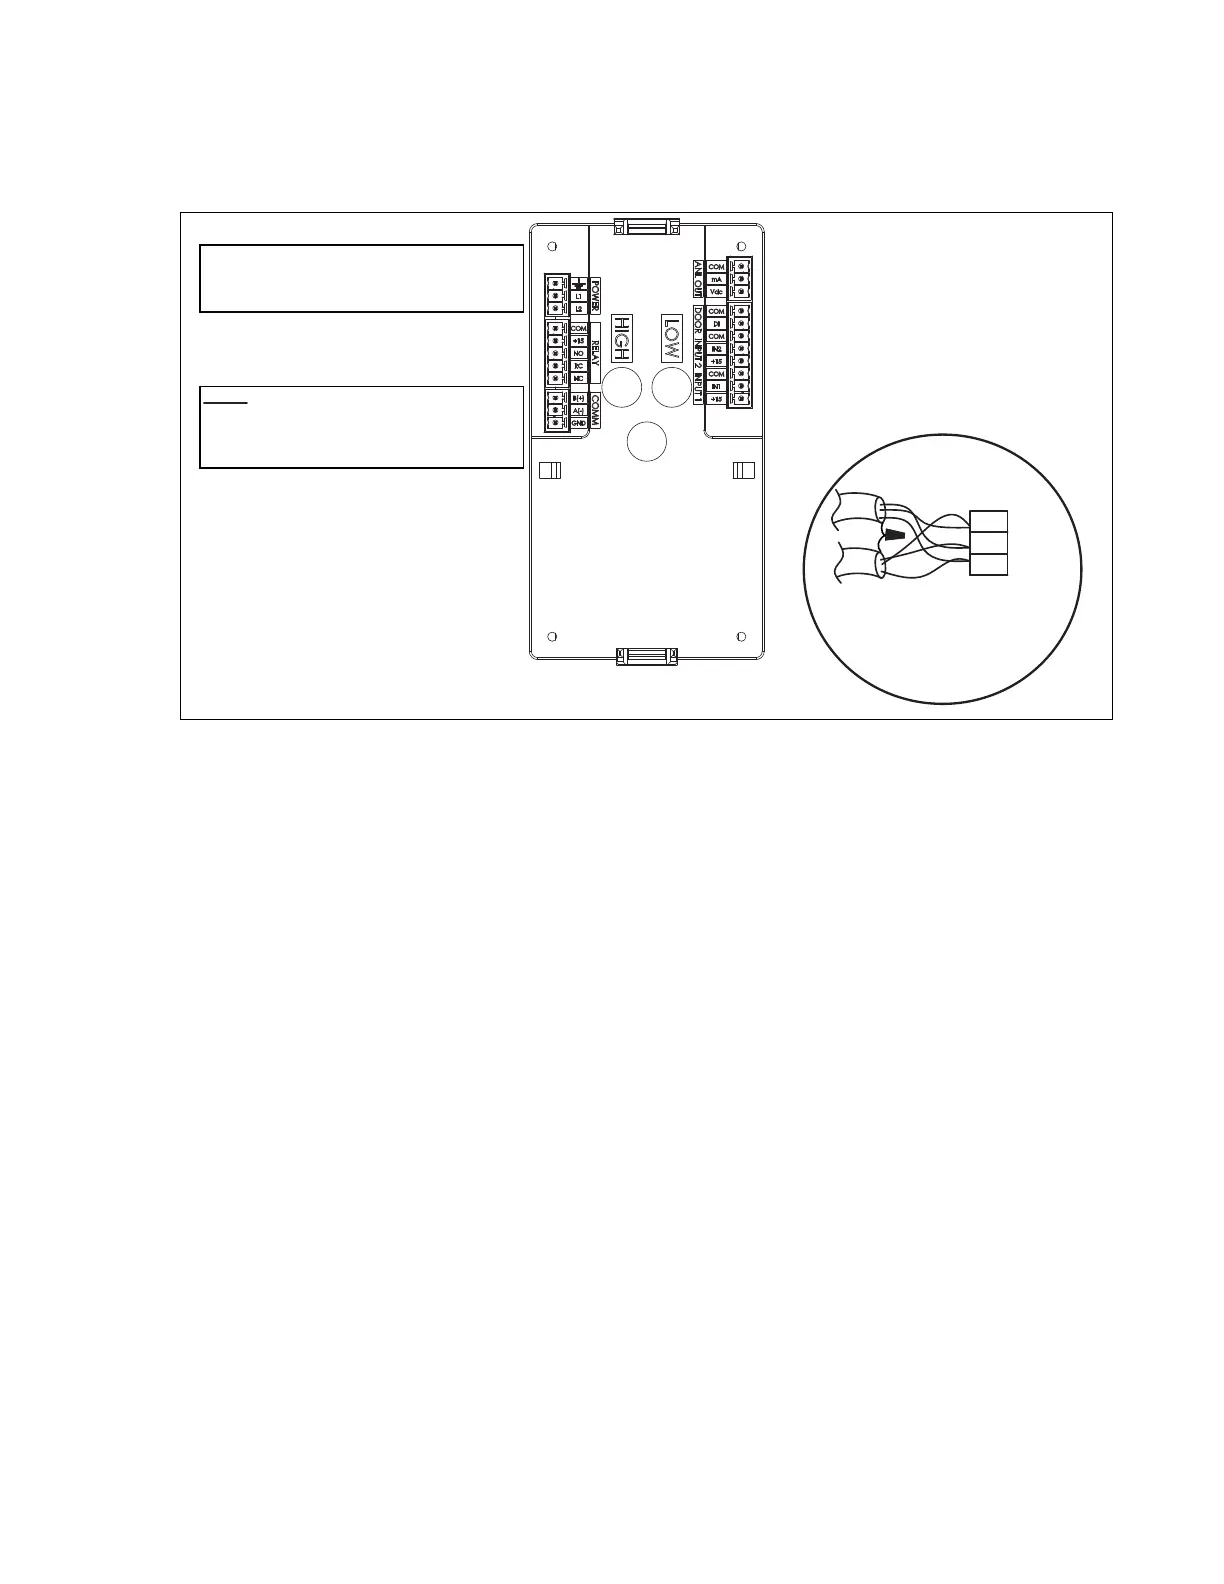
Figure 3-3. Rear View of the APM2 Central Display Showing Wiring Connections
The back of the APM2 Central Display has electrical connectors labeled with their function. The mating
electrical connectors (supplied) are color coded and labeled with the matching function.
3.4.1 Power, Labeled POWER, L1, L2, Ground Symbol
Starting with the 3 pin Power connector:
1. Connect the 24 Vac lines to L1 and L2.
2. Connect a ground wire, GND, from the ground lug to the GND on the connector.
3. Install Connector.
The APM2 operates at 18-32 Vac, 50/60 Hz and consumes 2.6 W nominal, 9.6 W max.
Earth Ground
L1 24 Vac
L2 24 Vac
POWER
COMM
B (+)
A (-)
GND
REAR VIEW
BACnet Communications
(See Detail A)
DATA +
DATA -
COMM
B (+)
GND
A (-)
DETAIL "A"
GROUND SHIELD - ONE END ONLY
 Loading...