APM2 Central Display Rough-In Installation
Wiring
23
MKT-0262 MPC-1748 Rev 02/13
APM2 Rough-In Installation Guide
3.4.2 Completing the Finish Wiring
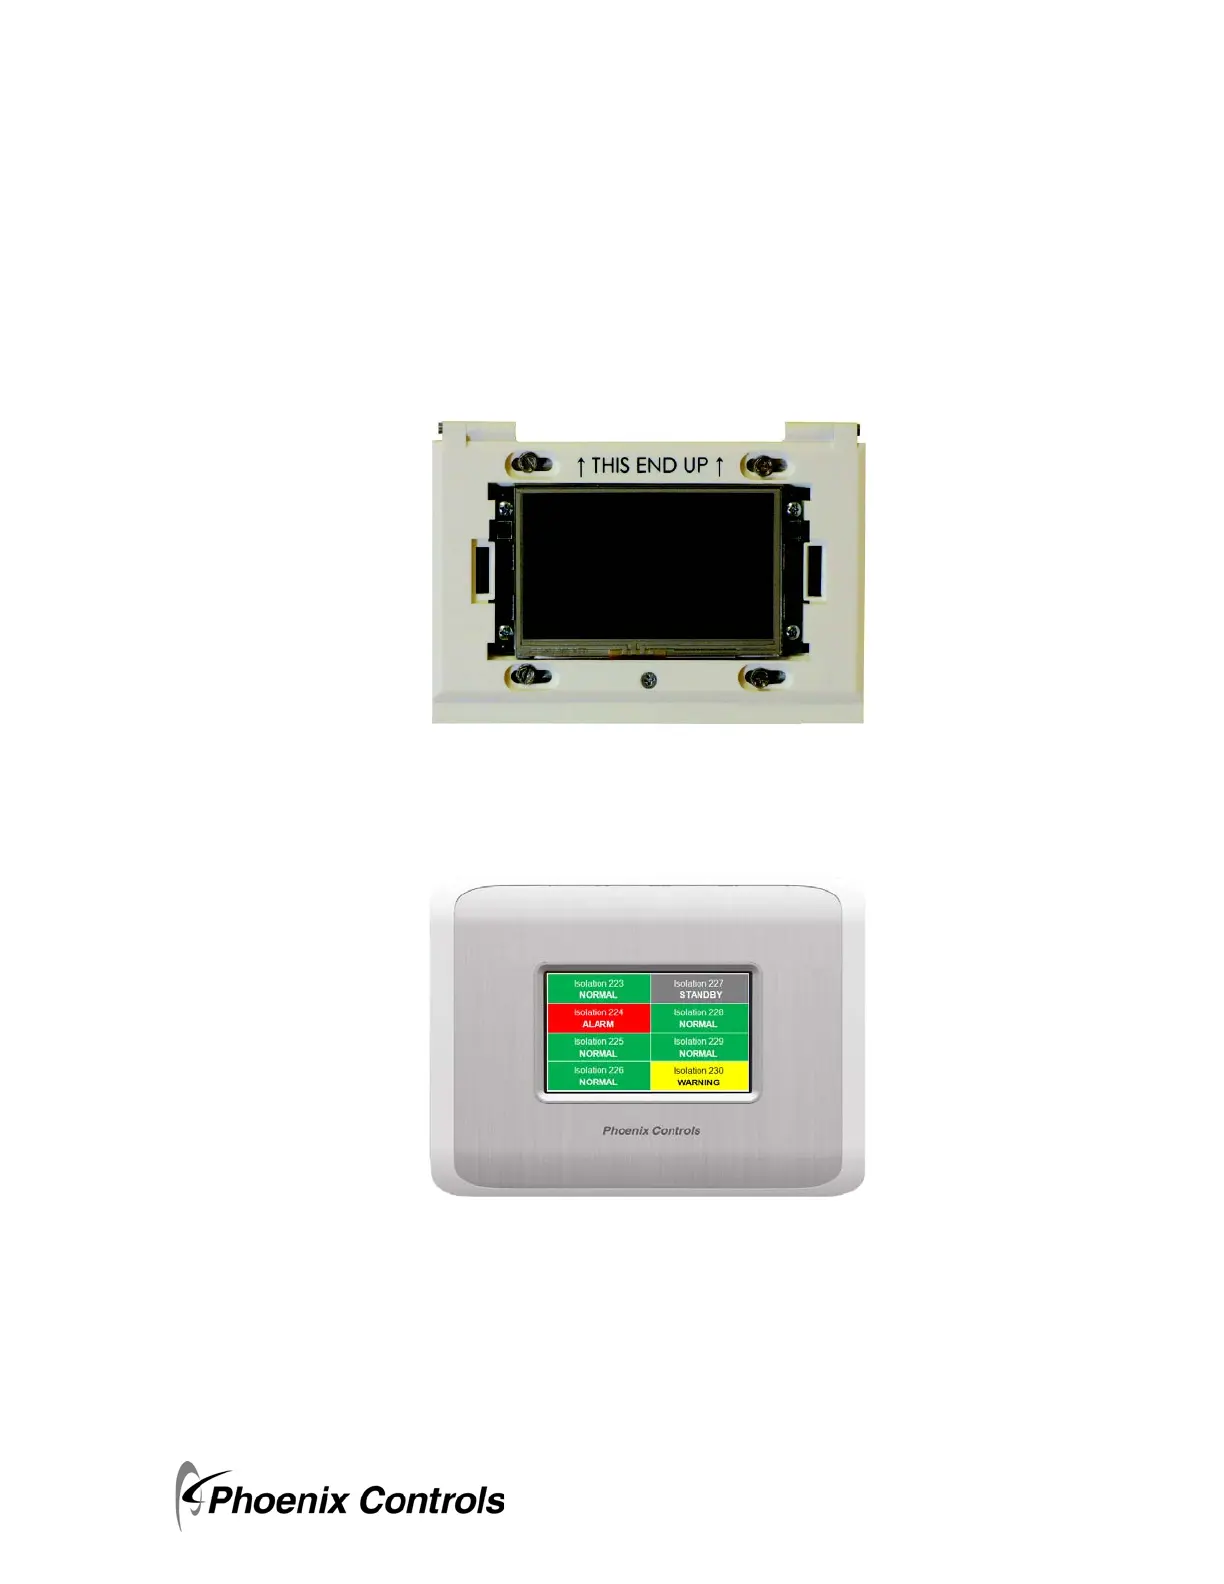
1. Connect all the electrical connectors matching the wiring connector with the mates on the back of the
unit. Connectors are color coded and keyed.
2. Mount the unit cover to the electrical box using four of the supplied mounting screws. Leaving screws
slightly loose adjust the cover so that it is square. Securely tighten so that the back of the cover is tight to
the finish wall surface.
Figure 3-4. Mounting APM2 Central Display in Triple Gang Electrical Box
3. Mount the front cover assembly.
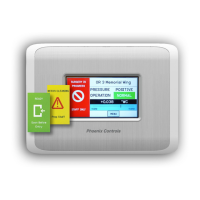
Figure 3-5. Installed APM2 Central Display
 Loading...