APM2 Central Display Rough-In Installation
Installation Overview
21
MKT-0262 MPC-1748 Rev 02/13
APM2 Rough-In Installation Guide
• Strip 0.25" (6.4 mm) of insulation from each conductor, twist the strands, insert the conductor fully into
the terminal block, and tighten the terminal.
•Test the wire connection by pulling on each conductor.
WARNING: Wiring must be performed by a licensed electrician according to local and state codes.
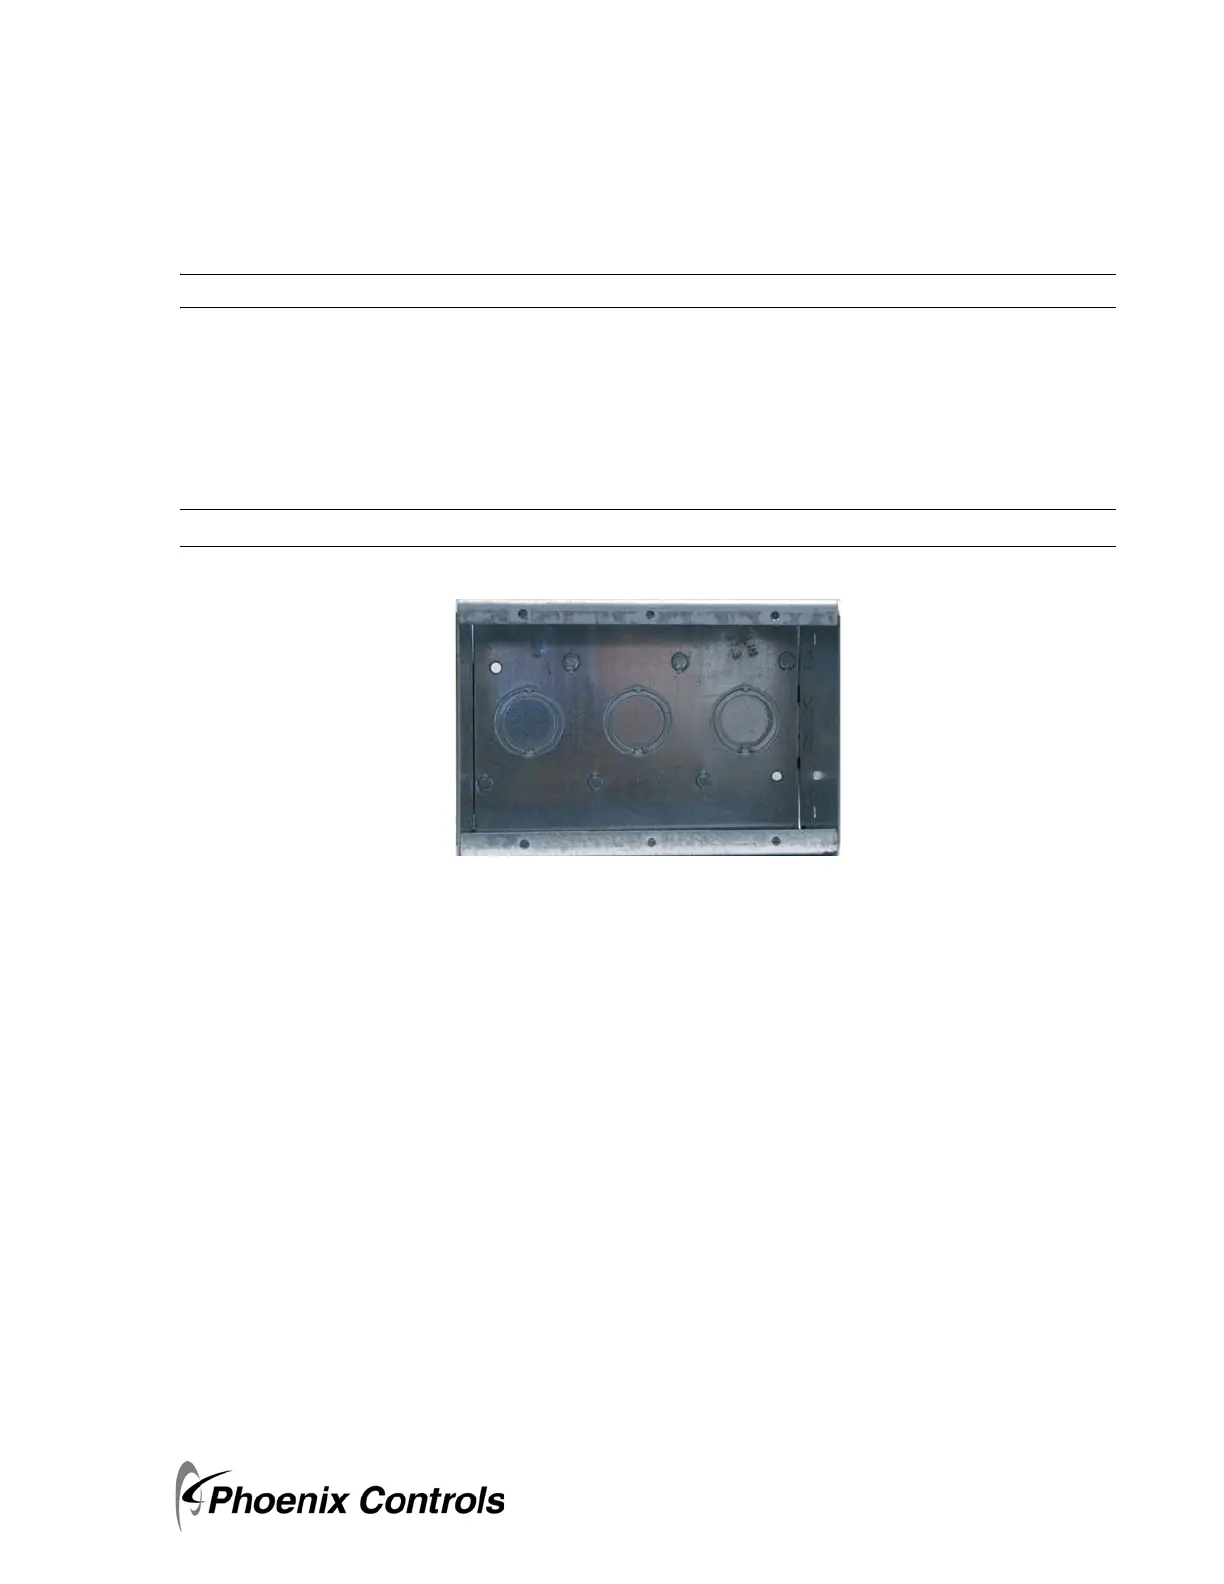
3.3.2 Wiring Triple Gang Electrical Box
USE ONLY THE KNOCKOUTS ON THE TOP OR BOTTOM AT THE BACK OF THE ROUGH-IN
ELECTRICAL BOX. The front knockouts will be inaccessible once the APM2 is installed. Strain relief and seal
box as required.
NOTE: Install power and signal wires into separate knockouts to avoid noise.
Figure 3-2. Wiring in the Triple Gang Electrical Box
 Loading...